Skip to content

Halloween Decorating

Halloween is a fun celebration in most households and especially when there are children about. The month of October provides the perfect setting for a dark and spooky Halloween night and what better way to transform your house than with Peelable Glass Paint.

Using some Halloween stencils and pots of Bat Black, Goblin Green, Ogre Orange and White Witch Peelable Glass Paint from the Halloween Stencil Craft Pack, a Halloween scene was created in the kitchen. The french doors were also covered making a spooky entrance for trick or treaters.

HALLOWEEN WINDOWS

TRICK OR TREAT

I made some Halloween Trick or Treat buckets using a black plastic paint bucket that I had in the shed and an old plastic sweet bucket. You can use Peelable Glass Paint on plastic too so these were the perfect things to use and saved me having to buy them.

First I painted Bat Black Peelable Glass Paint on the old sweet bucket and left it to dry. Once dry I painted a skull stencil over the top with White Witch. The one coat gave a perfectly spooky skull look! On the black bucket my daughter painted on an Ogre Orange pumpkin which we left to dry then applied a second coat to make it really stand out. For the stalk I mixed a little White Witch with Goblin Green to make a lighter shade that stood out more on the black bucket.

TREATS

I used an old washing up sponge cut up into smaller blocks to sponge stencils on old jars using the Bat Black, Goblin Green, Ogre Orange and White Witch paint from the Halloween Stencil Craft Pack.

Some of the stencils would have been quite tricky to paint onto the curved jam jars so I taped the stencils in place, drew round the outline of stencils with pen, removed the stencil then painted in the outline to make a perfect shape. Lots of old items were re-purposed to help transform the home into a Halloween haven and provide plenty of treats for all.

Create Peelable Glass Paint Halloween Scenes

Using stencils the front door was turned into a warm welcome for trick or treaters, with lanterns, pumpkins and fake cobwebs to top off the scene.

You can download some fantastic stencils from the internet or use stencil books from craft and art shops. Many online shops also sell packs of stencils that you can use time and time again.

On the front door we used a witch on a broomstick painting the witch with Purple Phoenix. The pumpkin was painted in Ogre Orange and the bats had to be painted in Bat Black.

In the top glass panel we painted BOO in White Witch – a gentle scare that shone up nicely with the hall light shining through.

With just a little bit of Peelable Glass Paint, some stencils and a few minutes a fun and spooky entrance was created.

A whole Halloween scene was painted on windows using stencils and doing some freehand pictures of ghosts, a moon and clouds drifting across. Moulded ‘stick-on’ shapes were also added to the scenes and you can find out how to make these below. The windows look just as great during the day as they do at night, viewed from outside or inside the house.

HALLOWEEN DECORATIONS

Using the Halloween Peelable Glass Paint Stencil Craft Pack you can create endless decorations as shown below.

TEA LIGHT HOLDERS

With a bit of Peelable Glass Paint old glass jars are saved from the recycling box and turned into Halloween tea light holders.

BOTTLE LIGHTS

Old glass bottles are transformed with the Halloween stencils and peelable glass paint from the Halloween Stencil Craft Pack and some bottle lights bought online.

Thorndown-Peelable-Glass-Paint-Halloween-Stencils-bottle-and-tea-lights_2

PARTY TIME

Putting together all of the tea light holders, bottle lights and trick or treats painted with the Halloween Peelable Glass Paint Stencil Craft Pack, you can create a colourful and atmospheric party through the day and into the night.

Pouring Peelable Glass Paint

One of the easiest ways to create amazing designs is to pour Peelable Glass Paint onto a plastic plate or glass tray and just leave to dry.

In this picture different Peelable Glass Paint colours from the translucent range were poured into a glass tray. Colours were swirled and mixed to create fantastic effects on the cross, tombstone and pumpkin with the cats and bat being left as more solid blacks. Clear Glass Paint was used on the ghost giving it that transparent spooky look. Cookie cutters were placed on top of the liquid paint on the glass tray and left to dry. Remember, the thicker the paint you pour, the longer it will take to dry!

Different colours were used for the star with Wizard Yellow as the core colour. This was poured onto a plastic picnic plate and set aside to dry.

When the paint had dried a craft knife was used to cut around the edges of the cookie cutters and hey presto – a Halloween set was born.

Find out more about making Window Clings with Peelable Glass Paint.

Again And Again . . .

Once the paint has dried you can stick the shapes onto any shiny surface including emulsion paint walls and peel them off again without leaving a mark or any residue. The Peelable Glass Paint is so durable that you can use these ‘stick-on’ shapes again and again and they last for years so keep them for decorating next Halloween.

Bring your stencils and paints back out again too and get painting to create your own Halloween scenes. When the party is over just pick at a corner and peel away to remove!

Videos On Stencilling And Removal

Video Playlist
1/7 videos
1
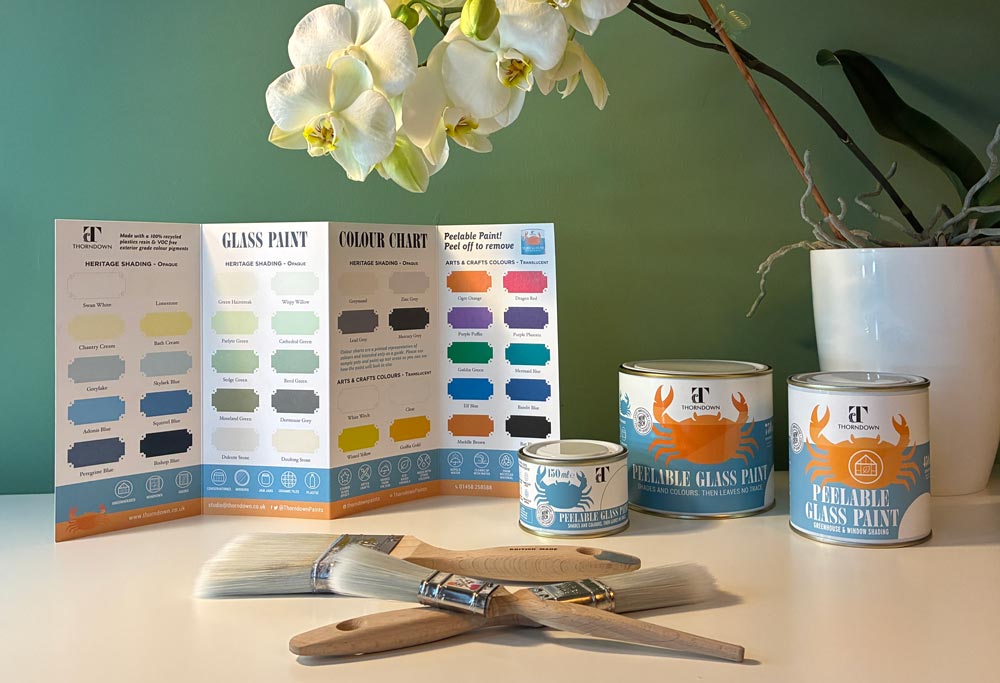
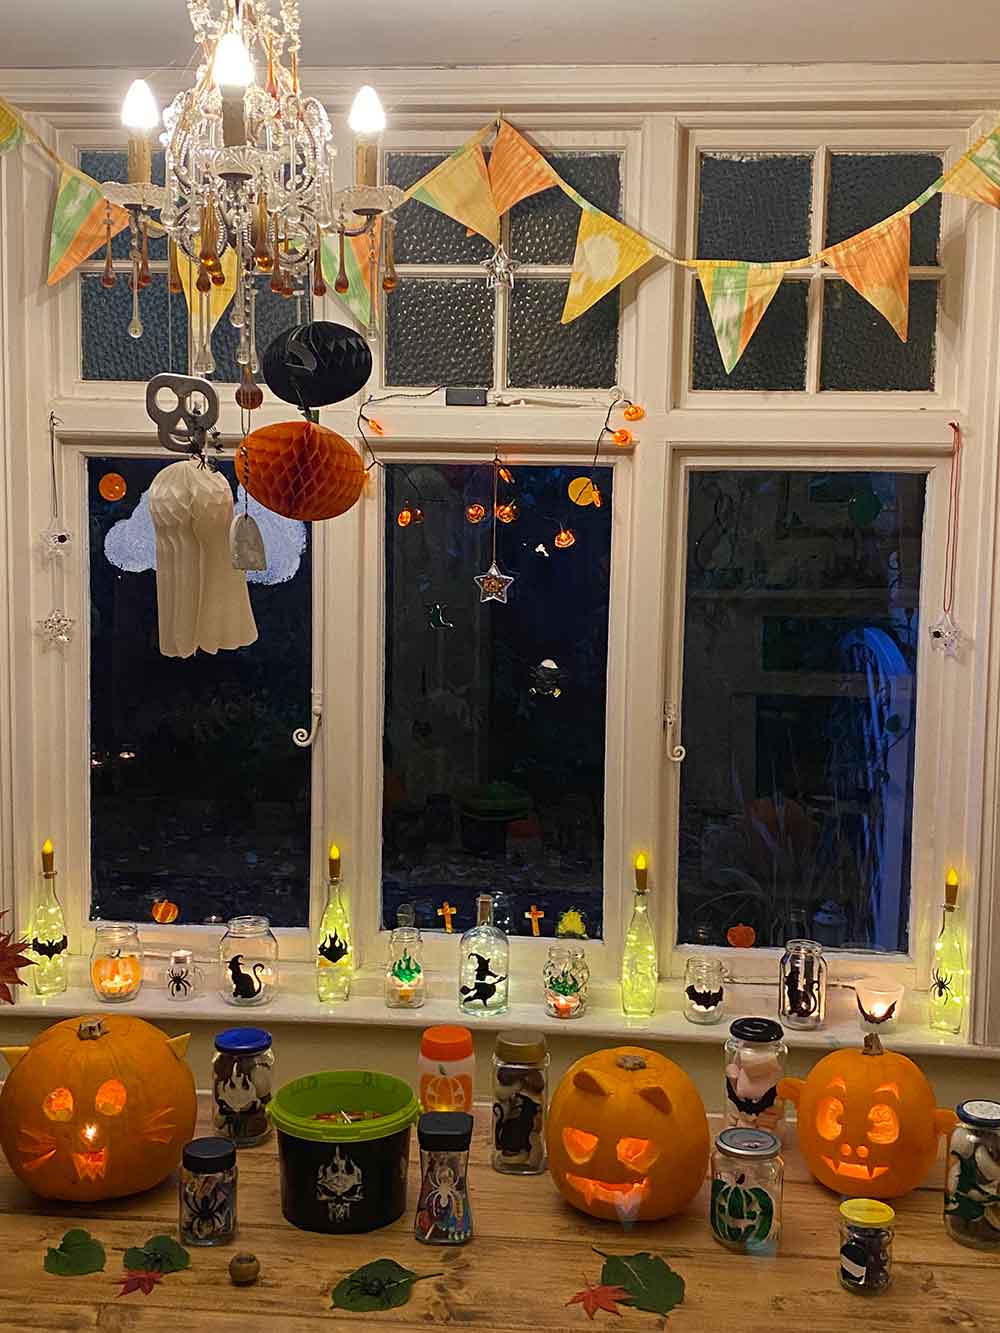
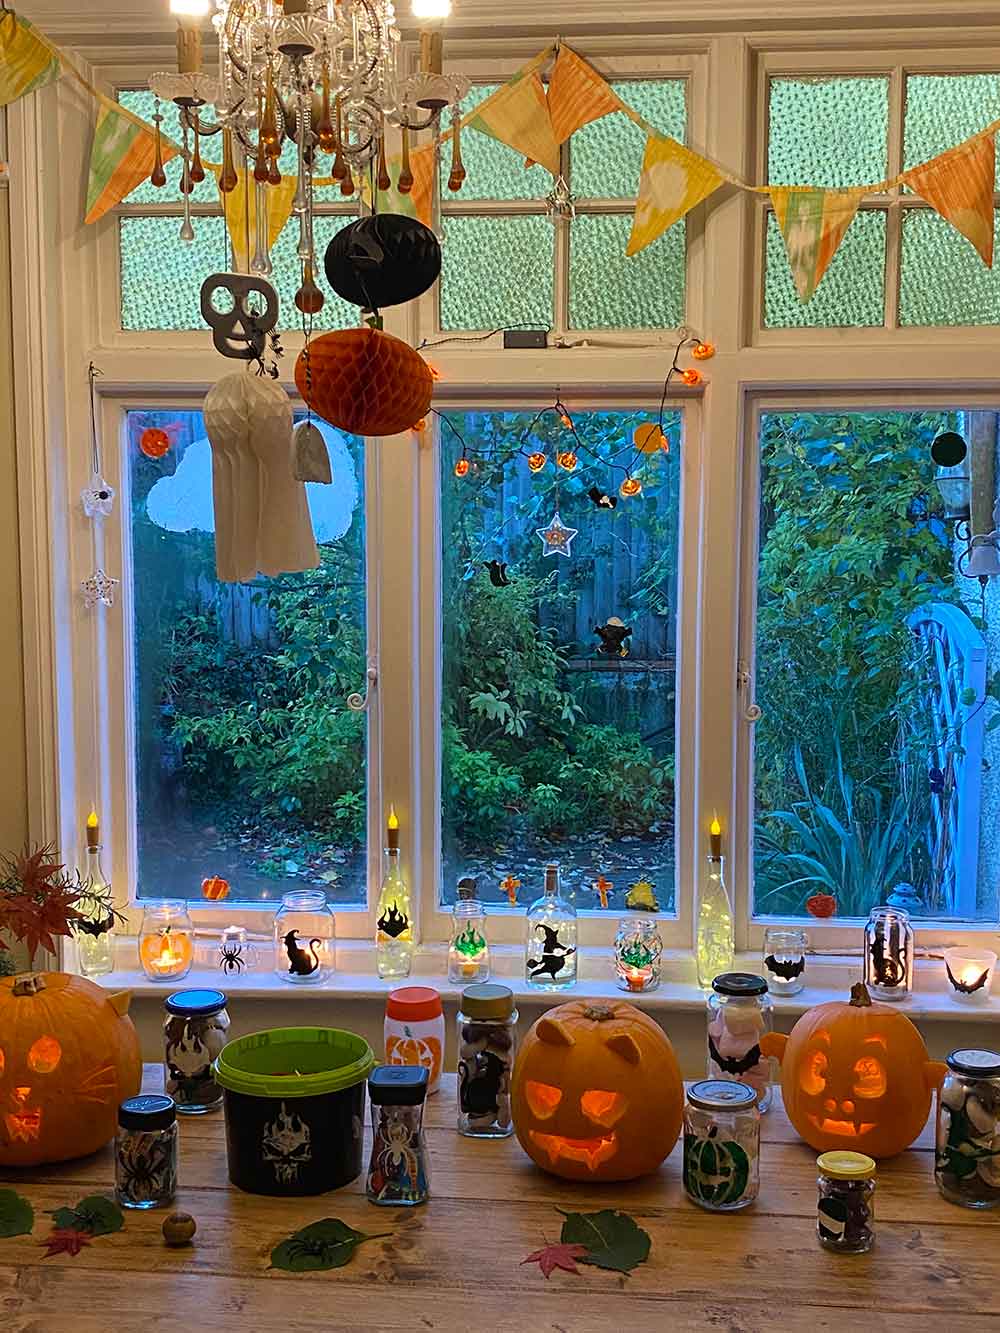
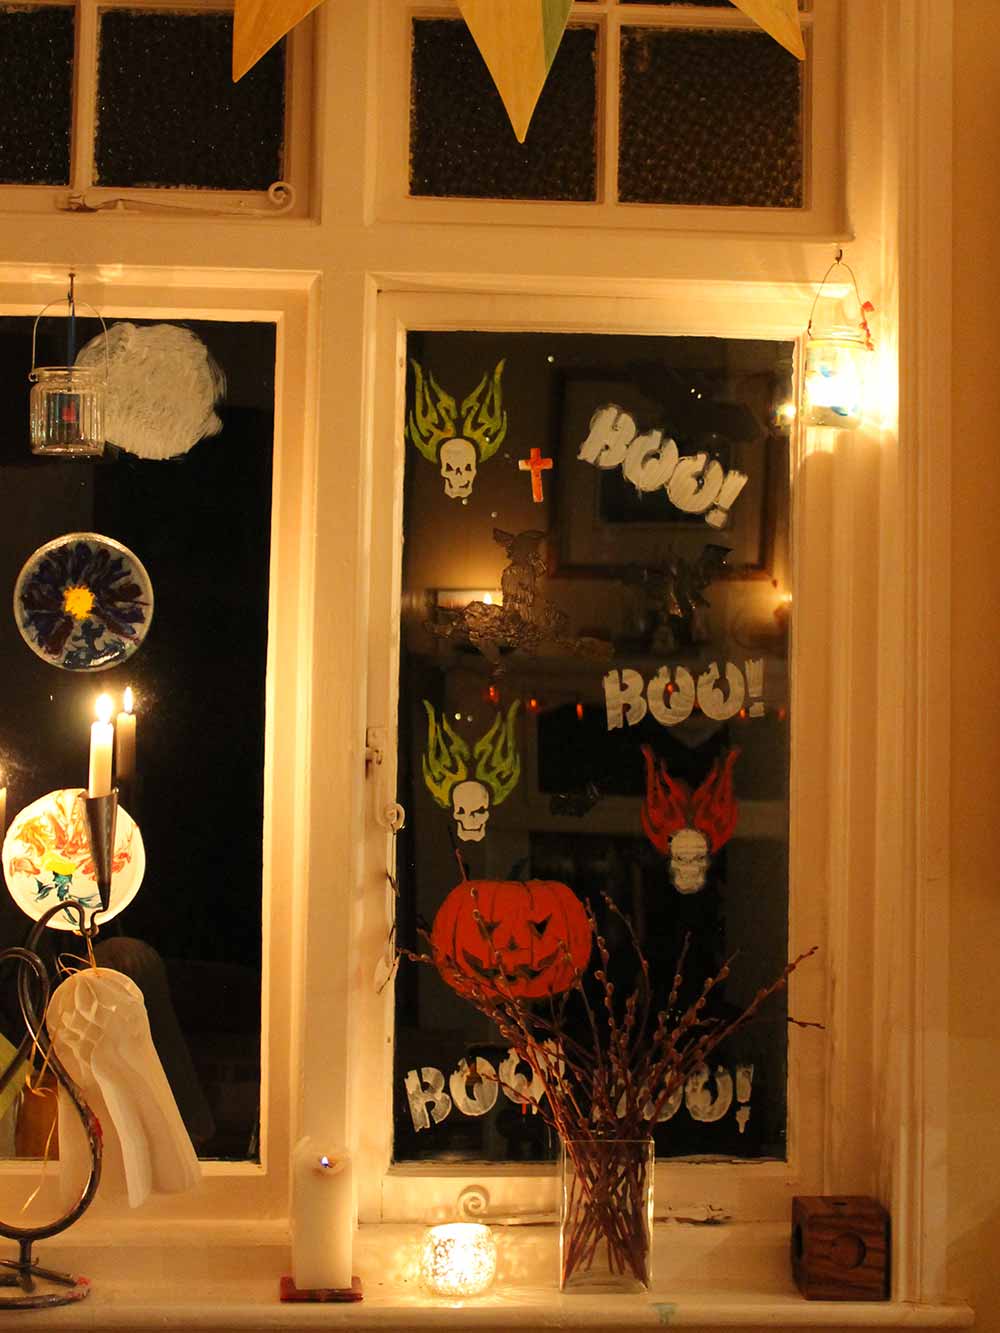
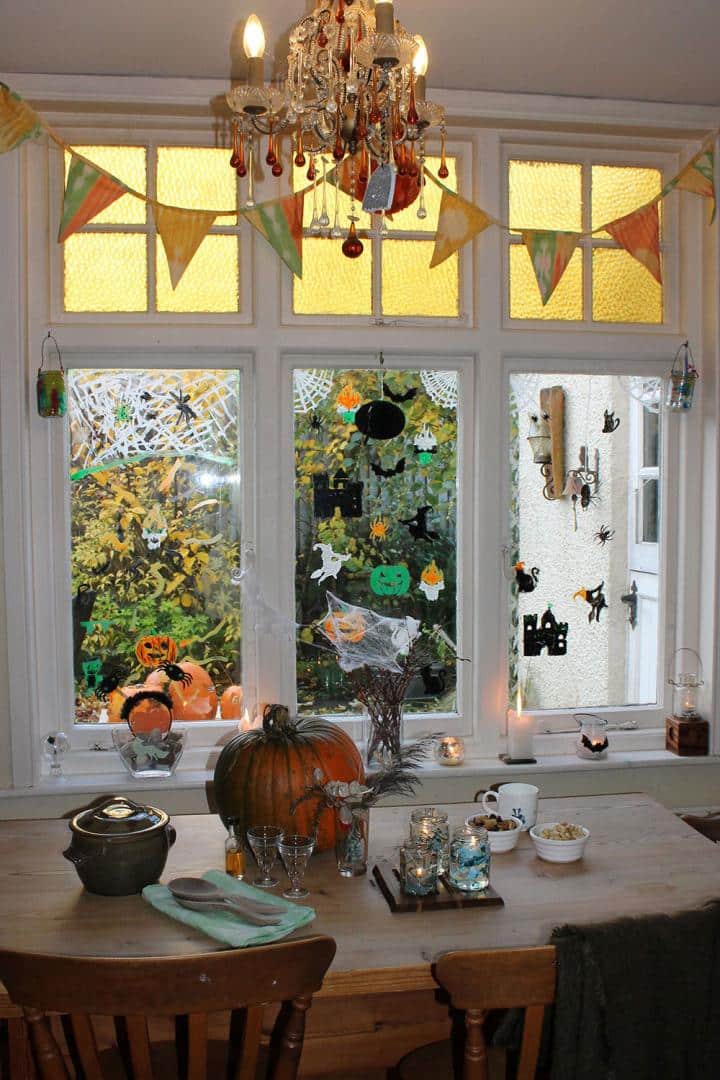
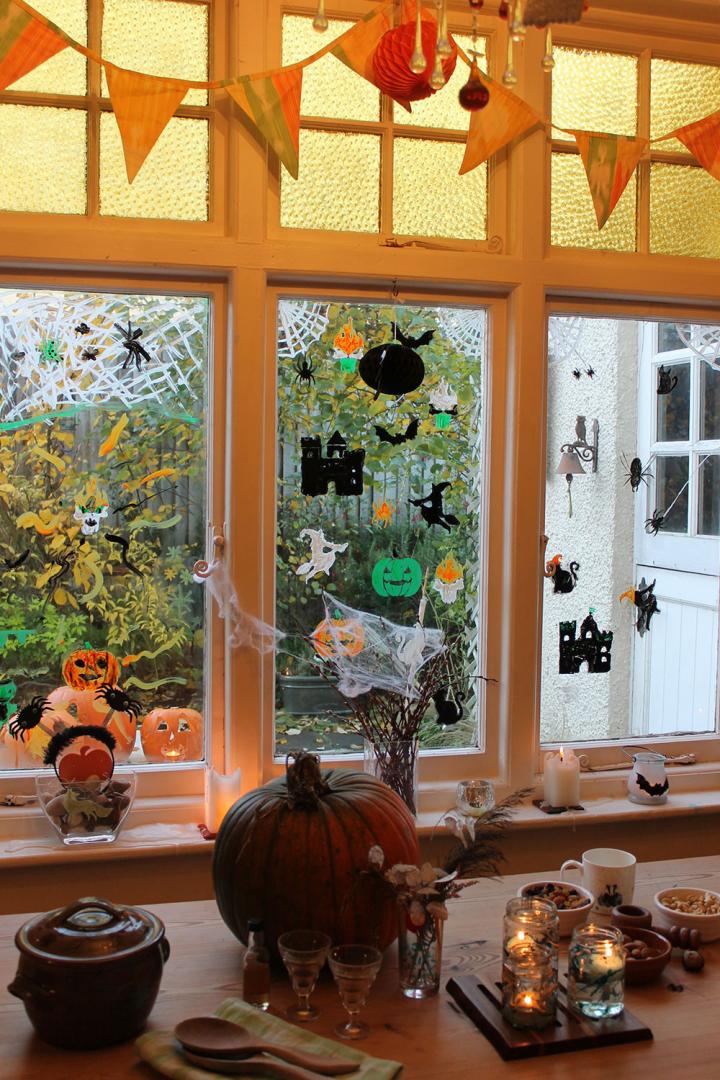
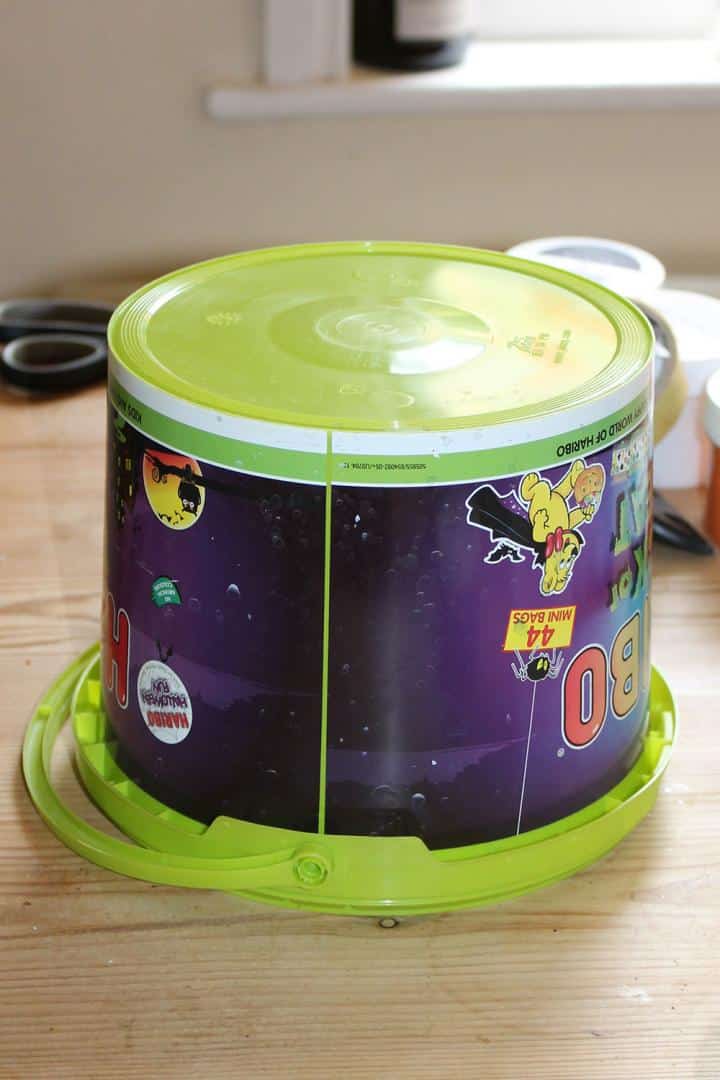
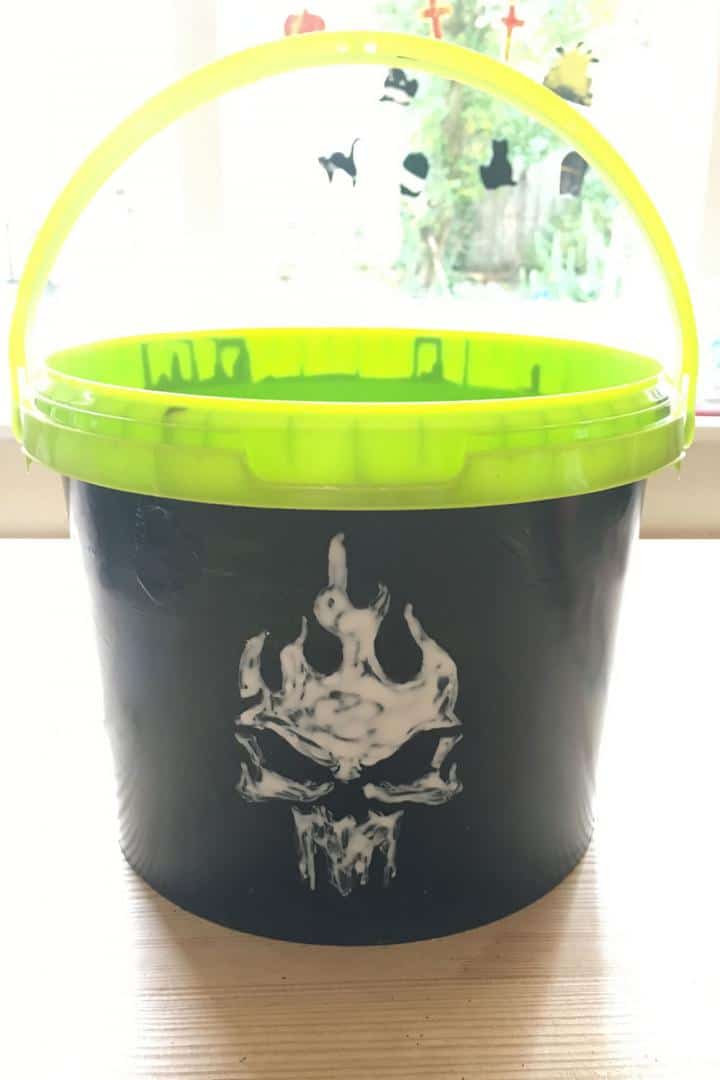
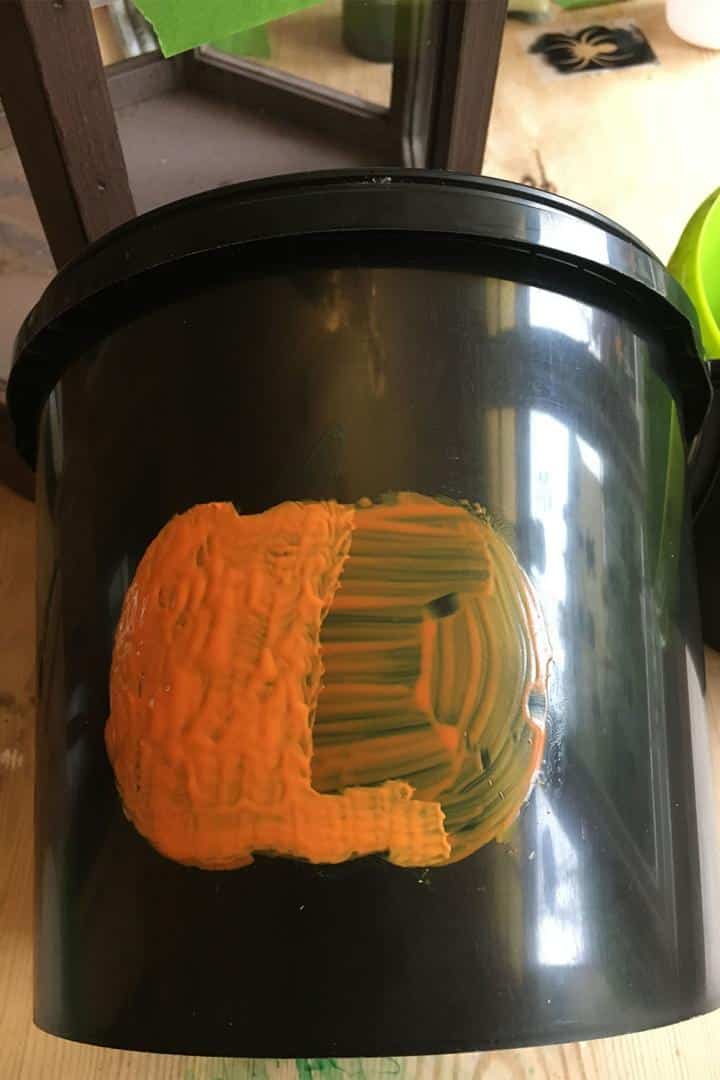
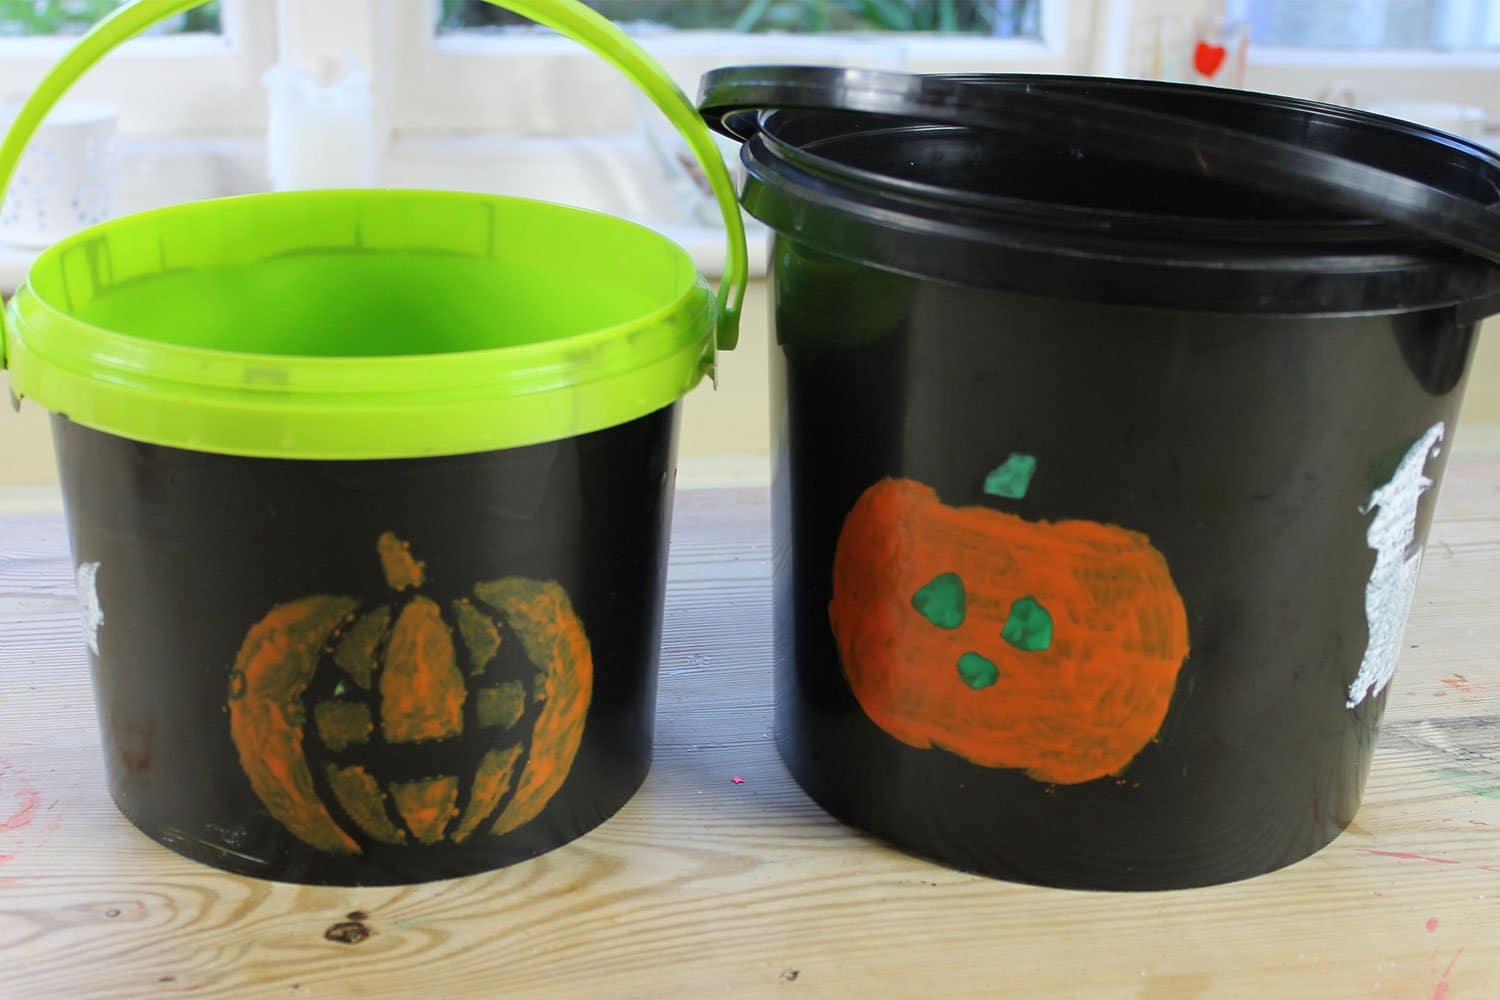
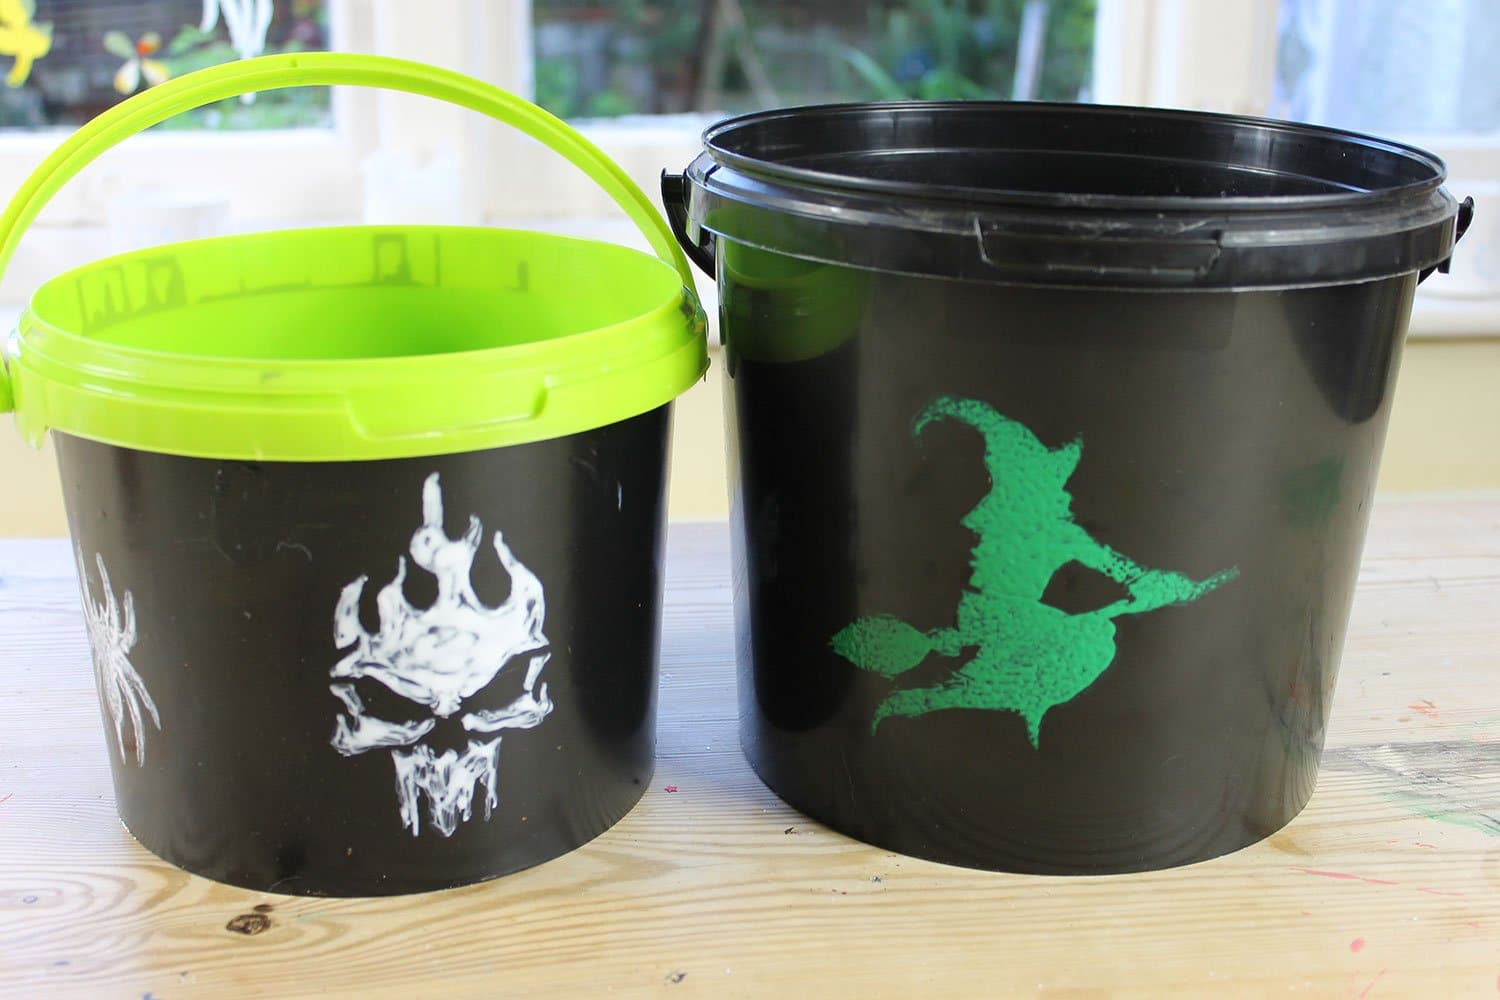
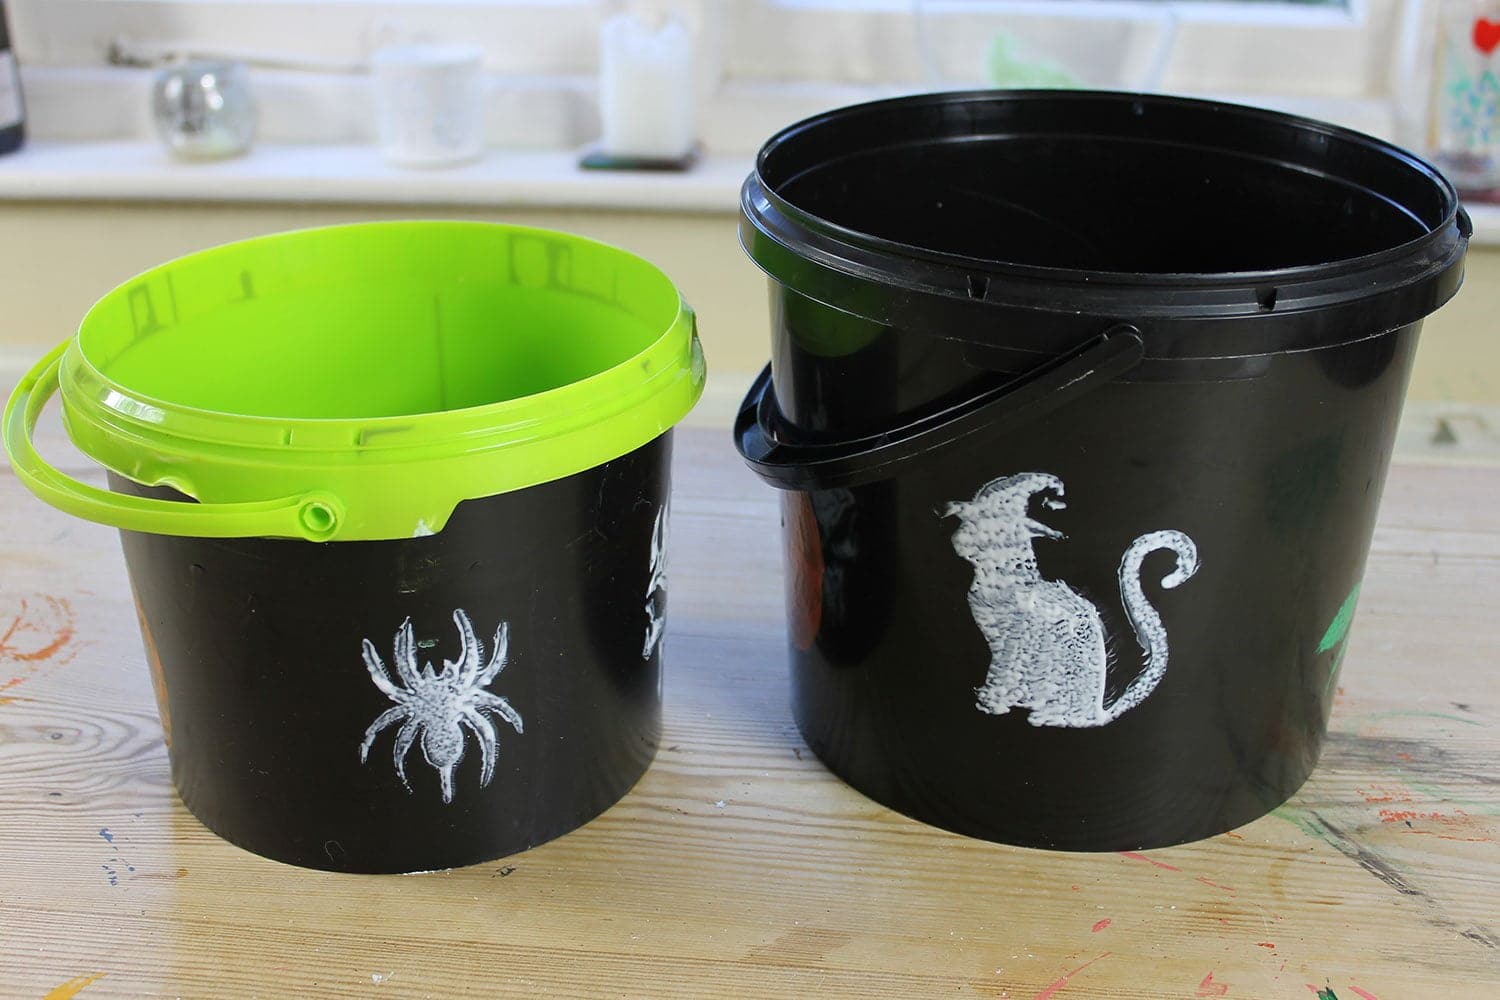
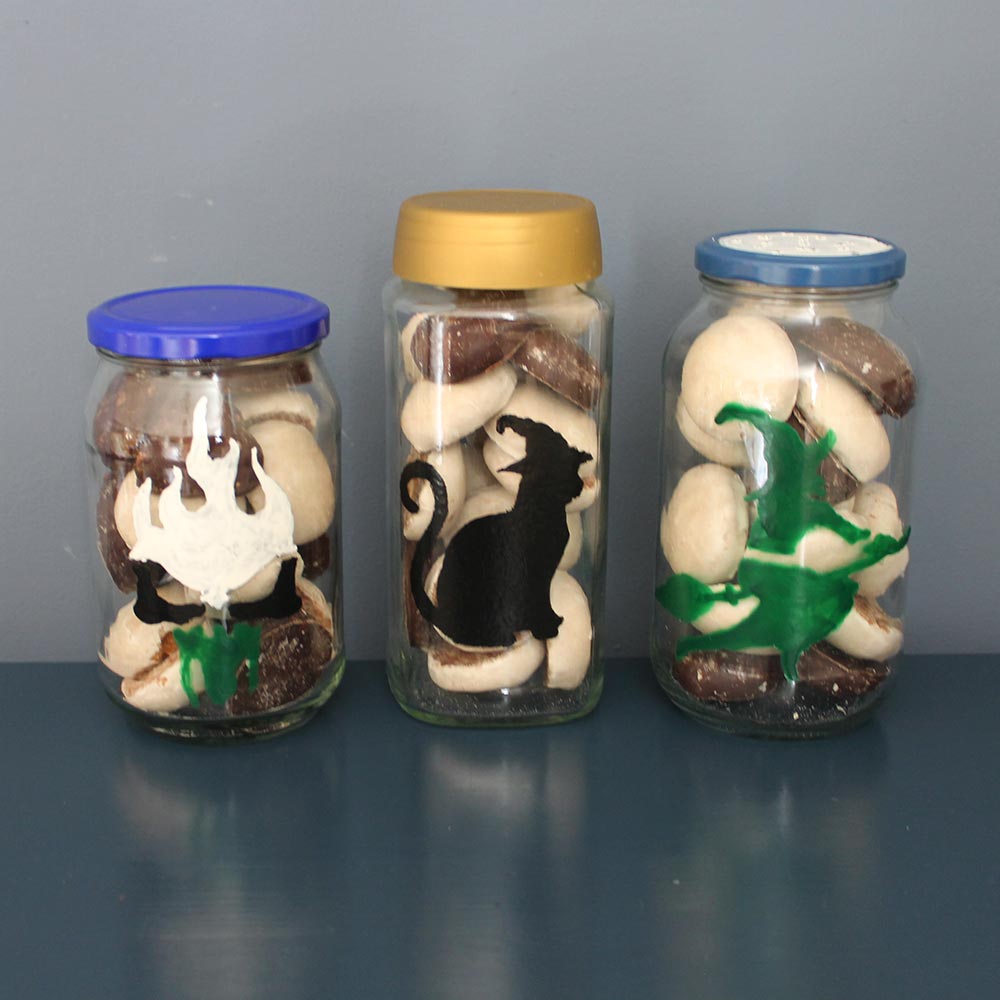
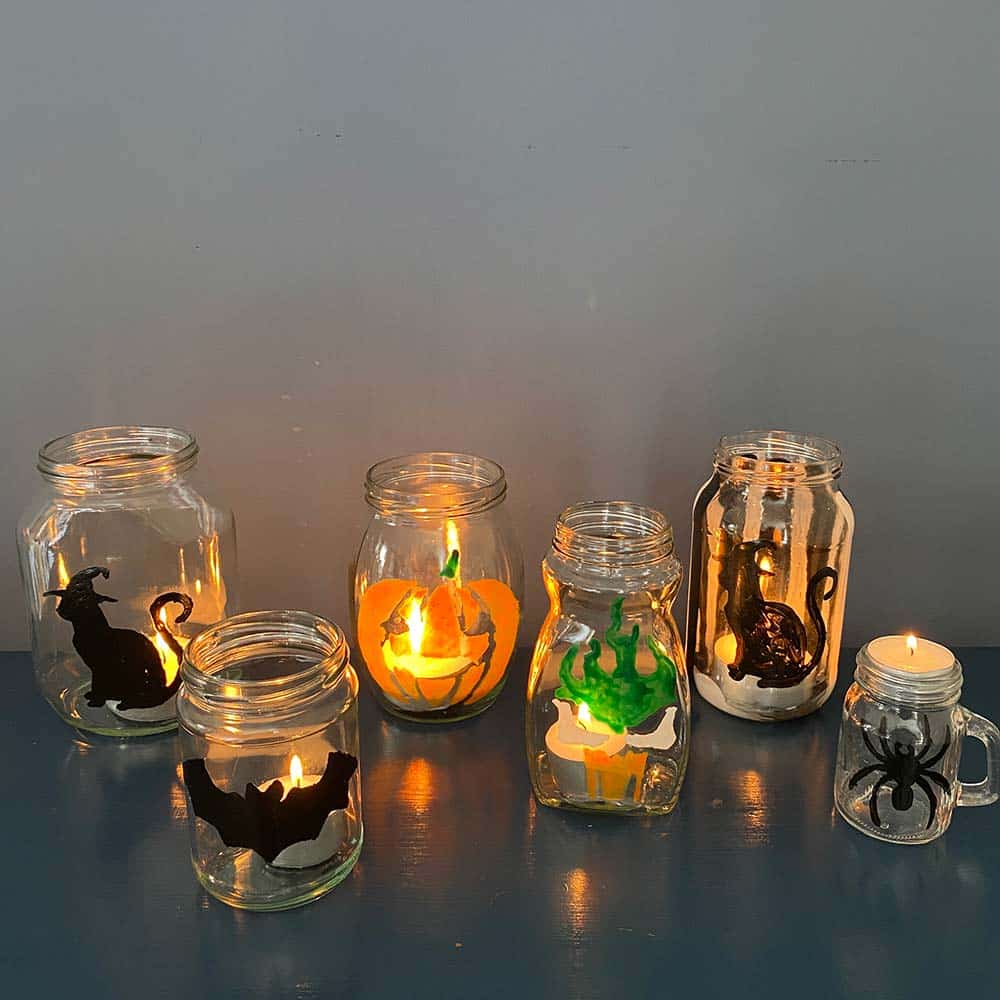
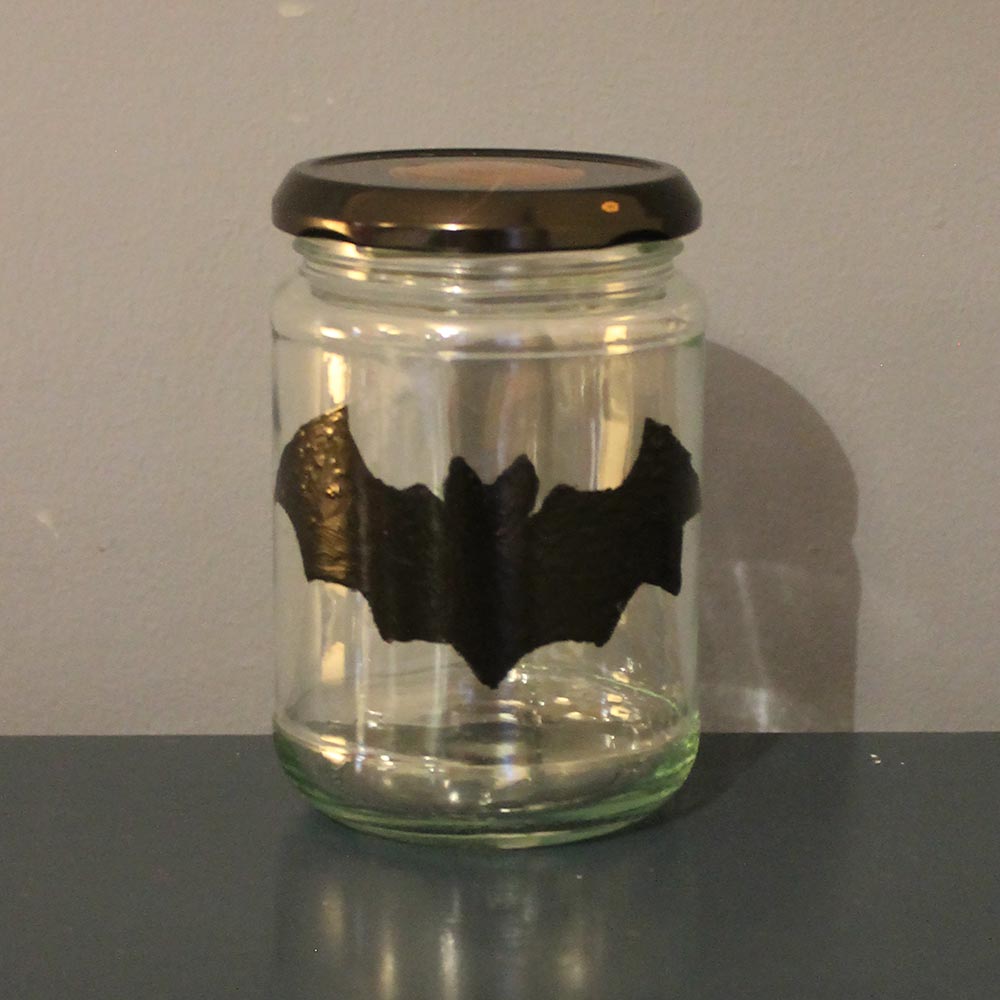
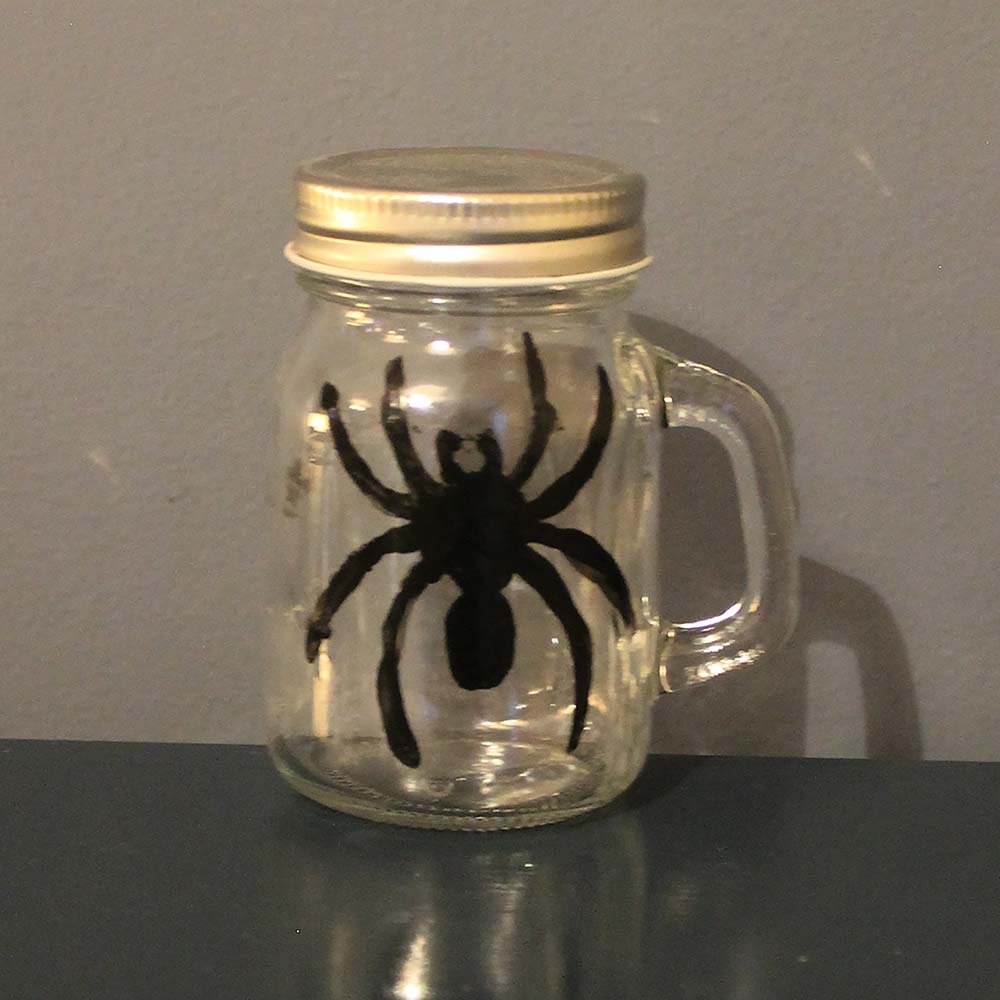
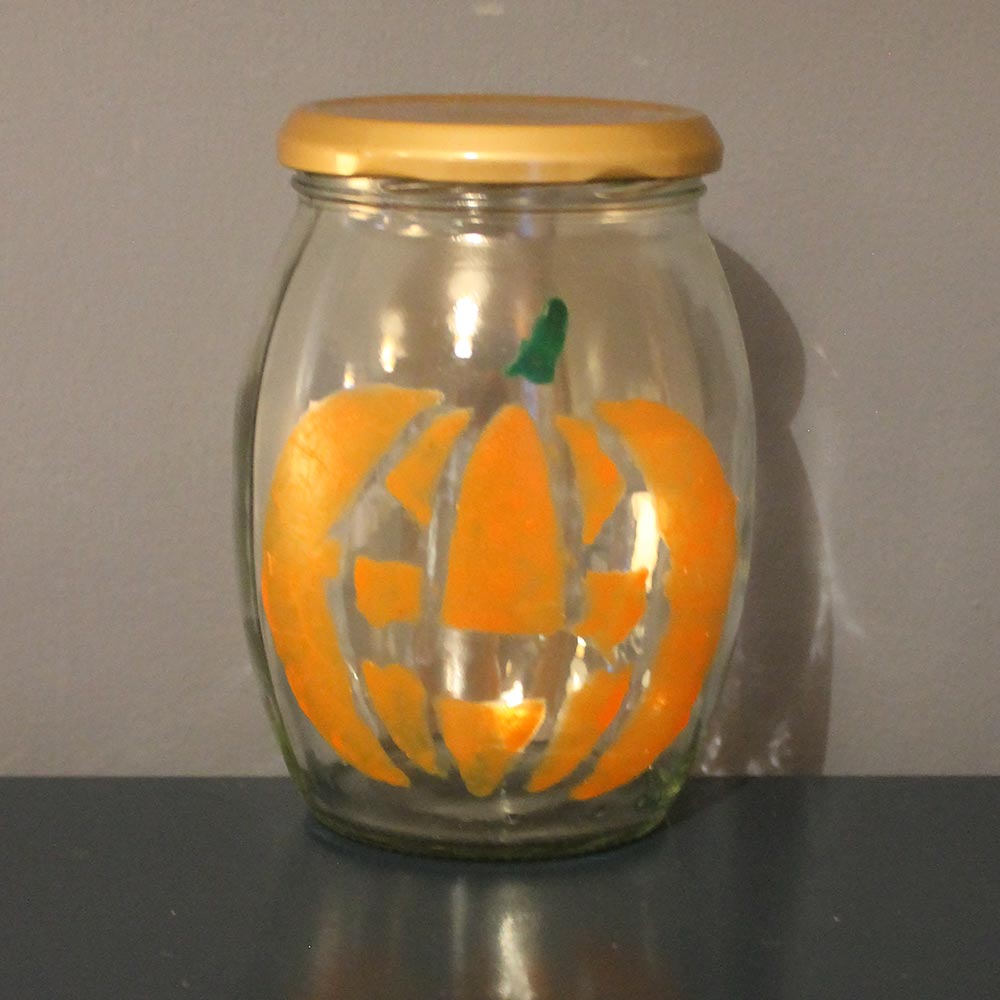
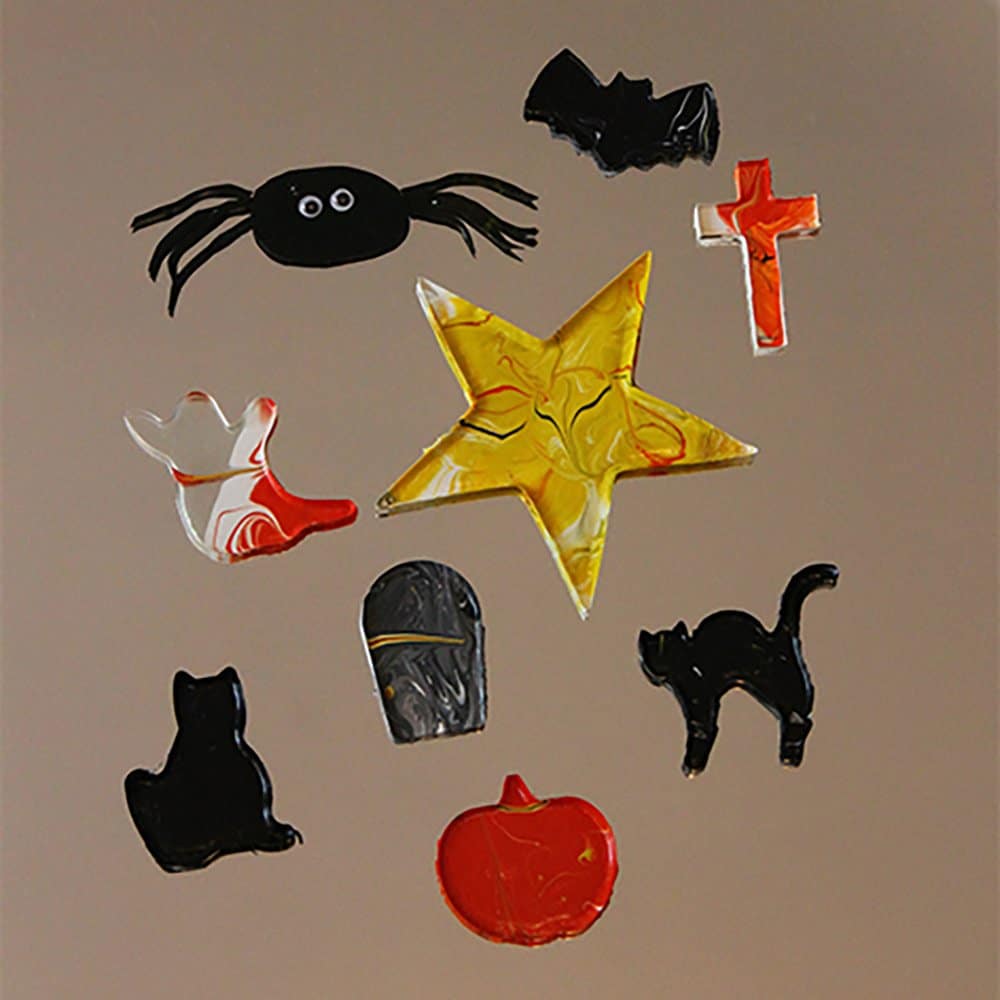
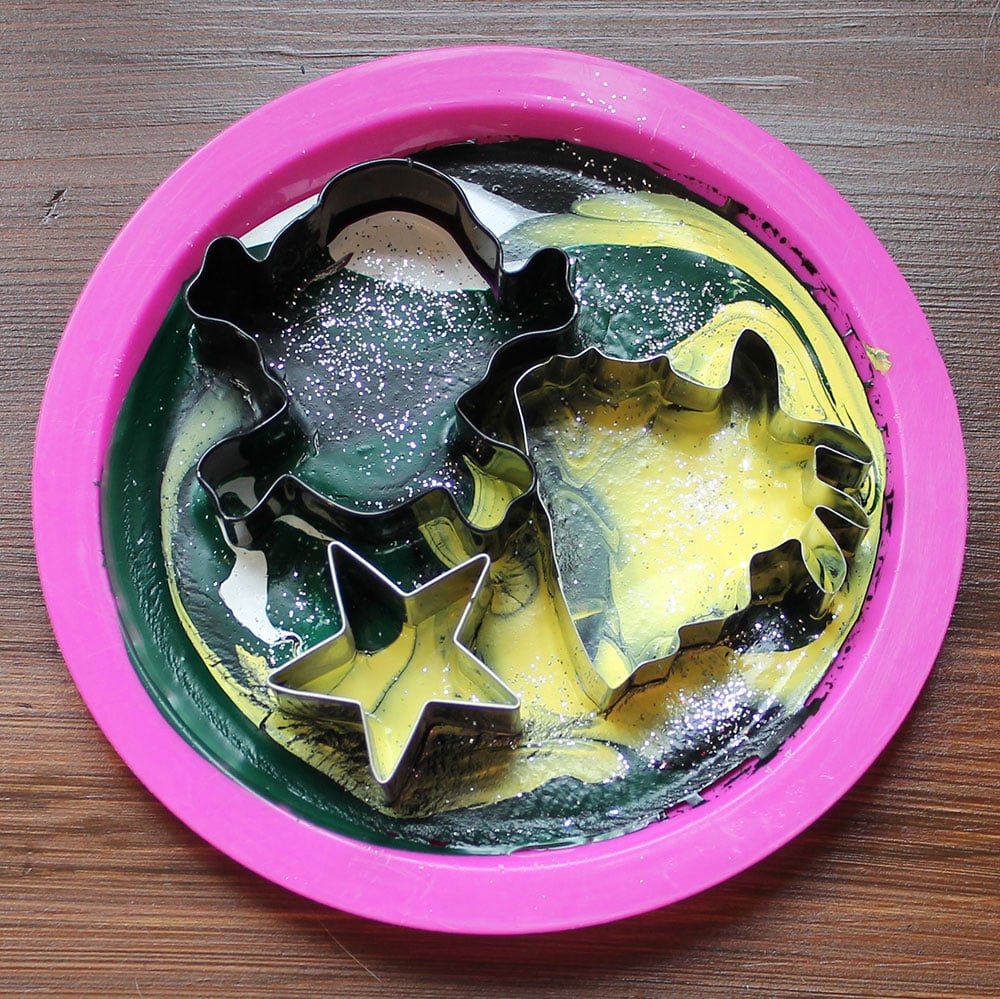
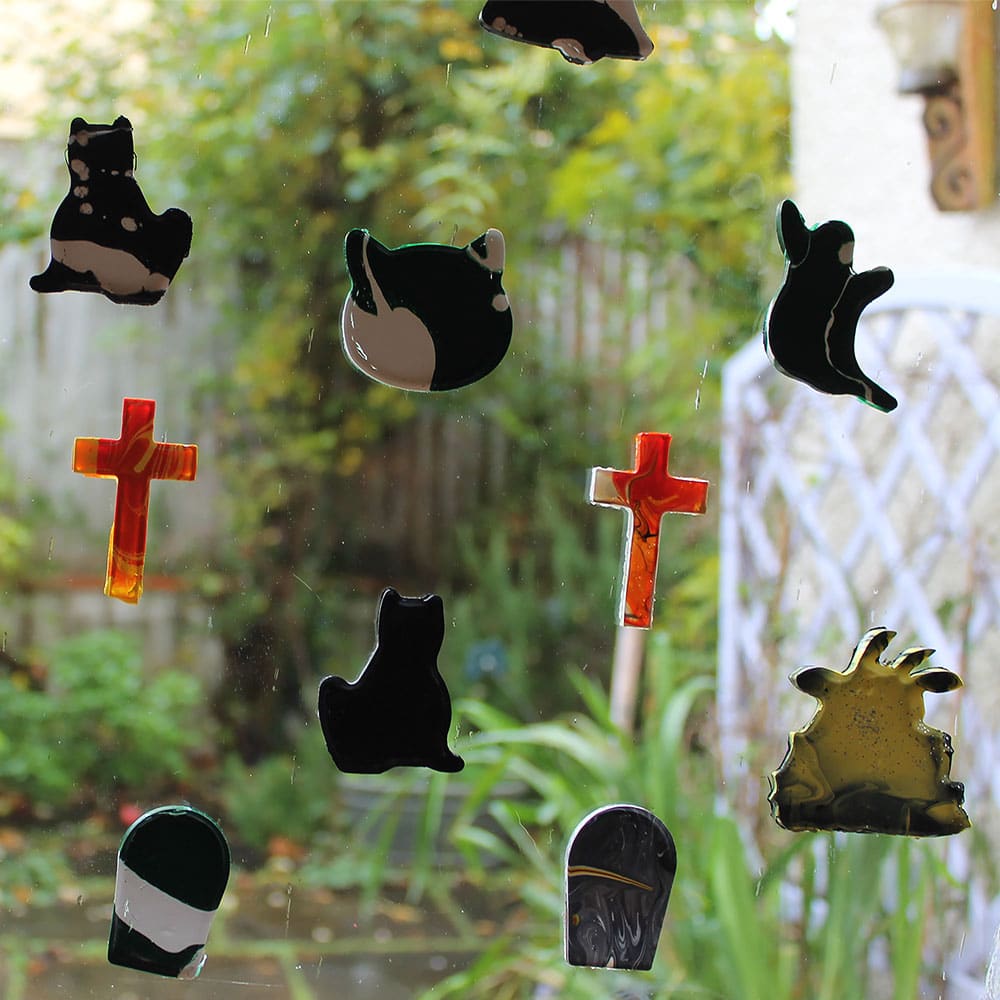
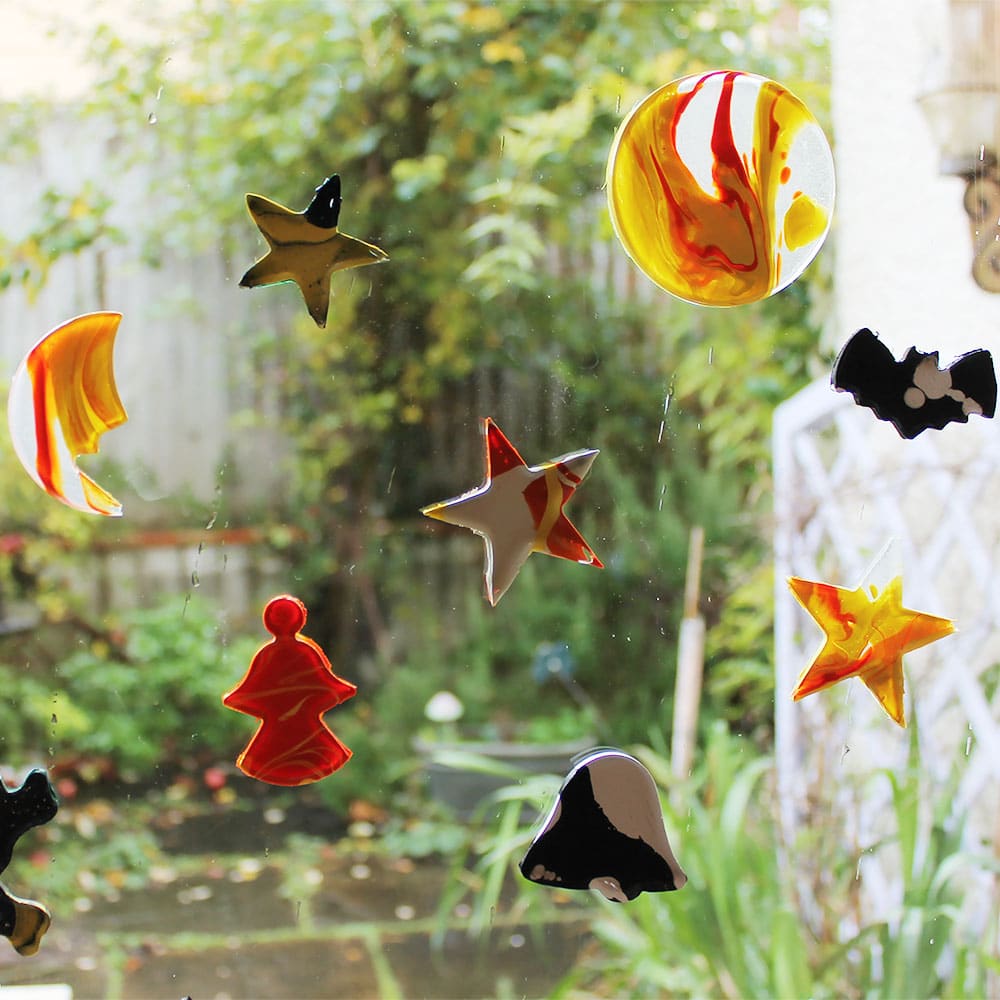
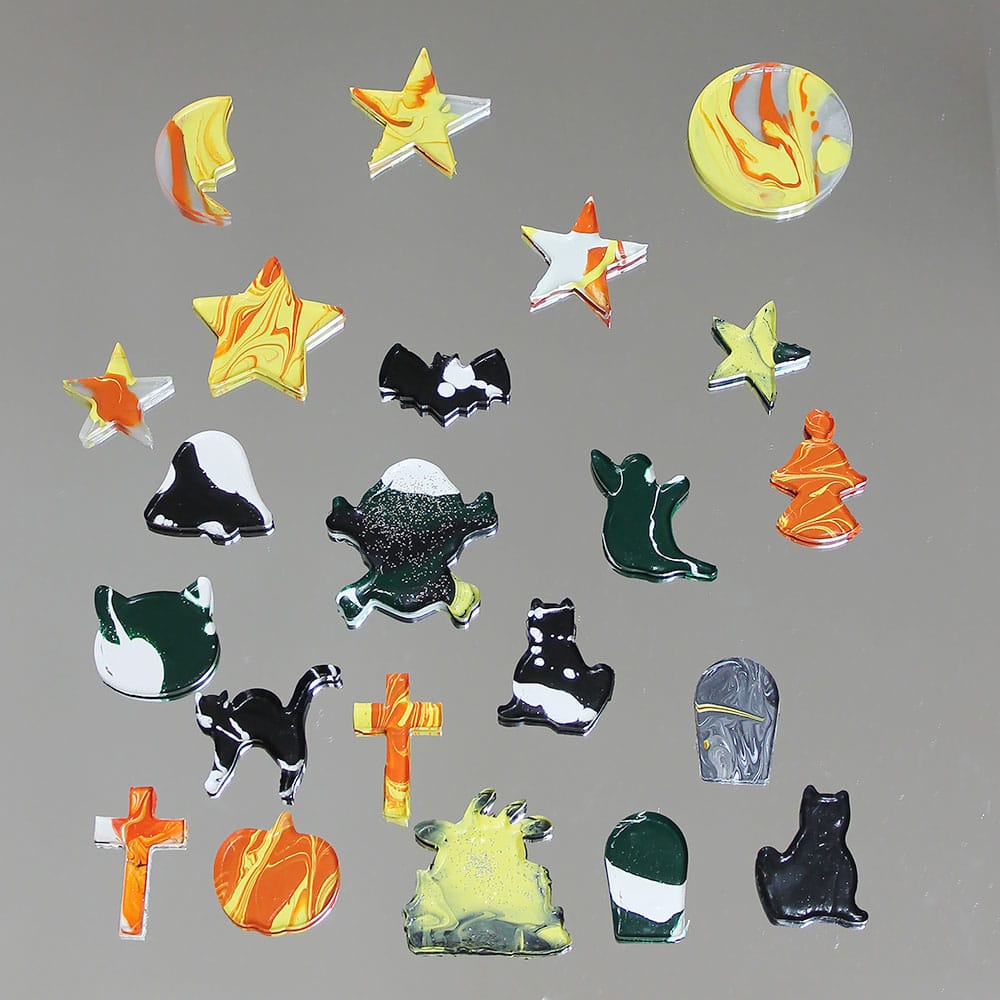
Painting Halloween stencils on Trick or Treat plastic buckets with Thorndown Peelable Glass Paint
2
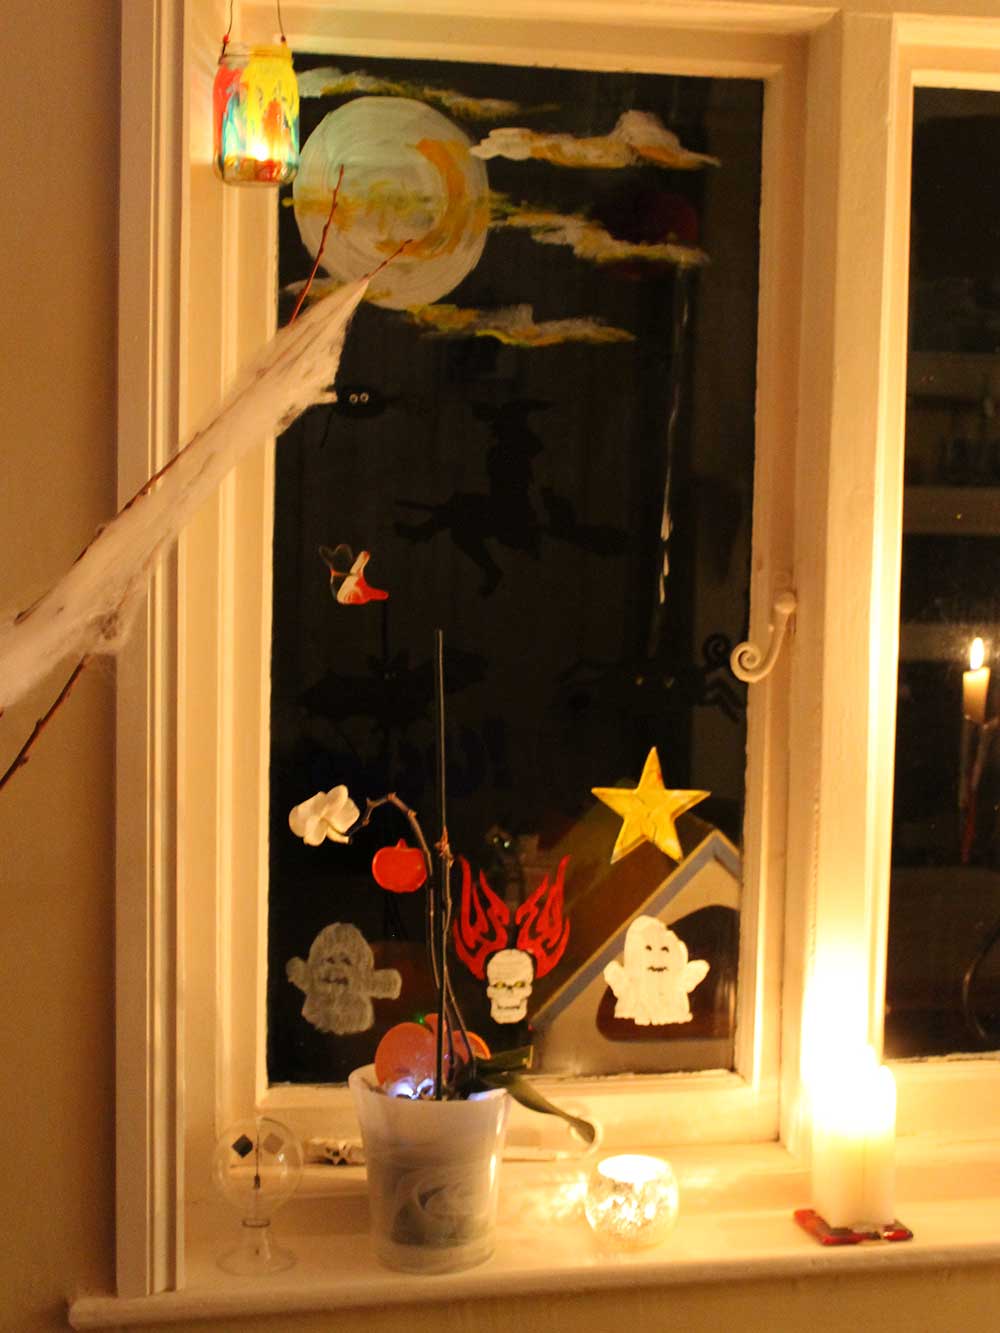
Painting Halloween stencils with Thorndown Peelable Glass Paint
3
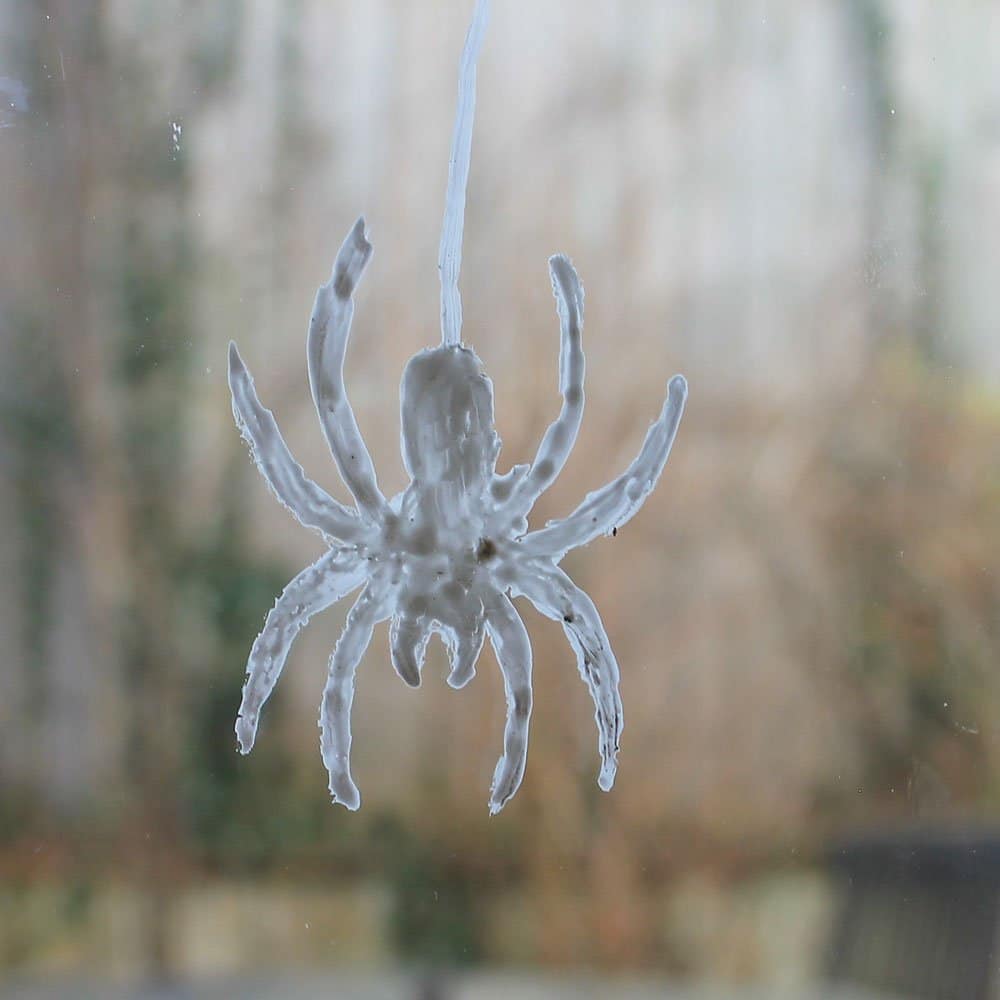
Painting stencils outlines tips with Thorndown Peelable Glass Paint
4
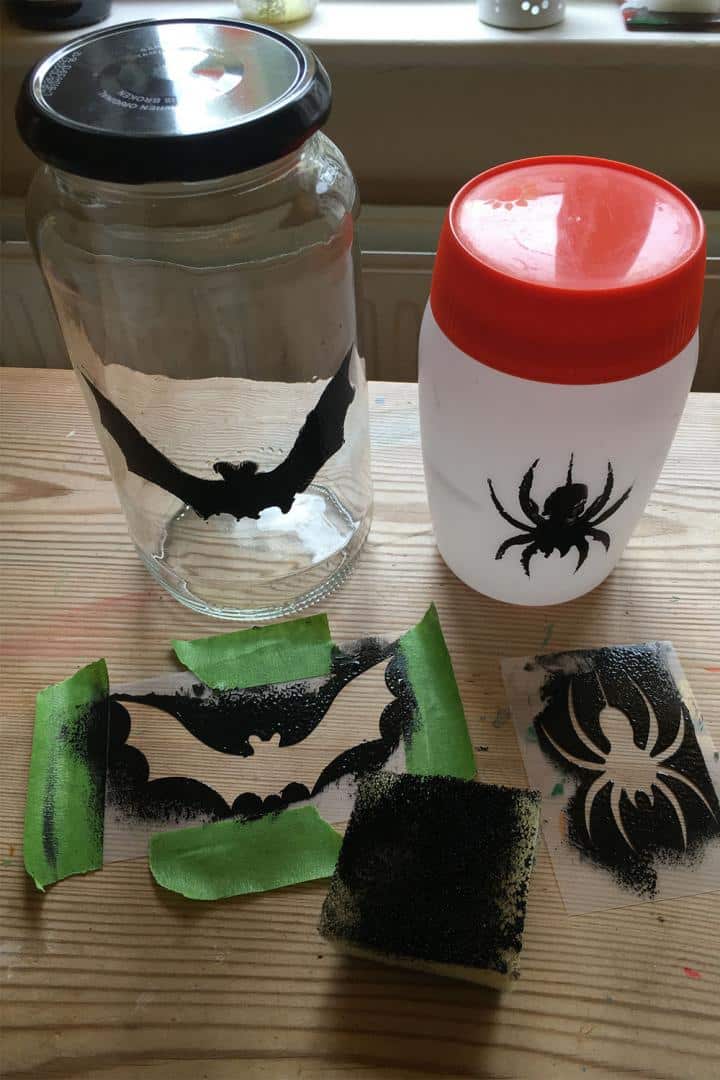
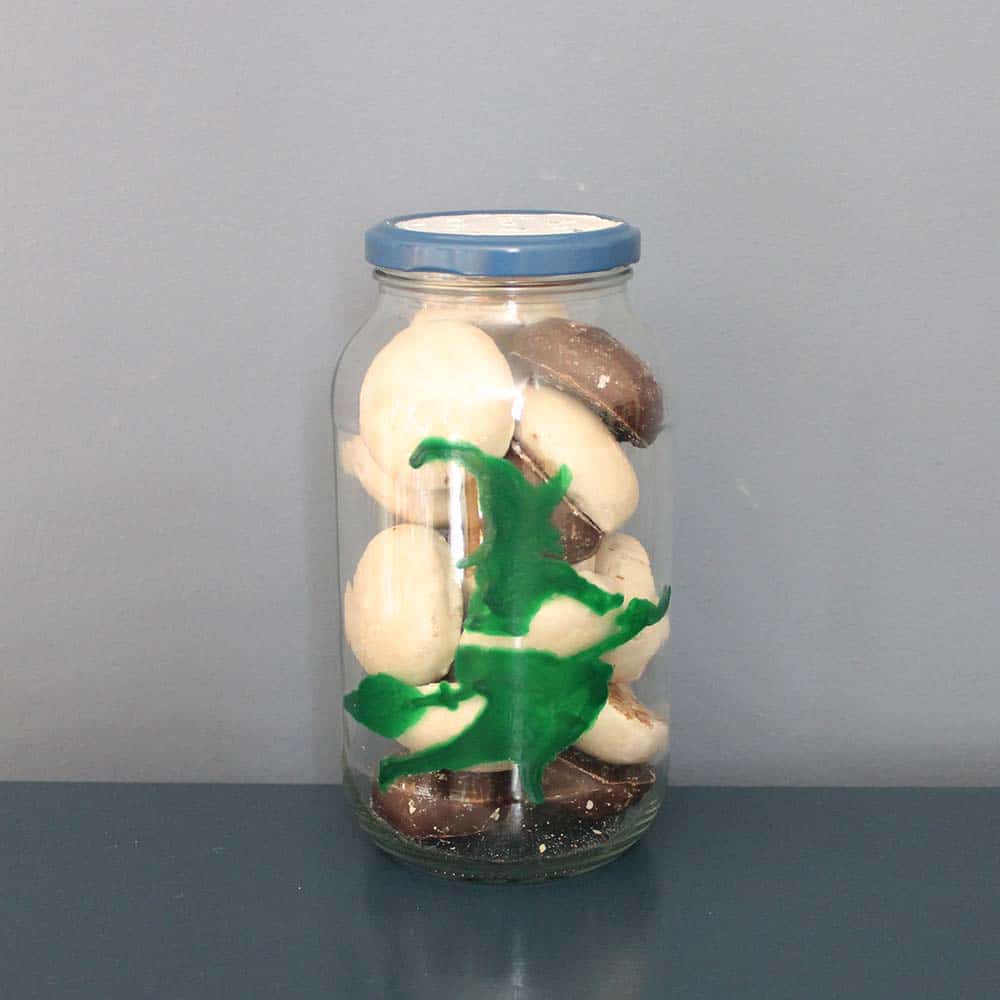
Painting stencils on plastic bucket and glass jam jar with Thorndown Peelable Glass Paint
5
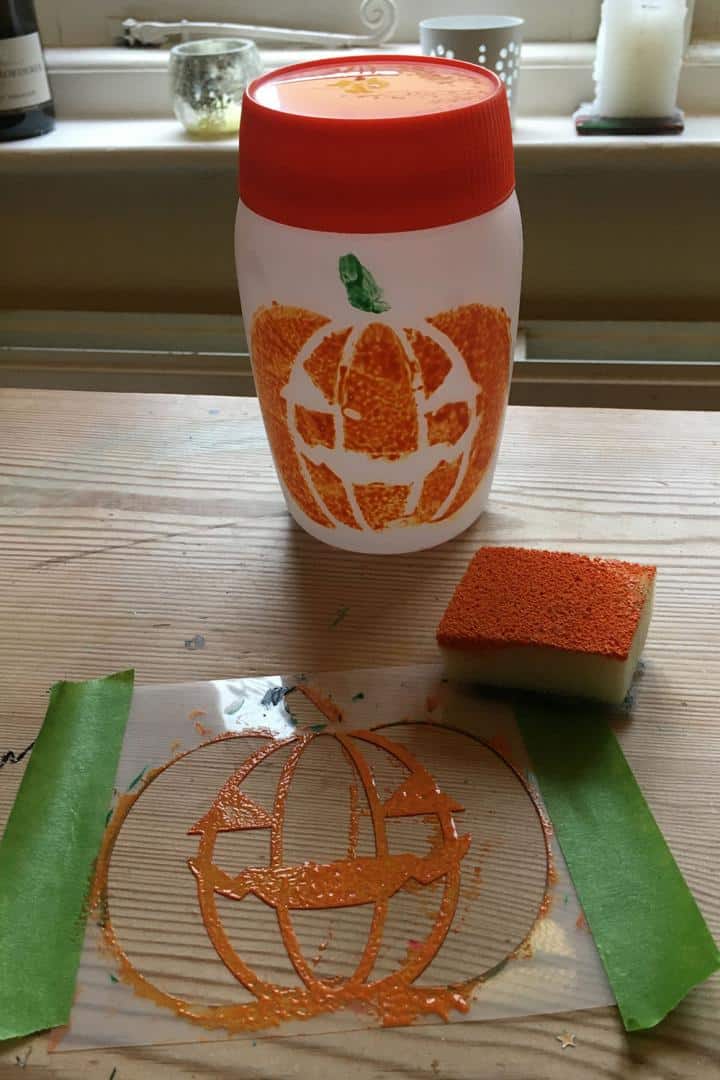
Applying Thorndown Peelable Glass Paint with sponges on stencils
6
Removing Peelable Glass Paint stencils
7
Removing thin patchy Peelable Glass Paint coats and rollered stencils