Glass paint products
 Product information
PEELABLE GLASS PAINT
SHADES AND COLOURS. THEN LEAVES NO TRACE.
It’s easy to shade, colour or transform pretty much any hard and shiny surface with Thorndown Peelable Glass Paint. Easy application and removal allows you to be as creative as you like with it. Whether you paint straight from the tin or pour into a mould, we just want it to be fun. But don’t paint yourself or your clothes as it sticks well to some surfaces.
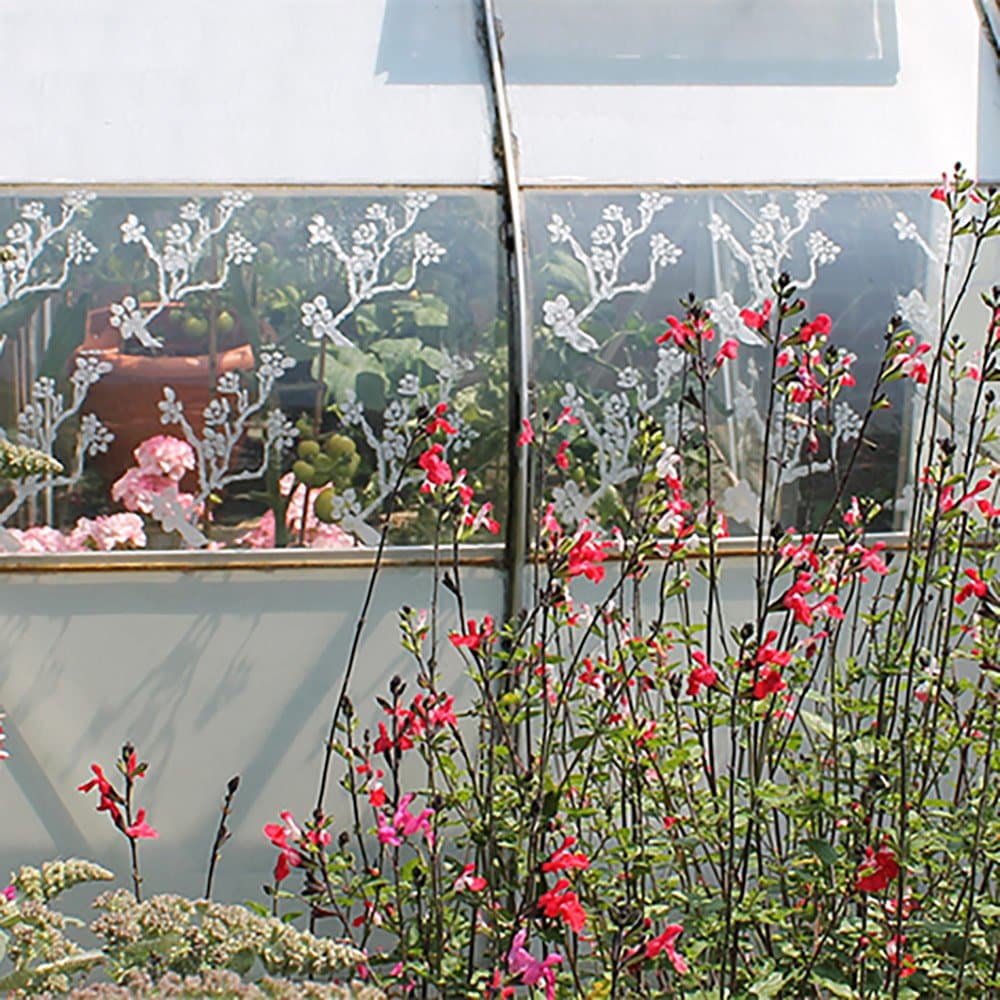
Perfect for shading greenhouses or conservatories, privacy or security screening, window decoration and arts & crafts. For shading purposes the coating works by diffusing direct sunlight so a lot of it will be reflected back out, and the light that does come through is diffused so it’s not as strong.
- Use indoor or outdoor
- Eco based – water-based eco product with minimal VOC (Volatile Organic Compounds) at 0.05%
- Made from a 100% already recycled plastics resin
- Available in 24 opaque colours and 14 translucent for arts and crafts
- The solid paint opaque peelable glass paint will block out most light from passing through the coating
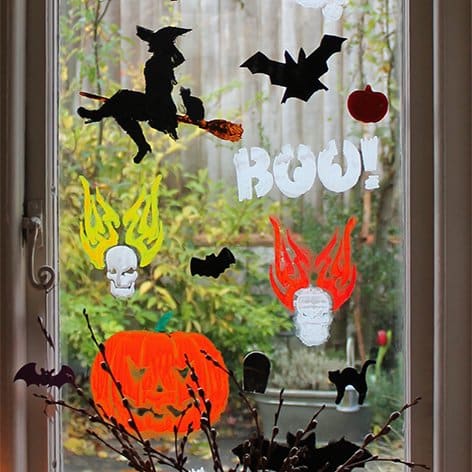
- Use stencils to easily create fun shapes and stylish patterns
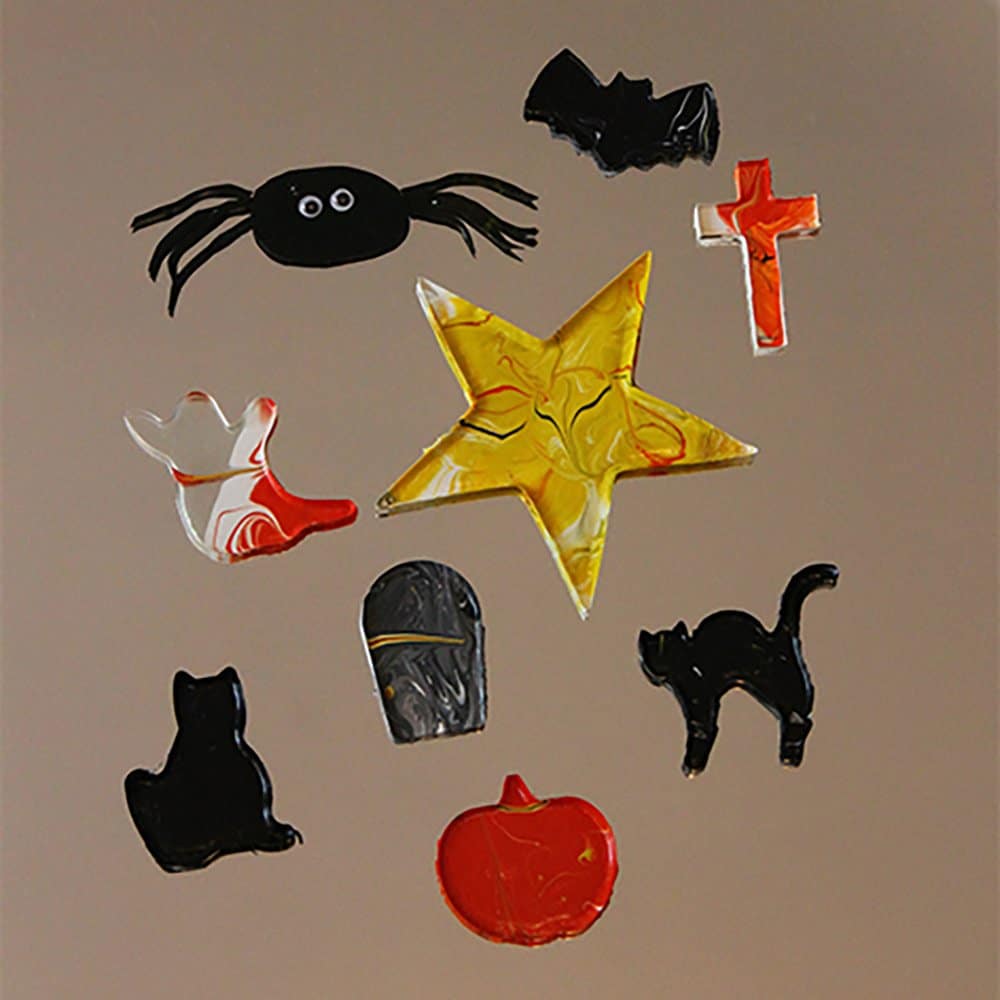
- Use a mould or tray to produce a sheet of window art to use whole or cut up or use cutters shapes
- Cut with a knife or scissors for striking effects
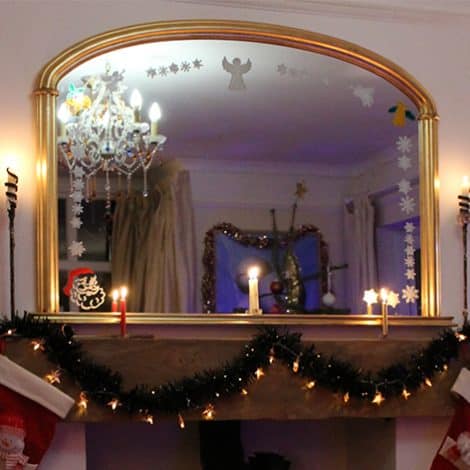
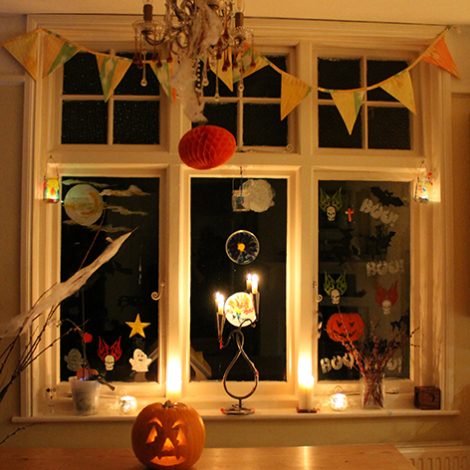
- Transform a viewless window with a creative design or your own scenic view
- Create privacy on overlooked public windows
- Effective deterrent to birds flying into or attacking
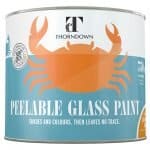
windows - Translucent glass paint allows coloured light to pass
through creating a stained-glass effect. It can also offer a level of diffused shading without blocking out all the light - Room lighting can make designs light up and glowwhen viewed externally

Application Guide
What you’ll need
Brush, roller (use a foam roller sleeve) or sprayer; whichever colours you want (or want to mix and match); imagination.
Preparation
Make sure all surfaces are clean and dry. Maybe wash with warm, slightly soapy water to ensure the best finish.
Wear appropriate clothing when handling paint as it will stain clothes.
DILUTION
For a thinner coating or a paler colour, you can add water. If you’re aiming for a lighter tint, but want to keep the coat thick and strong, mix to your liking with Thorndown ‘Clear’ Peelable Glass Paint. See our Projects page for more information and ideas.
APPLICATION
First thing to do is thoroughly mix your paint prior to painting. Paint will settle out to differing degrees with ingredients such as the resin and heavy colour pigments dropping to the bottom with lighter materials such as water and lighter colour pigments at the top. Unless you mix the paint back in properly you won’t get the right colour and the paint will appear watery.
I think paint is best ‘Shaken and Stirred’, so shake the sealed tin vigorously for about 20 seconds then stir thoroughly with a proper paint stirrer (not thin stick) for about 30 seconds. This will make sure that everything is mixed back in properly.
Avoid the rain if painting outdoors, then apply to your own brief and leave to dry. When painting externally be sure to check that rain is not forecast for a sustained period of time to allow the coating to fully dry and bond to the glass, otherwise rain can get under the coating causing slippage. When coating large areas, paint up to still-wet paint, as applying over dry paint can make things look uneven.
For best results when shading use a roller with foam sleeve. Roller on in a straight line and apply the next line up to the edge of the previous – imagine you’re mowing neat lines into a lawn! Head over to our Videos page for short clips showing how to apply by roller.
Peelable Glass Paint creates a durable coating that can be applied to any shiny surface including acrylic and polycarbonate greenhouse and conservatory glazing. The paint does dry out quicker on polycarbonate as opposed to glass if it’s in direct and strong sunlight. Best tip for this is to apply a nice thick coat(s) – the thinner the coat the quicker it dries out and the thinner film will be formed making it harder to peel and quicker to dry out. Remove it as soon as you no longer need to shade young plants. The longer it’s left on for the more it will dry and the harder it will be to remove. We do not recommend using a paint scraper on polycarbonate or other types of plastic glazing as they can scratch the surface.
Below are projects and videos showing you tips and advice on how to use Peelable Glass Paint for greenhouse shading. For more tips and advice on When and How to Shade a Greenhouse please follow this link. Painting externally in spring weather (or autumn to winter) can be challenging so please see our special guide to Application. There is also a whole section on Greenhouse Shading Projects full of tips and advice.
We do not recommend painting Peeable Glass Paint on an external horizontal surface such as a glass patio table top. Although Peelable Glass Paint is durable and water-repellent, it is designed to peel off. A painted coating on an external horizontal surface is put under a lot of stress from rain, sitting water, and changes in temperature that can affect and breakdown the coating.
For glass patio tables paint the underside using a paint roller with a foam head if possible as this gives a cleaner, more even coating than using a brush. Paint on a hot dry day with no rain forecast for at least 24 hours, or paint somewhere dry inside. If you want to apply a second coat wait at least 24 hours for the first coat to thoroughly dry and cure/bond properly to the glass. The coating may appear and be touch dry, but painting on a second coat too early can cause damage to the first coating. Leave for 24-48 hours before putting outside and try to avoid putting it out into heavy rain so that the glass and coating has time to acclimatise.
COATS
One coat will do the trick, no problem, but additional coats can enhance colour and increase shade and opacity. Make sure your coat isn’t too thin or it will make it difficult to peel off.
Further coats will increase the solidity of the coating. When applying a second coat leave the first coat to cure properly before applying a second. The first coat may be touch dry but will still be curing/bonding so 2-4 hours in hot dry conditions for small arts & crafts projects will be enough.
For larger expanses such as panes we would recommend longer drying times. If you are applying a 2nd coat to external panes whether on the interior or exterior, then you need to allow a greater period of time for the 1st coat to bond and fix properly. We recommend leaving to dry for 24 hours before applying a 2nd coat and in cooler damper months such as early spring, late autumn and winter, leave the 1st coat for 48 hours before applying a 2nd coat. If the 1st coat hasn’t fully fixed and you apply a 2nd coat too soon, you are making the 1st coat wetter, extending the drying time greatly and can destabilise the coating leading to slippage or breakdown/cracking You can download a pdf with special Application Advice here.
DRYING
A single coat is touch-dry in an hour or two. If you want to apply a second coat to increase the solidity of the coating, wait for the first one to dry fully as detailed above. Allow plenty of time in dry, fine weather for the paint to dry and bond properly to the glass. Painting externally in high humidity and incoming rain can lead to the coating slipping.
CLEANING UP
Use hot or cold water, with or without detergent, on paint-wet equipment.
Be very careful not to allow sprayer nozzles to dry out – this will make cleaning them almost impossible!
DISPOSAL
Please, please don’t throw away unused or dried paint into drains or watercourses. Most local authorities have free facilities for disposing of paint and coatings. When you’ve peeled off the coating you can send it back to the factory in Glastonbury where we are working with local partners to be able to recycle/re-purpose.
All of the packaging we use is fully recyclable.
- Box – made from FSC cardboard and fully recyclable
- Internal packaging – loose starch fill is biodegradable and compostable. Moulded tin protectors are made from recycled cardboard and are fully recyclable
- Tins – wash them out and they’re fully recyclable
COVERAGE
You’ll paint up to 12 square meters of glass (one coat) with one litre.
- 150 ml up to 1.8m²
- 450 ml up to 5.4m²
- 750 ml up to 9.0m²
REMOVAL
When it’s time to remove the Peelable Glass Paint coating, just pick at a corner to bring up a piece of the coating, hold between your fingers and peel. The whole coating should come off in one sheet.
If the coating is thin and/or dried out during hot weather, dampen thoroughly with water to restore the elasticity of the coating, leave for about 10-15 minutes then peel off. Drying out can happen if left on for a long time over a long season and polycarbonate and acetate/plastic materials can be more prone than glass.
Alternatively if you have any leftover Peelable Glass Paint, apply another coating on top, leave to dry for 24-48 hours so it bonds to the old coating, then peel all coatings off in one go.
If the coating is thin and patchy such as with small stencils, then it may be easier to remove with a paint scraper. Structural integrity of the coating is essential for it being able to peel off. We do not recommend using a paint scraper on plastic materials as they can scratch them.
If the above methods don’t work you can use a soap solution with a high ph value, like a dilute alkaline soap solution. We have found that household kitchen bleach sprays also work well. Soak the coating with the solution/spray and leave to work for 5-10 minutes, then you should be able to wipe the old coating off with a cloth.
You can view a raft of videos by clicking on this link to help you see how easy removal is with tips and advice. Download this Thorndown Peelable Glass Paint Removal Advice Sheet for easy reference.
MARKING
 On some cheap plastics and perspex a ghost shadow/etching effect can be left on the surface once the Peelable Glass Paint is removed, so do test a small area first if in doubt. The shadow it leaves can be a decorative feature on its own, looking a bit like glass etching!
This shadow was left on the plastic/perspex wall of a cheap windowsill mini-greenhouse from a well-known and loved Scandinavian store. You can either leave it as a decorative image or paint over it.
TIPS
Some coated external glass can repel the Glass Paint coating. Check a small area first to make sure it’s sticking/bonding well. If it’s being repelled it will disappear into itself. Clean again thoroughly with plenty of water and dry to remove the material that is causing paint to repel. Building the coating up in layers can also get around this problem, or adding glitter to the paint can help with surface tension and aid paint bonding to the glass – particularly helpful at Christmas time!
If the coating is thin and/or has dried out after being left on for a long time, apply plenty of water to the coating to restore its flexibility enabling you to peel it off.
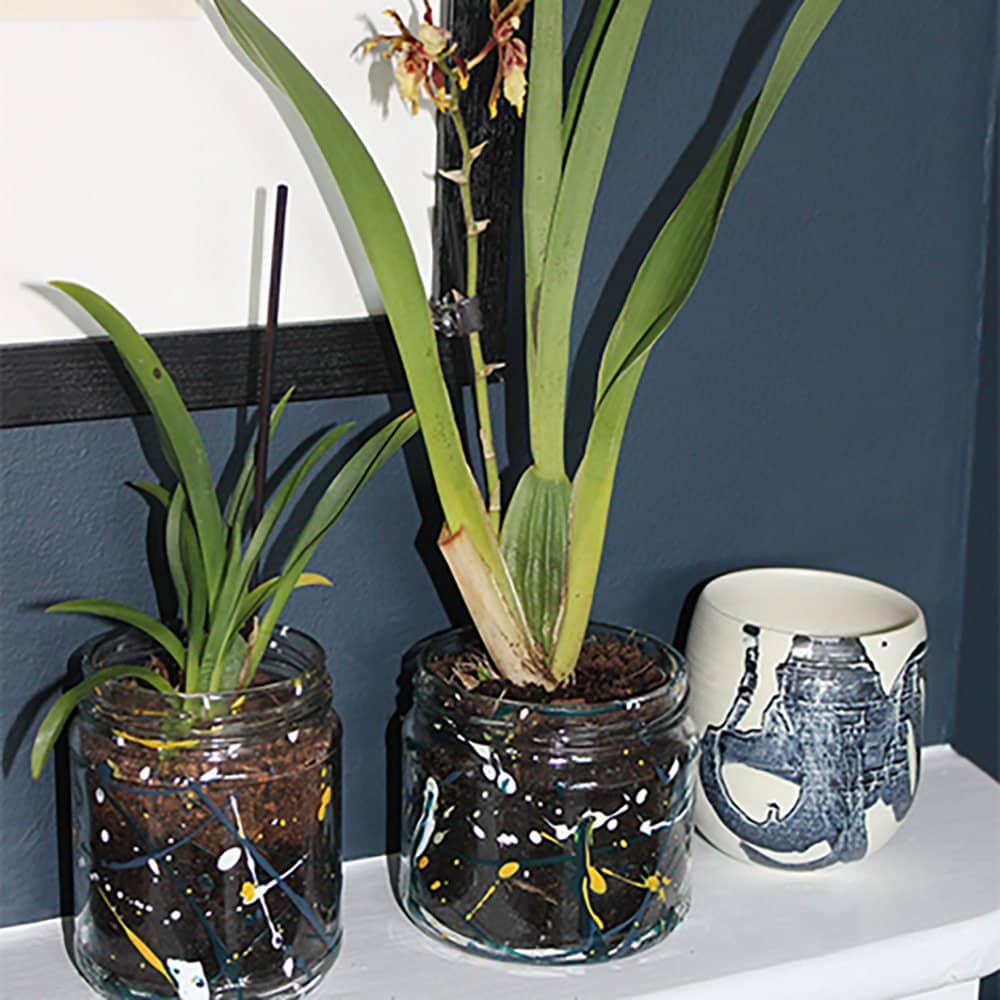
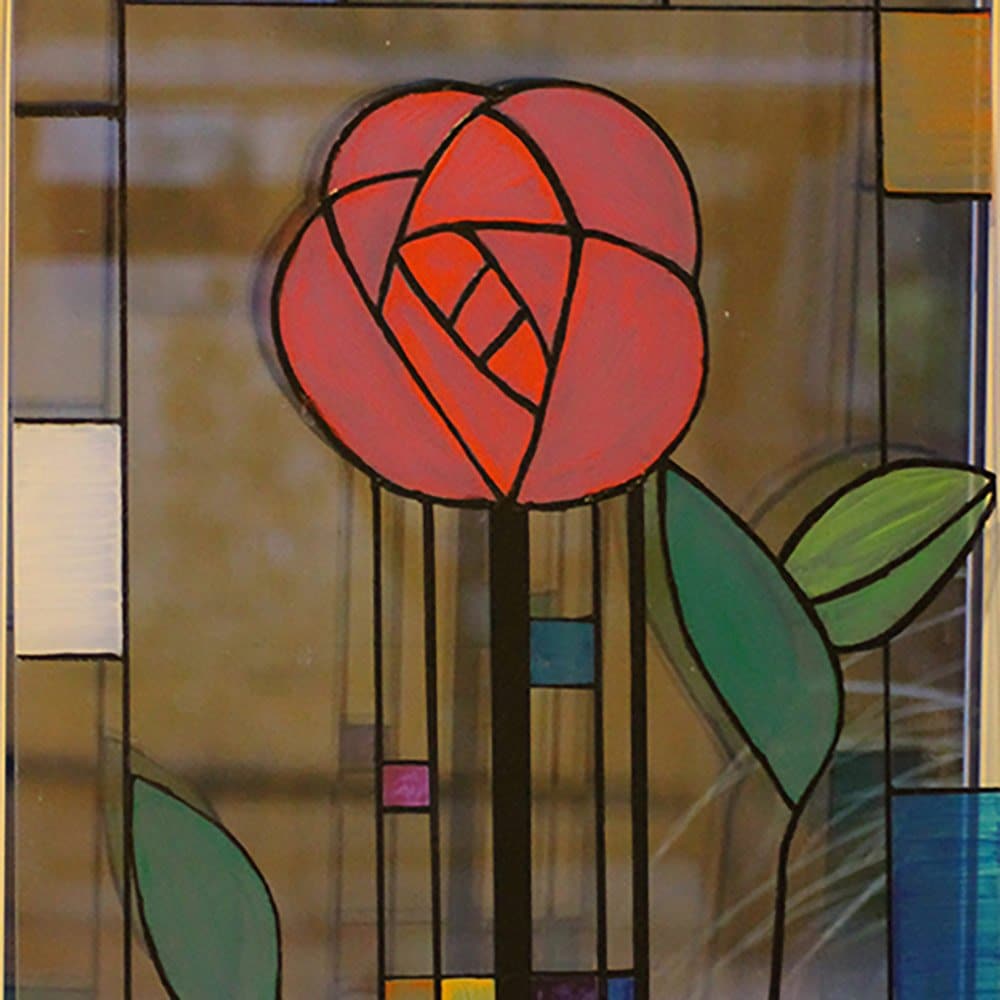
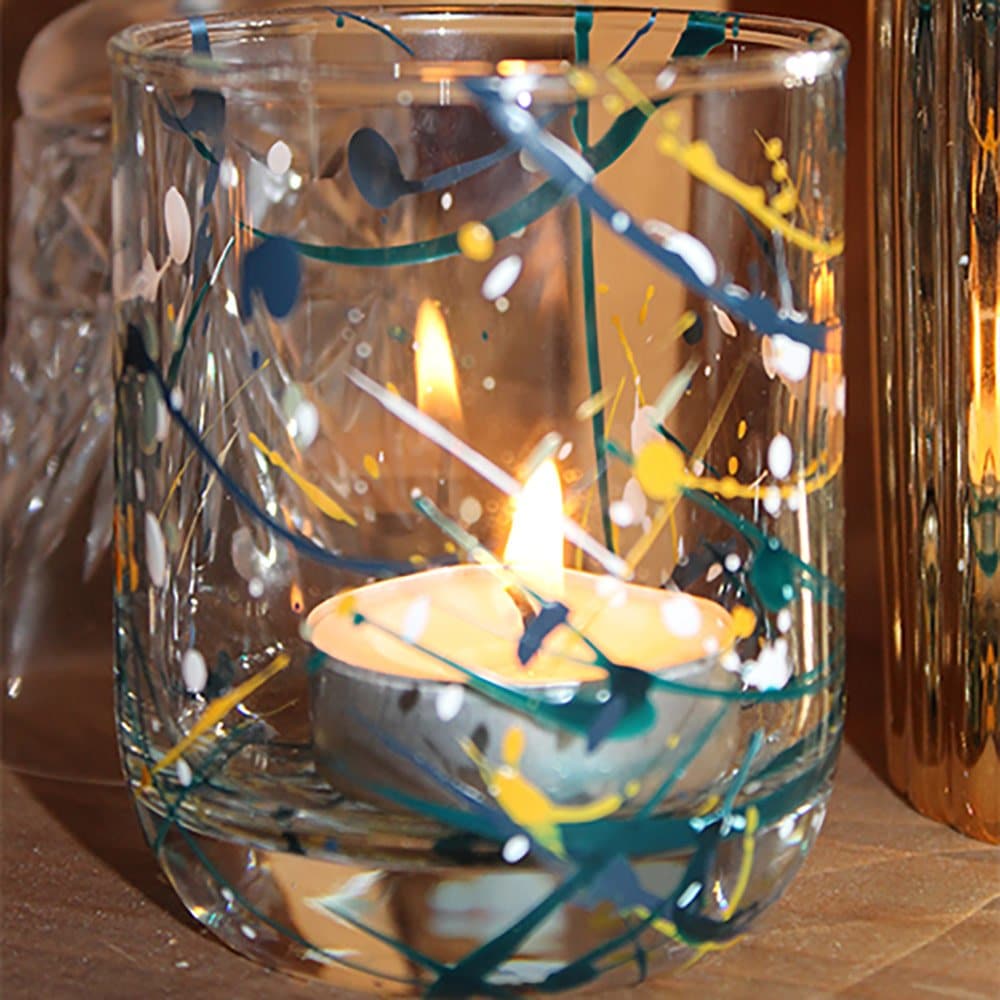
STENCILLING
This is a great way to re-use old plastic and glass bottles and glass jars. Plenty of craft ideas and stencils are available in books and the internet, giving endless ideas. Old jam jars can be transformed into pretty tea-light holders or plant pots, and plastic bottles and containers can be turned into anything from a snow-globe to a re-usable liquid soap dispenser decorated to match the decor of a room.
When stencilling just put a small amount of glass paint on the brush and apply with a dabbing motion, helping to avoid paint bleed under the stencil. For some designs a smooth diagonal brushing action works best. Any smudges can be scraped/peeled off with a finger or DIY paint scraper to tidy up messy edges or mistakes.
If using stencils or masking tape (Frog Tape is best!) remove tape and stencils soon after painting when it’s still wet, otherwise dry(ing) paint can be ripped off. When applying masking tape be sure to press down firmly to make sure it is sealed to the surface with no air bubbles or gaps that can lead to bleeding at edges.