
Building, Preserving & Painting a Greenhouse
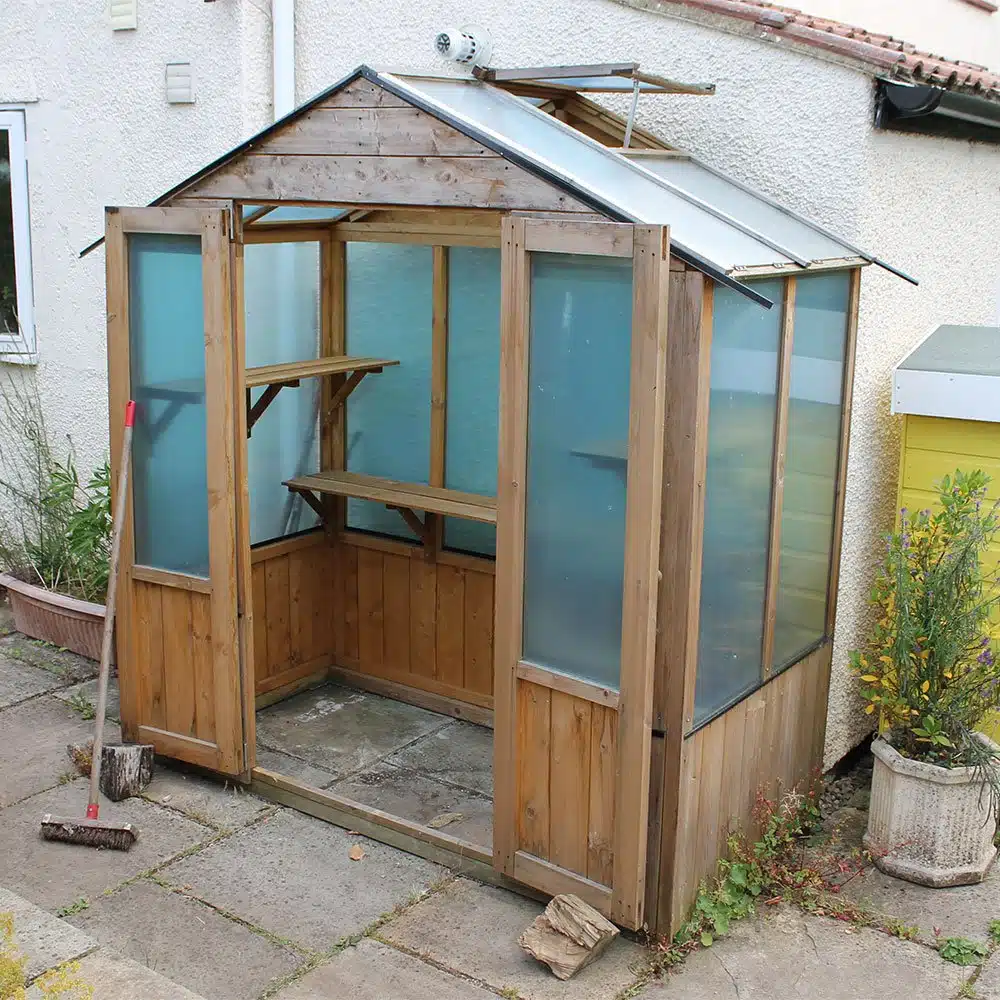
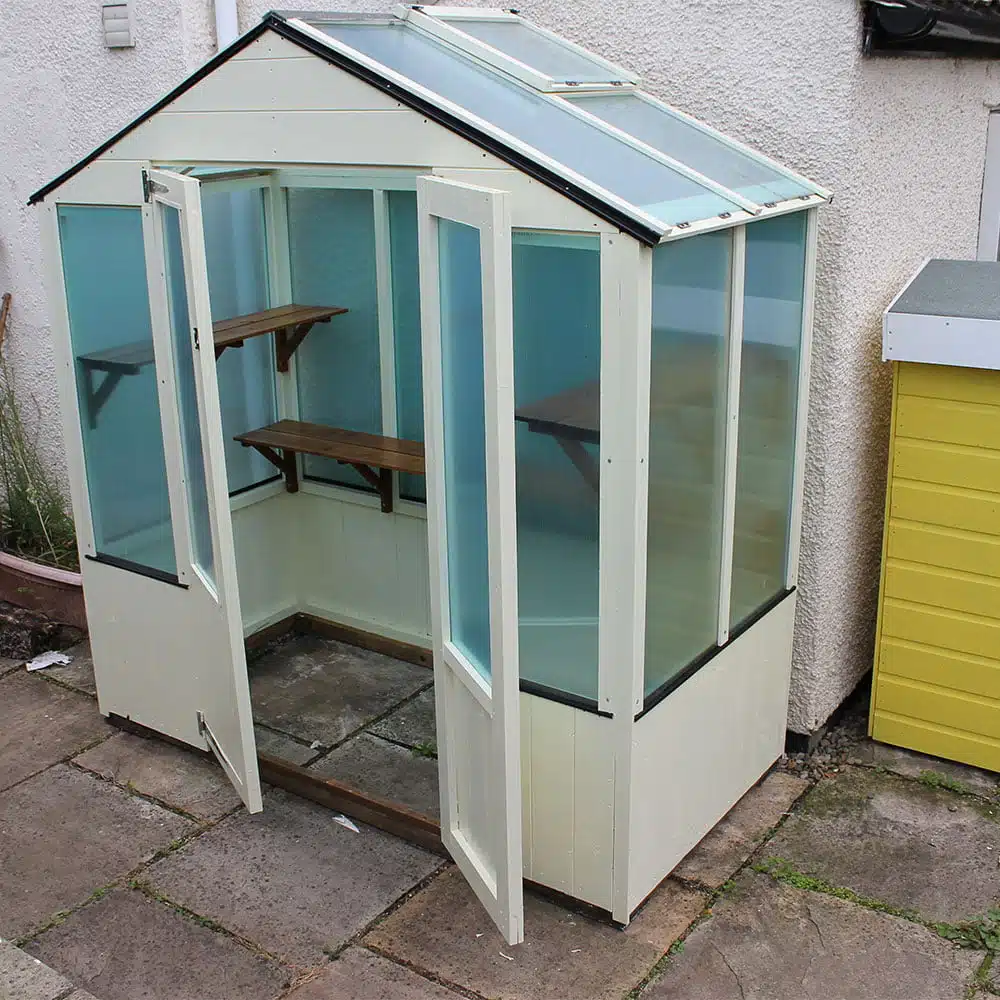
Getting a greenhouse can be one of the most exciting times in a gardener’s life – it certainly was for me! We selected a fairly low price option from a company that we knew and trusted, and soon took delivery of our BillyOh Polycarbonate Greenhouse.
The first stage in construction is to select an appropriate site to build on. I chose the back wall of our utility room as it was paved, providing a good firm base, was in a position of good levels of sunlight throughout most of the day, and fitted perfectly leading out in to the garden.
We thoroughly cleaned the paving slabs and got rid of weeds growing in-between the paving slabs. The instructions were really good and between the two of us the build took a very leisurely weekend to complete.
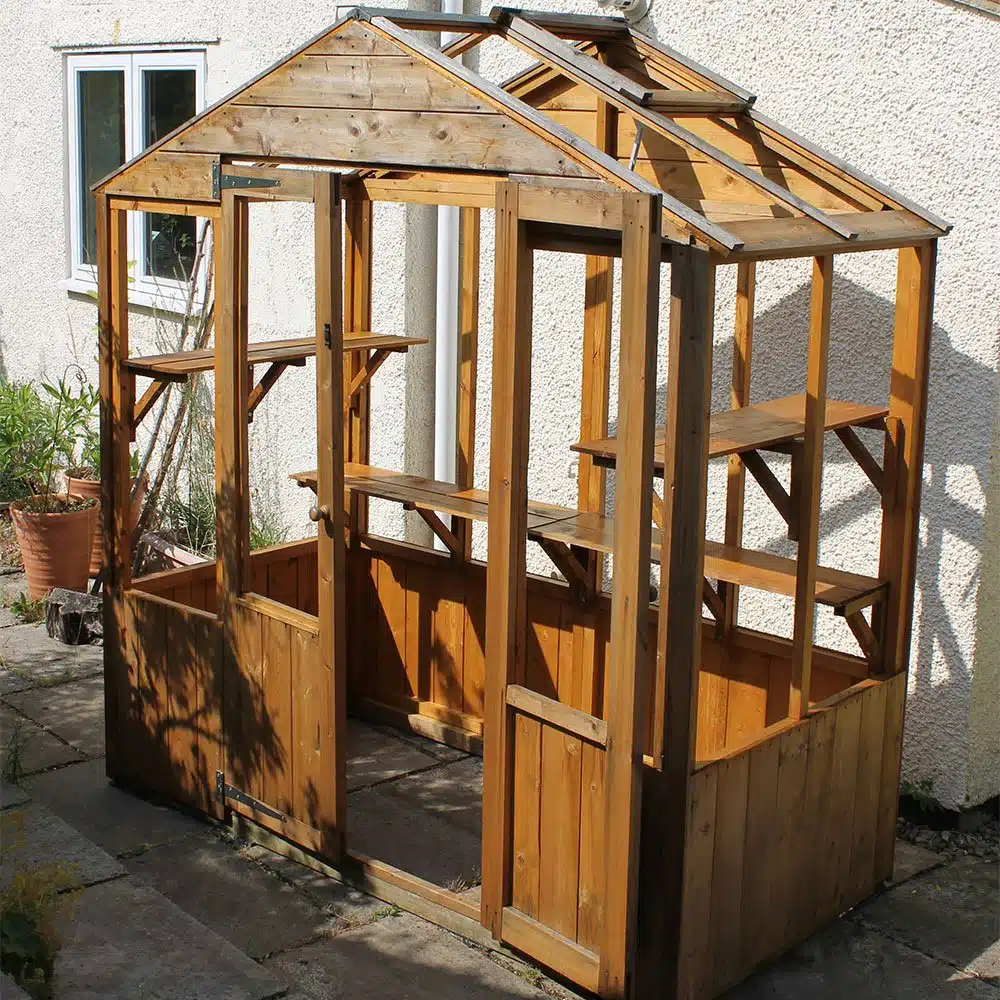
With these type of softwood timber constructions, the wood is pre-treated with a dip product that will protect against rot for a fairly short and limited period of time. It’s good practice to apply a Wood Preserver after construction and before putting in glazing as you can easily get to every nook and cranny.
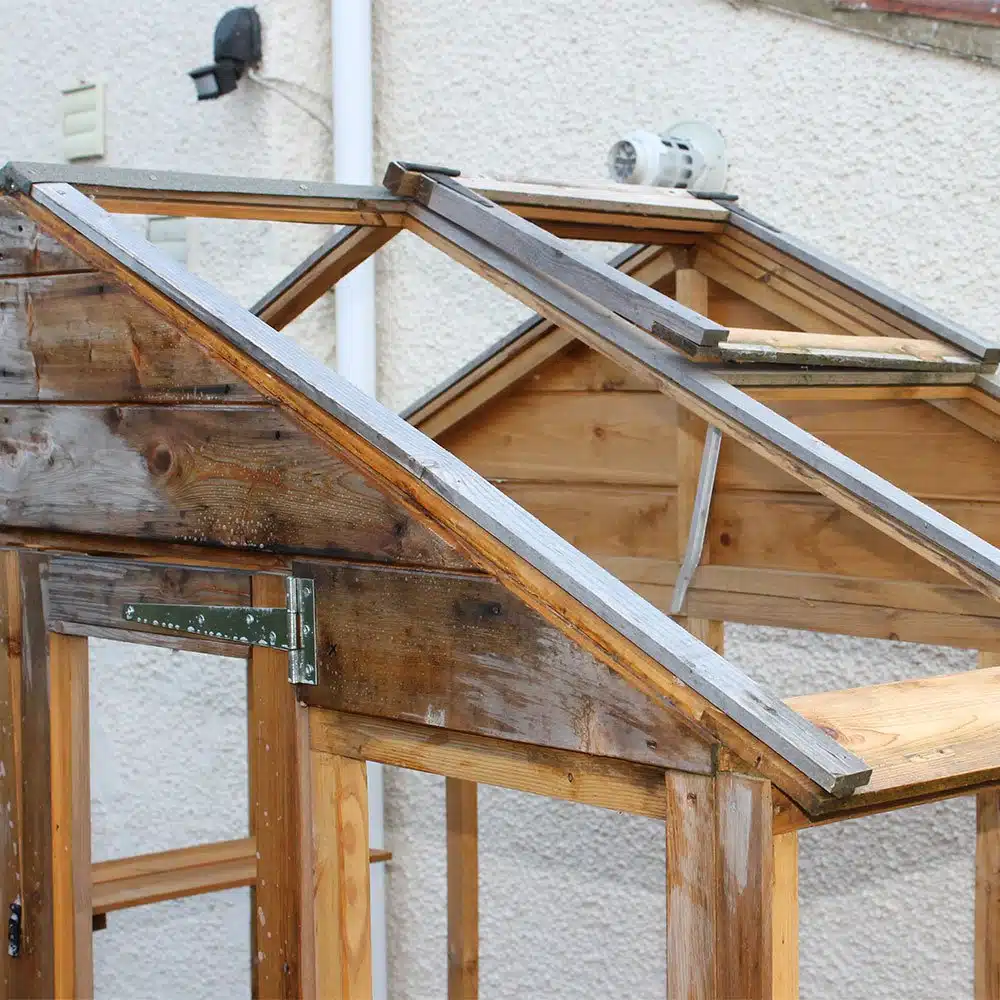
Obviously we didn’t take our own advice and left it to the harsh winter elements that can lead to the timber frame mis-shaping. Even low levels of sunlight over the winter months faded the treatment and timber to a messy patchwork of grey and orange. Left like this the timber would have slowly deteriorated and rot set in so we went about properly looking after our lovely little greenhouse.
PRESERVE
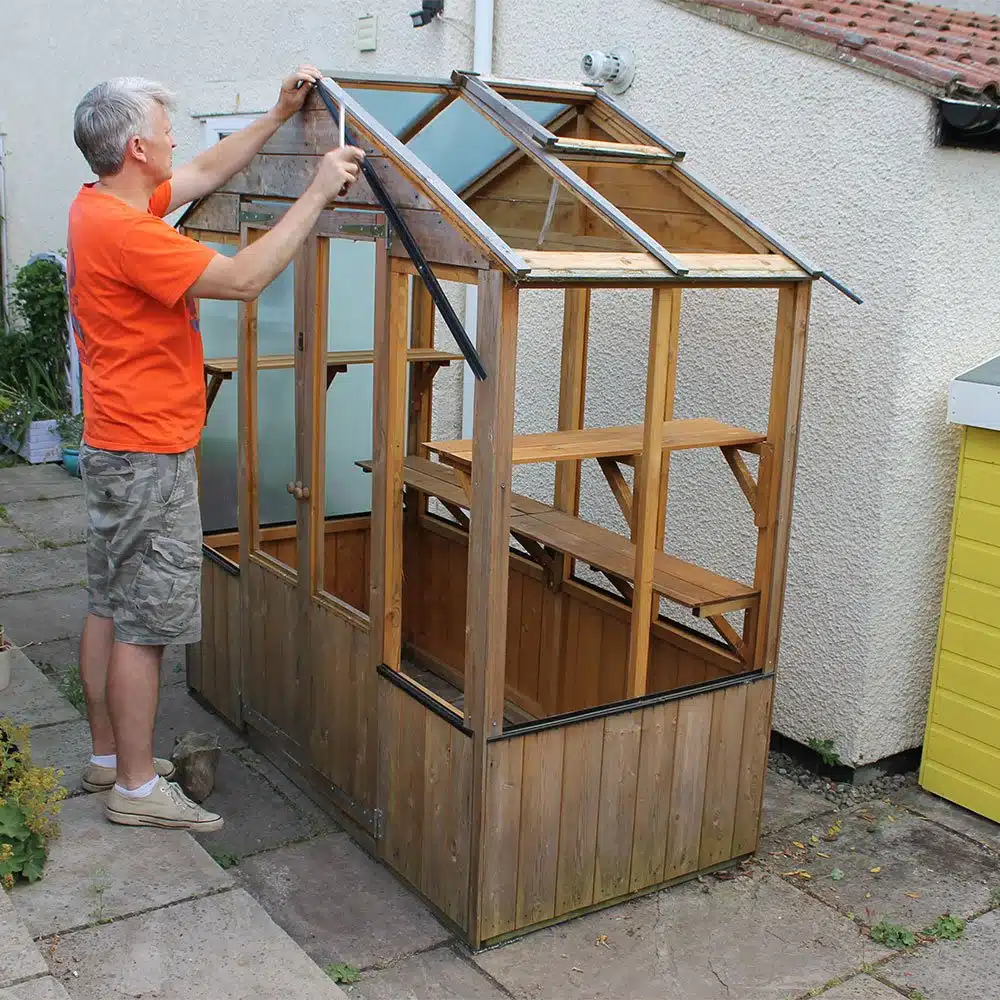
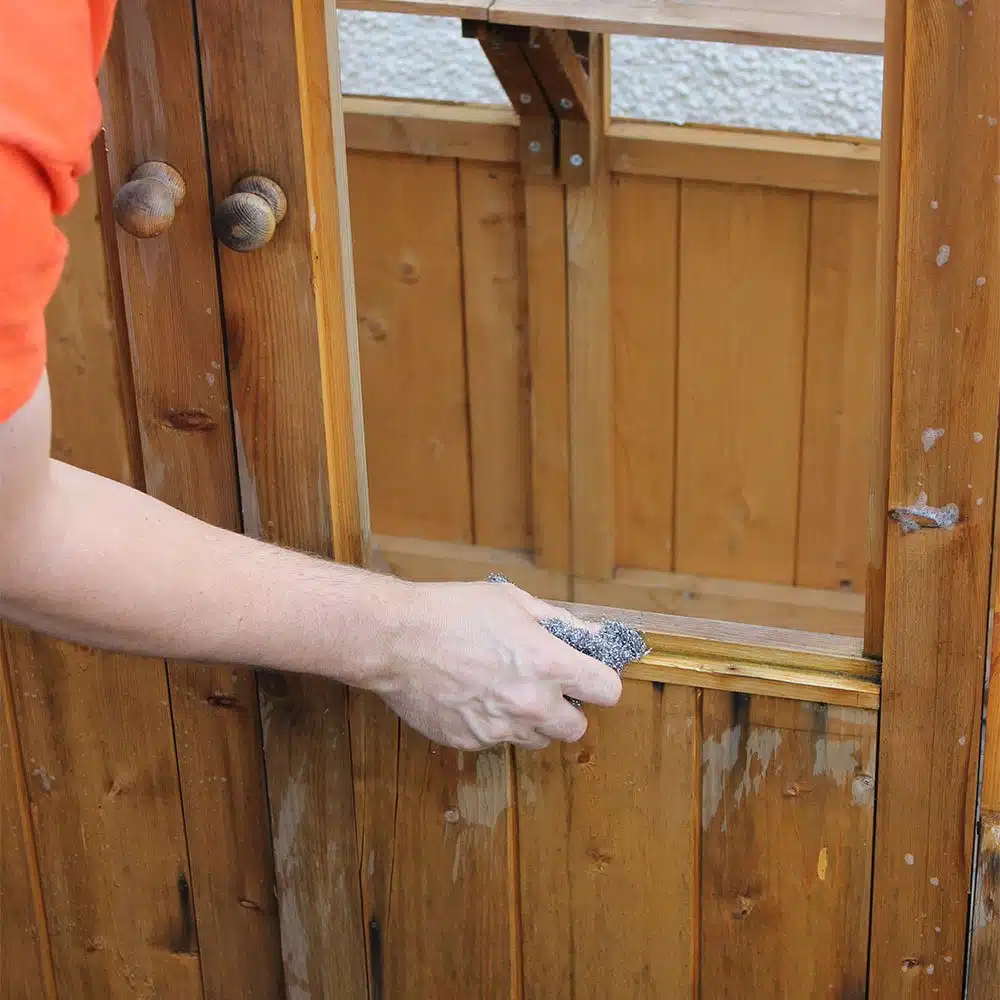
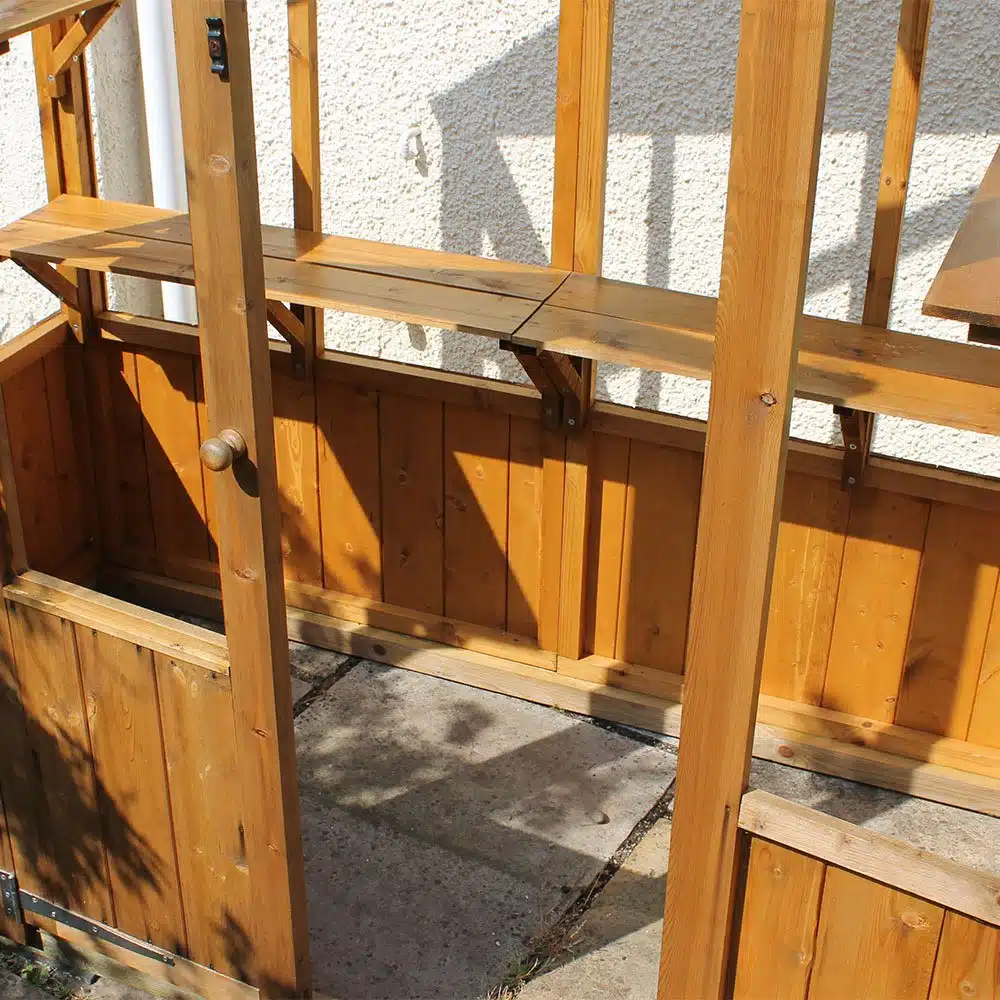
First we had to remove all of the plastic trims and polycarbonate glazing. Next was thoroughly cleaning all of the dirt and spiders webs with soapy water and a scrubbing brush. Stubborn pieces of dirt and algae were removed with wire wool. If you don’t remove these pieces of dirt then they will block the preserver from penetrating into the timber properly.
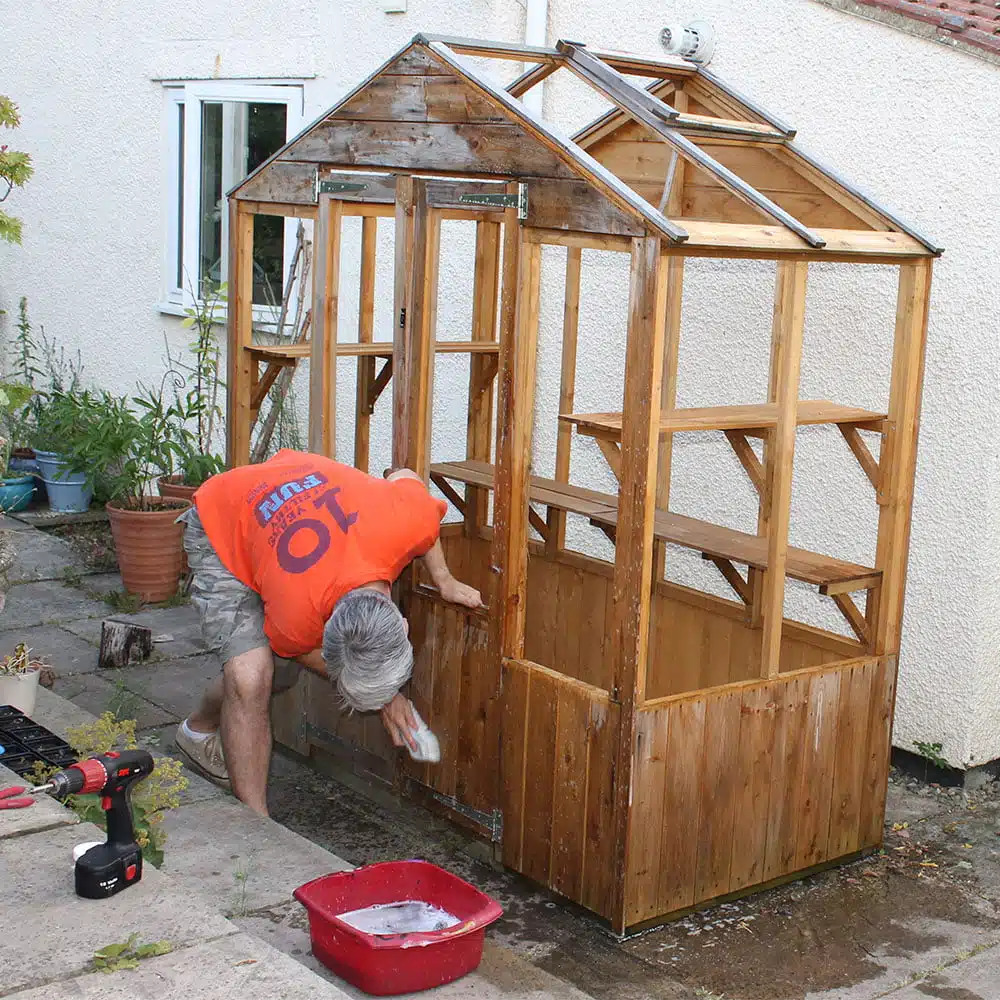
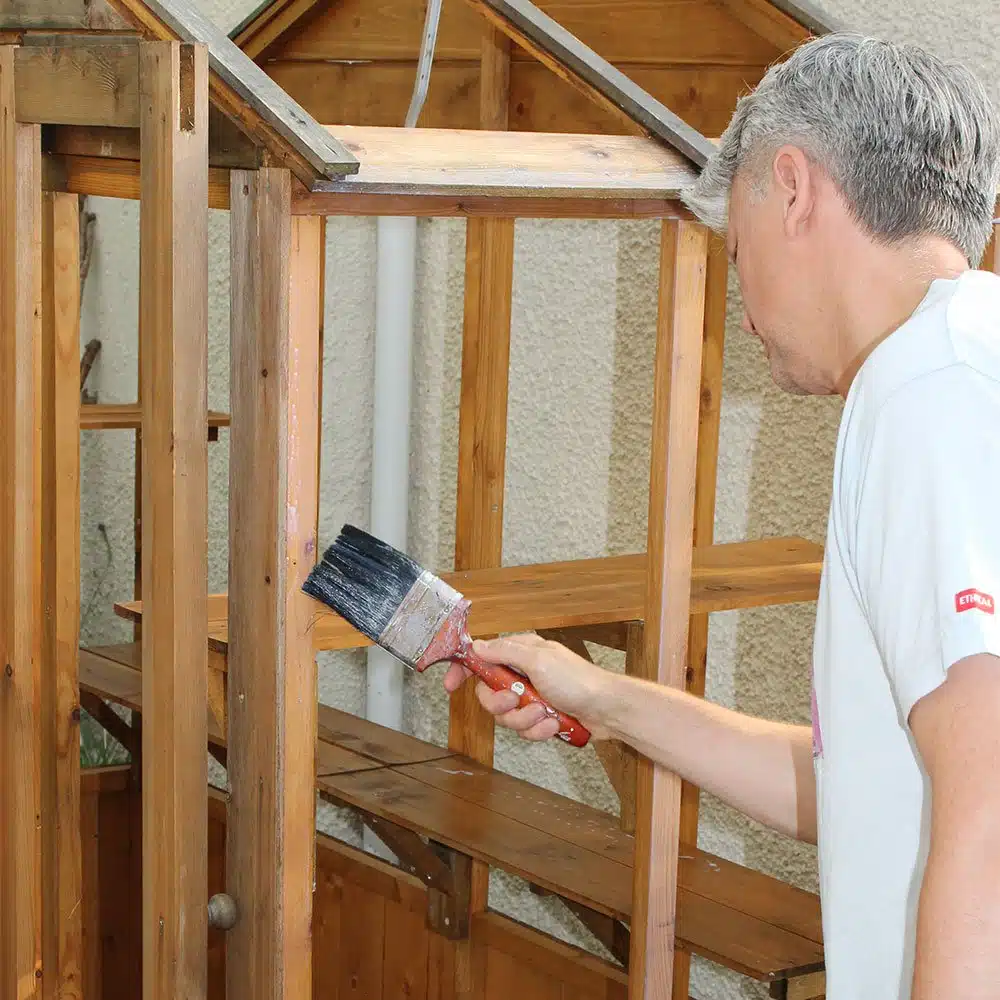
We painted one coat of Wood Preserver on all pieces of timber including the shelves. The Wood Preserver soaked in beautifully to the timber, bringing out the grain and colour. It also provides a certain level of water-repellency so when you leave it to dry before painting, you can be reassured that it won’t be suffering from water damage.
Once the Wood Preserver had fully dried it was ready to paint. Preserver takes longer to dry than wood paint or wood stain, primarily because it is designed to penetrate the timber deeply so will take longer for the deeper parts to dry than surface coatings. Wood Preserver on its own will not fully protect your exterior timber. Whilst preserving against rot, fungi and some other nasties, it will not protect your timber against the elements that will lead to timber mis-shaping and the slow deterioration of the structure.
WOOD PAINT
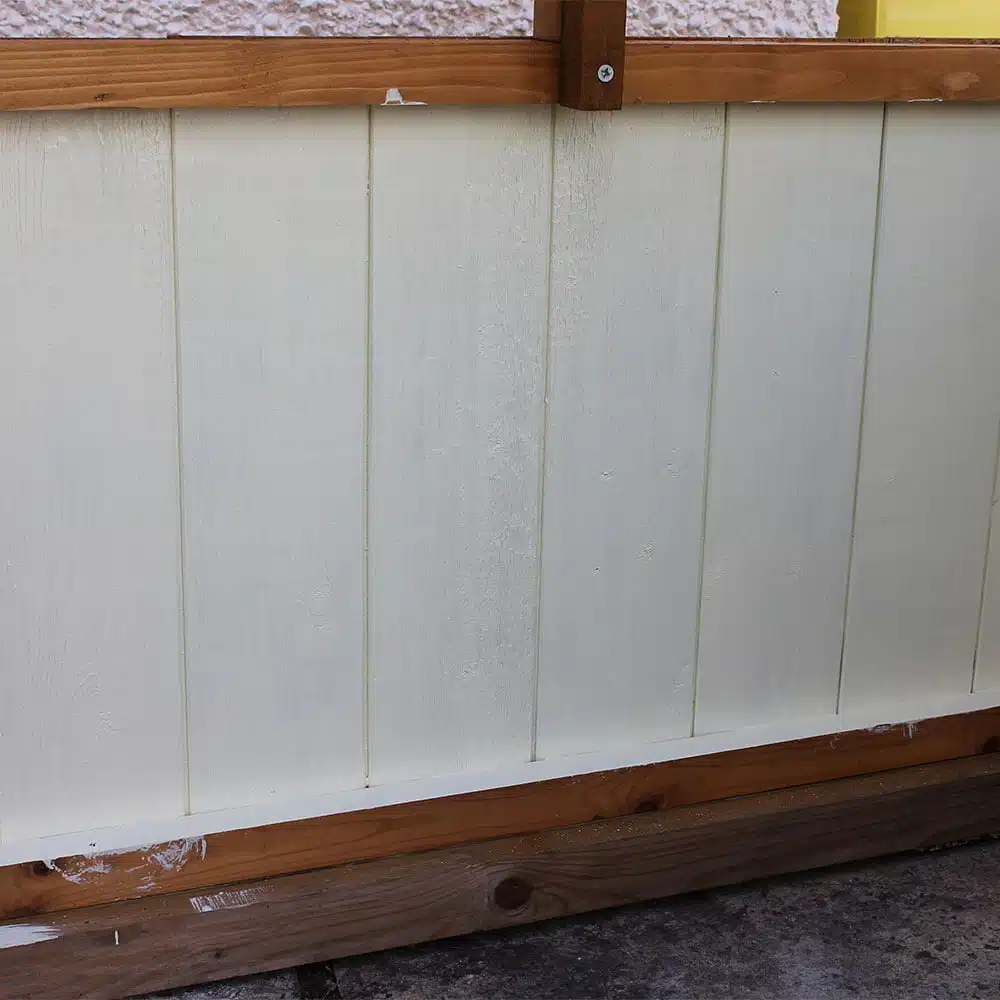
To fully protect an exterior timber product you need to paint it with a good quality exterior-grade Wood Paint, like ours! Thorndown’s Wood Paint has been specially formulated to be one of the best, highest-performing Wood Paints available on the market. It is water-based, has virtually no VOC or odour, is highly water-repellent, durable and long-lasting for up to 10 years. We use exterior-grade colour pigments with no VOC and don’t skimp on them either so the colour you love will stay with you for many years. As it starts to fade in the latter years of its life the colours will fade equally unlike other products on the market that use cheap yellow pigments that fade really quickly leaving greens turning blue.
For full exterior protection we would always recommend painting on two coats. A third coat will deepen the colour and can be more aesthetically pleasing with light shades such as the Chantry Cream that we used on this greenhouse. It’s totally down to personal choice but even with a third coat you can still see the natural look of the wood and grain coming through.
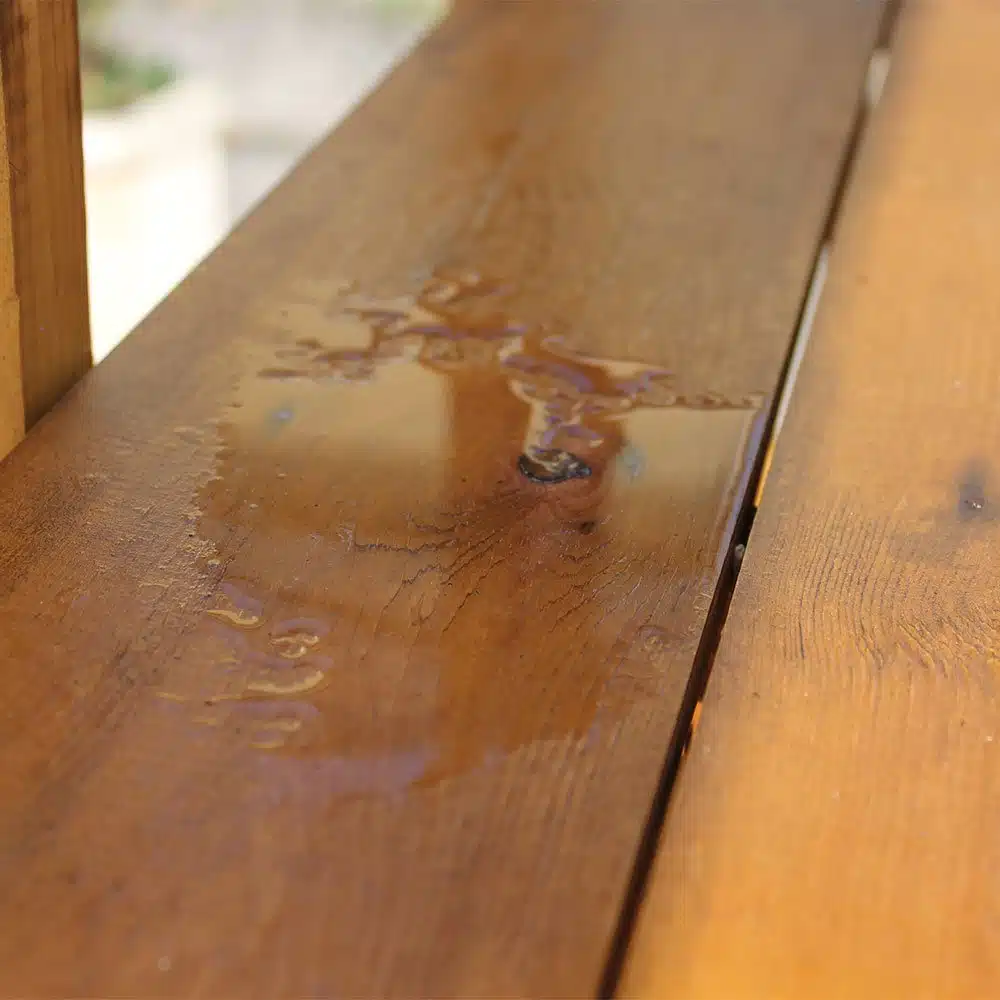
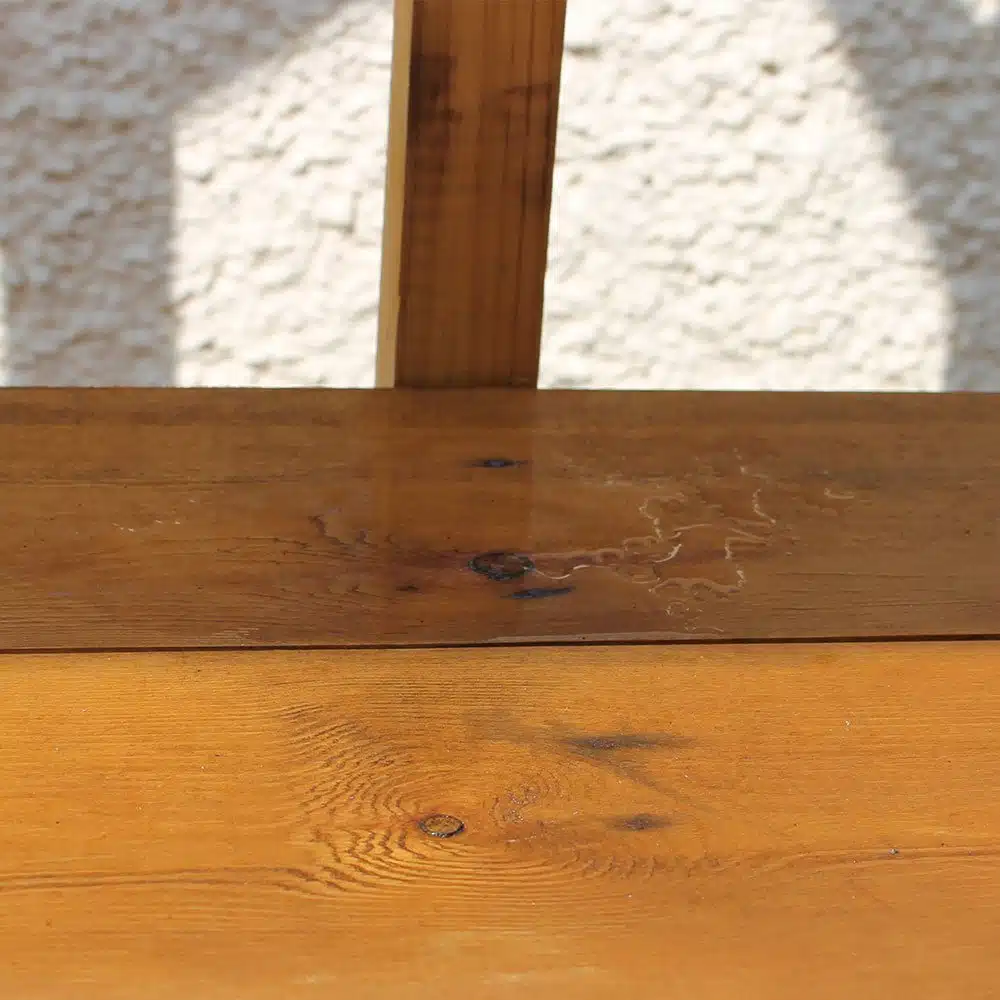
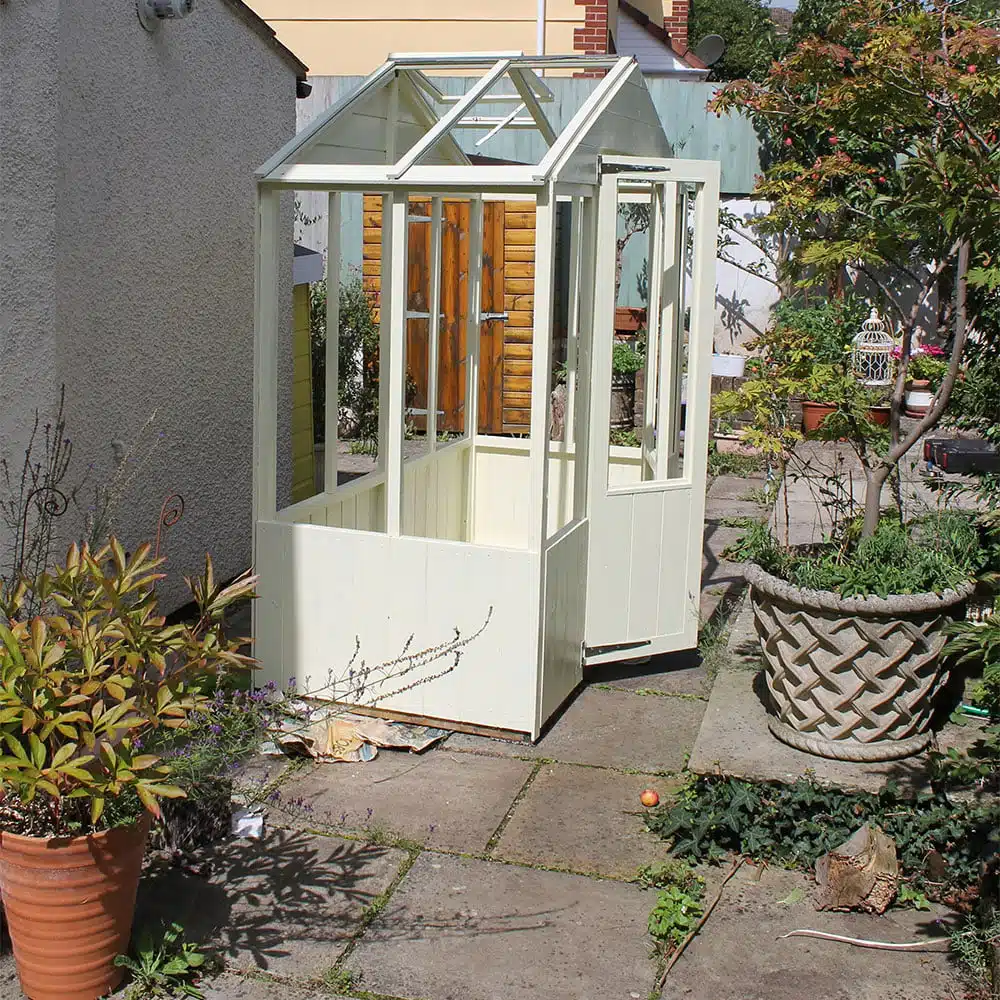
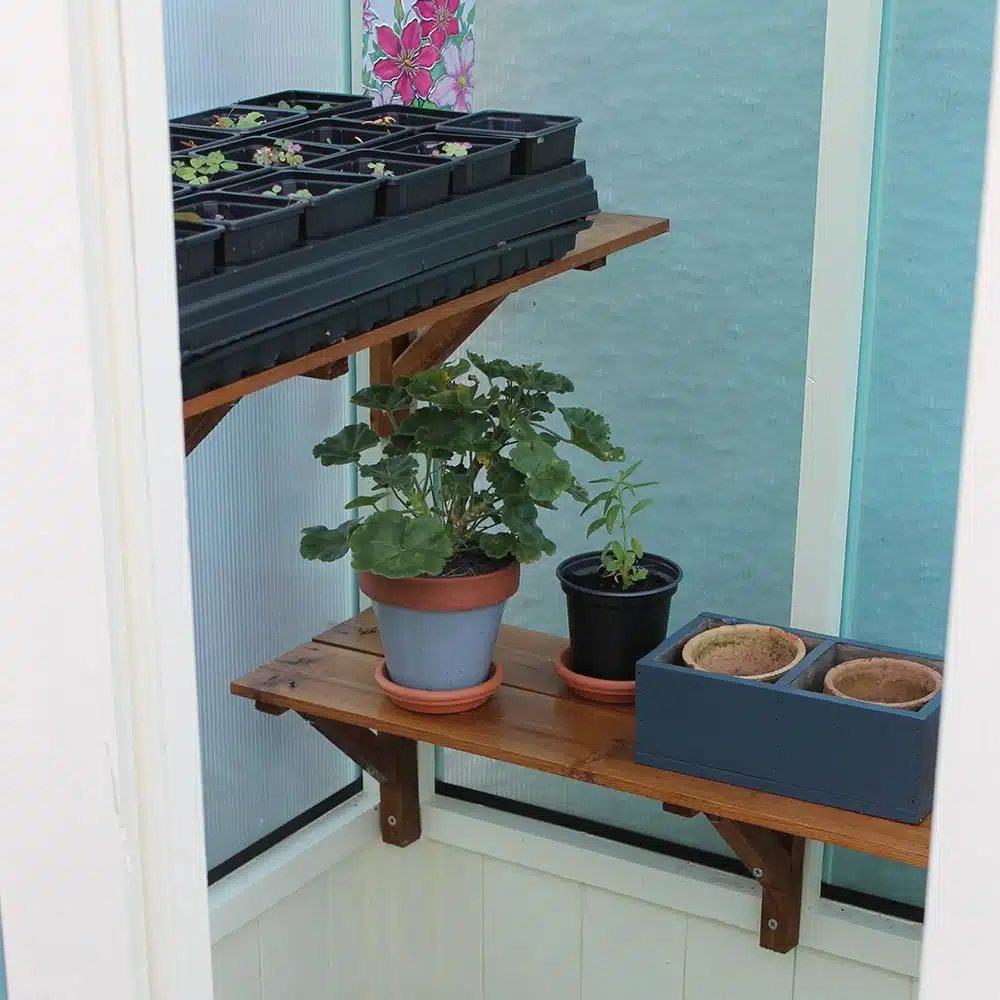
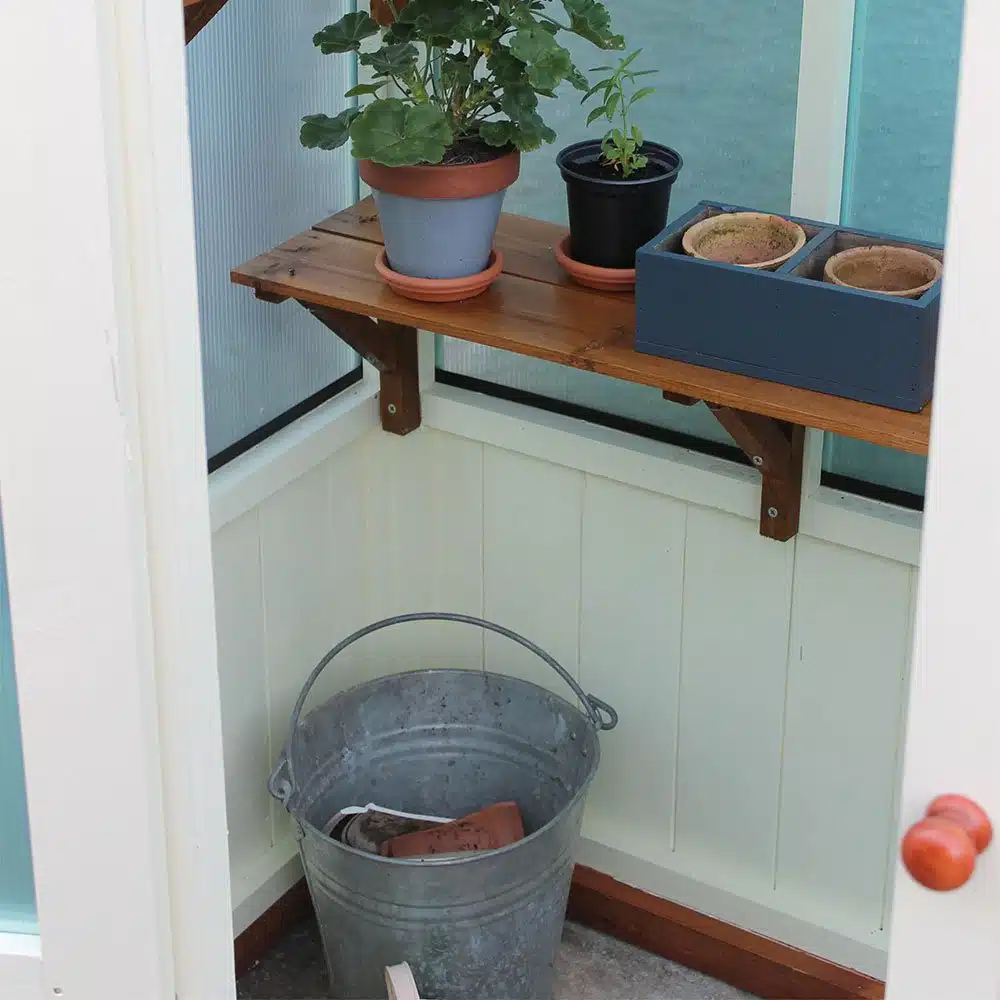
I chose Chantry Cream as it’s a lovely warm but light cream that compliments the colour painted on the walls of the house. After painting on Wood Preserver we wanted to preserve the beautiful red tone of the shelves so painted on two coats of UV Clear Wood Paint to stop UV fade.
We also painted on Elder Wood Paint to the door knobs and base trim so the colours matched the wood of the shelves. I absolutely love the finished result and can sit back happy in the knowledge that not only does the greenhouse now look beautiful all year round, it will last years and years!!


GREENHOUSE SHADING
We created an opaque Peelable Glass Paint palette with colours that would match your Wood Paint. This greenhouse is painted with Chantry Cream Wood Paint so we wanted to paint greenhouse shading in Chantry Cream Peelable Glass Paint. This great greenhouse shading paint is not only very easy to apply, it’s very effective at reducing heat in a greenhouse, is super easy and fun to peel off and remove, and looks really pretty.
More importantly as mentioned above you can use it on acrylic and polycarbonate glazed windows. More traditional shading paints that you have to dilute to paint on, can be difficult to get off these materials. Removal of Peelable Glass Paint from polycarbonate or acrylic glazing is easy and effective – simply peel off!


