painting fences
Guide to Painting Fences with Thorndown
Painting your fence will not only protect the timber against the elements making it last years longer, but adding colour to your fence can be an essential part of your garden design, making boundaries disappear, gardens appear larger, and providing a great backdrop to make your plants really stand out.
Here is our simple guide to painting fences.
EQUIPMENT LIST
1. Gardening tools to help clear plants away from the fence. Using a dust sheet to drape over plants in front of the fence is a great way to protect the plant and stop them from getting covered in paint, and helps increase access to the fence
2. Bucket with soapy water and a stiff brush to clean off dirt and algae from the fence. For stubborn patches of algae use a mild bleach solution. A power washer is a great way to blast off dirt and algae but will saturate the wood so you’d need to factor in 1-2 days drying depending on how hot and strong the sun is. On a really hot dry day it can just be a few hours before it’s dry enough
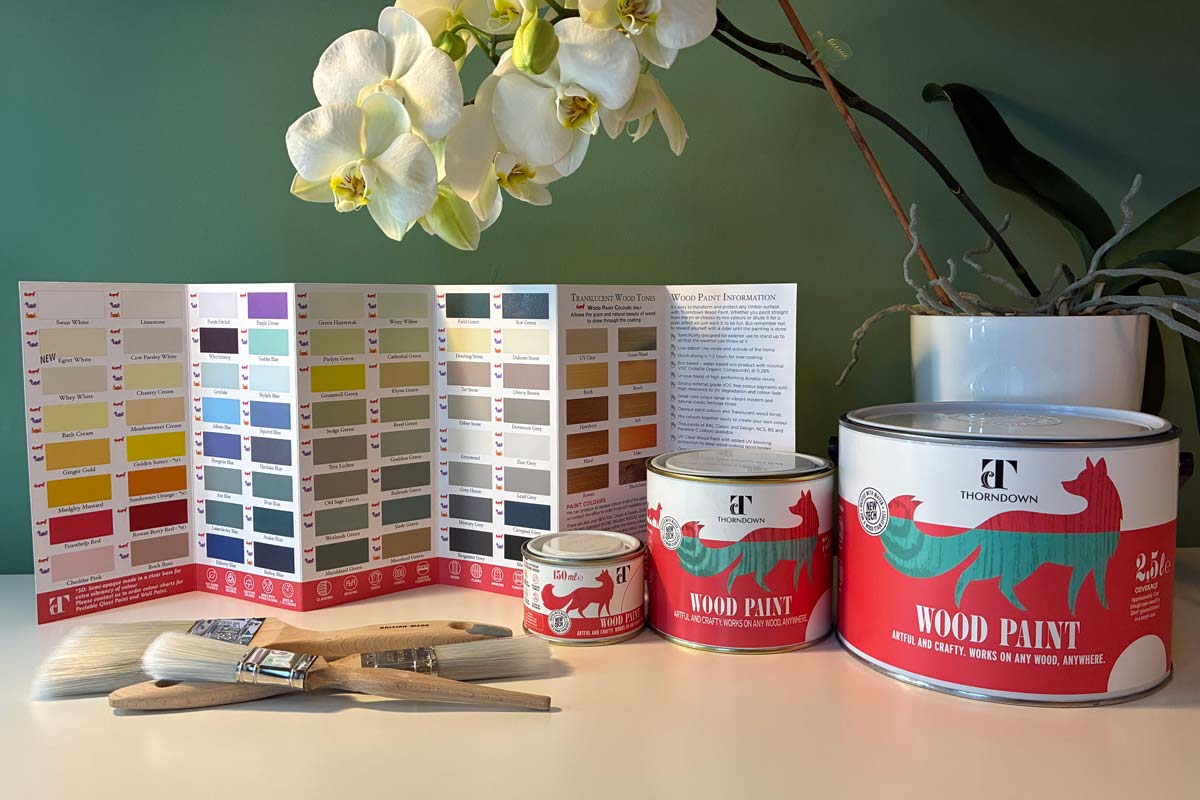
3. Paint and painting equipment. You can use our Coverage Calculator to work out how much paint you need and try samples in different paint colours to make sure you love your colour choice. Remember that rough sawn timber is a lot thirstier than planed/ smooth timber so the first coat will take twice as much paint than with planed/smooth.
You can use a brush, roller or sprayer to apply Thorndown Wood Paint.
TOP TIPS
Brushes – use a good quality synthetic brush that’s about the same width as the fence slats that make up the panel. This makes painting a lot quicker and neater rather than using a small brush and having to constantly reload paint and only cover small areas at a time, which can also end up looking patchy. Have a small brush for fiddly areas. For rough sawn timber use a fence paint brush but for planed/smooth you can use a household paint brush for interior or exterior use.
The advantage of using a brush is that you can control the paint easily and make sure you get it into all of the gaps and joints between panels.
Rollers – use a medium nap roller sleeve on planed/smooth panels. Won’t work so well on rough sawn timber.
Sprayers – use a HVLP (high volume low pressure) sprayer. A spray gun is a great way to cover large areas quickly but you can get a lot of paint wastage especially if there is a wind blowing the paint spray. It can also cause a lot of mess so cover your plants first and if the wind is too strong, don’t spray! You can get some really good electric spray guns quite cheaply.
4. You may need a step ladder to reach the tops of fencing and posts
5. Sandpaper and tools for fixing – a screwdriver and hammer is usually all you need
PICK YOUR COLOUR
Select your colour or colours thinking about a colour palette that will fit with your garden design, planting, and bring a smile to your face. You can use sample pots to make sure you’re getting exactly the colour you want in situ as different timber surfaces and lighting can affect the shade you see, for example, colours look darker on rough sawn than planed wood, especially if applying just one coat.
Thorndown use exterior grade colour pigments that perform at the highest levels in lightfast and weather resistance tests, meaning that the colour you chose is the colour you’ll see for years and years. Thorndown Wood Paint is available in a beautiful and diverse colour palette of 73 colours and transparent wood stain tones plus a UV Clear, 1800 RAL Classic and Design colours, 2050 NCS colours, 924 Pantone C and 434 British Standard colours BS318C BS4800 BS5252F.
PREPARATION
Prepare the surrounding area
Try to plan your fence painting with your growing seasons, for instance if you have climbers, plan to paint when the flowering season is over and you need to cut the plants back, or in spring before plants have shot up and the fence panels are nice and dry. With our wood paint you can paint in weather as low as 0oc so you can even find a dry spell in the winter or early spring months to paint.
Prepare the fence
1. Clean the fence using a stiff cleaning brush and soapy water to clean off dirt and algae from the fence panels and to remove any loose old flaky bits of previous coatings. For stubborn patches of algae use a mild bleach solution. A power washer is a great way to blast off dirt and algae and old paint but remember the advice at the start about drying time!
2. Make sure the moisture content of the timber is less than 20% otherwise it will affect the adhesion of the paint and can cause the coating to fail or peel prematurely. You can get a protometer fairly cheaply that measures moisture content
3. Sand it down (if necessary). You will only need to sand areas that you may come into direct contact with to avoid splinters, but otherwise don’t bother, especially with rough sawn wood otherwise you’d be there for days!
4. Repair (if necessary). Check your fence and make any repairs. With rough sawn panels it can be common for them to become a bit loose especially if battered by the wind so bang nails back in to place
PRIMER
With Thorndown Wood Paint you do not need to use a primer as it is engineered to adhere very strongly to timber.
You only need to apply a primer if:
1. You are painting a light, white, off-white, cream paint colour and don’t want the tannins from the wood or resin bleeds to come through and stain the coating. Use Thorndown’s Stain Blocking Primer to prevent this from happening
2. If previous coatings have been an oil-based product applied over many years, there could still be oil residues within the timber that can prevent the water-based paint from fixing properly. If this is the case then apply a primer
PAINTING
Make sure there is no rain forecast for 24 hours to allow the paint plenty of time to dry and cure/fix and bond to the timber.
In most cases with fencing (depending on what product you use) you only need to apply one coat, unless you’re not using Thorndown or are painting a lighter colour, semi-opaque or white where 2 coats will enhance the solidity and depth of colour.
Don’t overload your paint brush or roller with paint or you’ll get drips. Thorndown Wood Paint is designed to hold well in the brush bristles and if you do get any drips whilst painting, just look out for them and smooth them out before they dry.
Always paint with the grain. Usually this will be the same direction as your fence panels, so with vertical fence panels/slats paint up and down, with horizontal panels paint along the length of the slats, always in nice long even strokes. It’s good practice to paint one or two slats at the same time so you paint a whole section in one go. This means that you will always be painting up to still wet paint so won’t get patches, and you won’t get lost as to what you’ve painted and what you haven’t when it comes to a second coat.
DRYING
Thorndown Wood Paint will dry within 1-2 hours depending on weather. If hot and dry the paint coating will dry a lot quicker (often within 30 minutes), ready for a second coat to be applied if you want to apply two coats.
Paint on a second coat and leave to dry. Thorndown Wood Paint will be touch dry within an hour or two but the curing/fixing process takes longer which is why we advise making sure rain isn’t forecast for 12-24 hours.
Horizontal surfaces such as the tops of fences and post caps take a real beating from the sun, rain, snow, and ice, wearing the paint coating faster than vertical surfaces, so give extra attention here and an extra coat of paint for good measure. Two to three coats will give it additional strength and durability and it will be even longer before a maintenance coat is required.
CLEANING
With water-based paint you can clean still paint wet brushes with water. For stubborn paint on bristles you can use a spot of detergent too. Oil-based paints require chemicals such as white spirit to clean paint equipment.
When cleaning sprayers it’s even more important to thoroughly clean all pipes, nozzles and components whilst the paint inside is still wet, because if the paint is left to dry it can be impossible to clean out.
STORING
Seal your paint tin lid firmly and store paint somewhere that it won’t freeze or be exposed to extreme heat. If you clean paint off the rim of the lid and the tin it will seal better and you won’t get paint sticking and sealing it shut.
The paint will then last a couple of years, or more, for maintenance and touch-ups, or another project.
EXTRA TIPS
If you have concrete fence posts you can remove the fence panels to paint them and avoid getting paint on posts, but if you can’t remove the fence panels to paint them or if that’s just too big a job, there are products available to protect concrete fence posts such as Fence Protector, or you could just mask off posts with masking tape and newspaper.
If you want a matt finish to your paint colour then you can use Thorndown’s Wall Paint as it’s so durable it can be used on exterior wood for a flat matt finish. It’s not as durable as our Wood Paint though so you will need to clean off any dirt and algae and apply a maintenance coat on a more regular basis.
All that’s left to be done now is to grab something nice and cold or a hot cuppa to reward yourself with and admire your work,
knowing that your beautiful new fence colour will be bringing you joy for years to come!
Thorndown Wood Paint can last up to 10 years on vertical surfaces depending on levels of wear and tear and exposure. Expect to apply a maintenance coat more regularly to horizontal surfaces or if you have only applied one coat of paint.
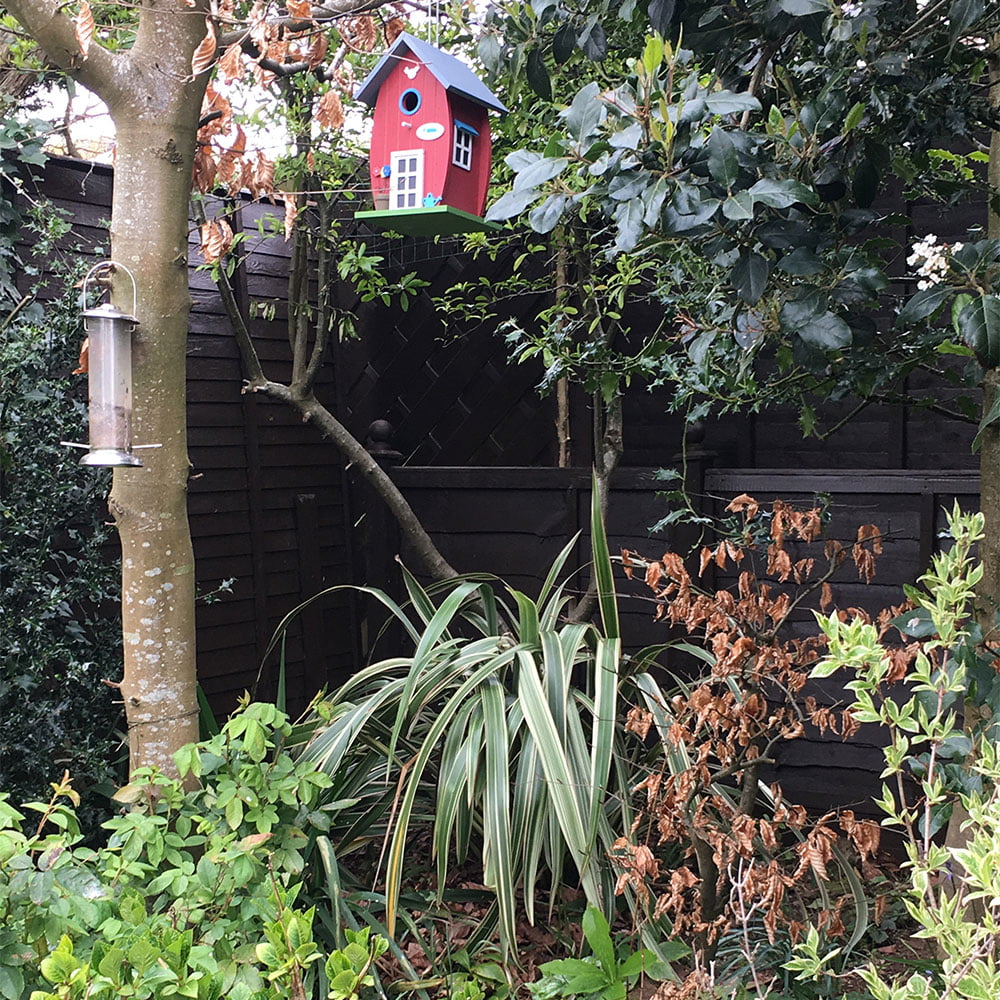
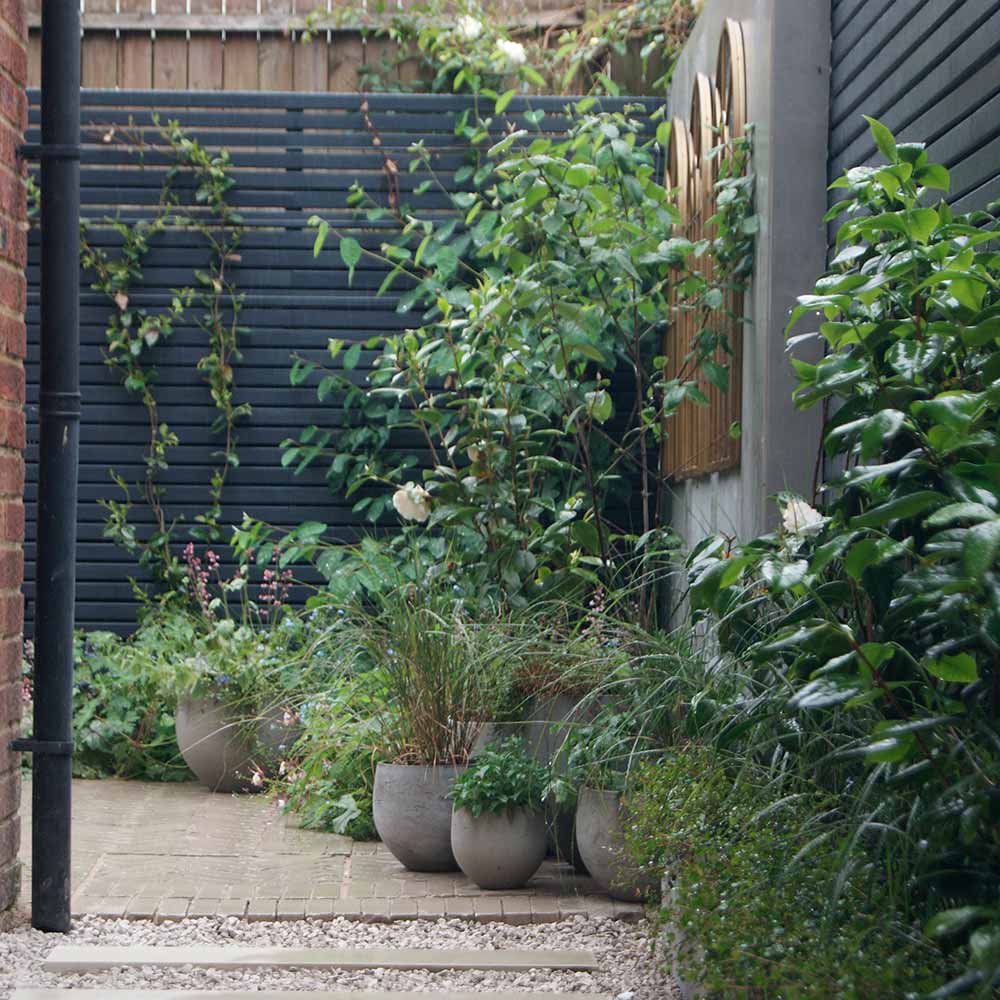
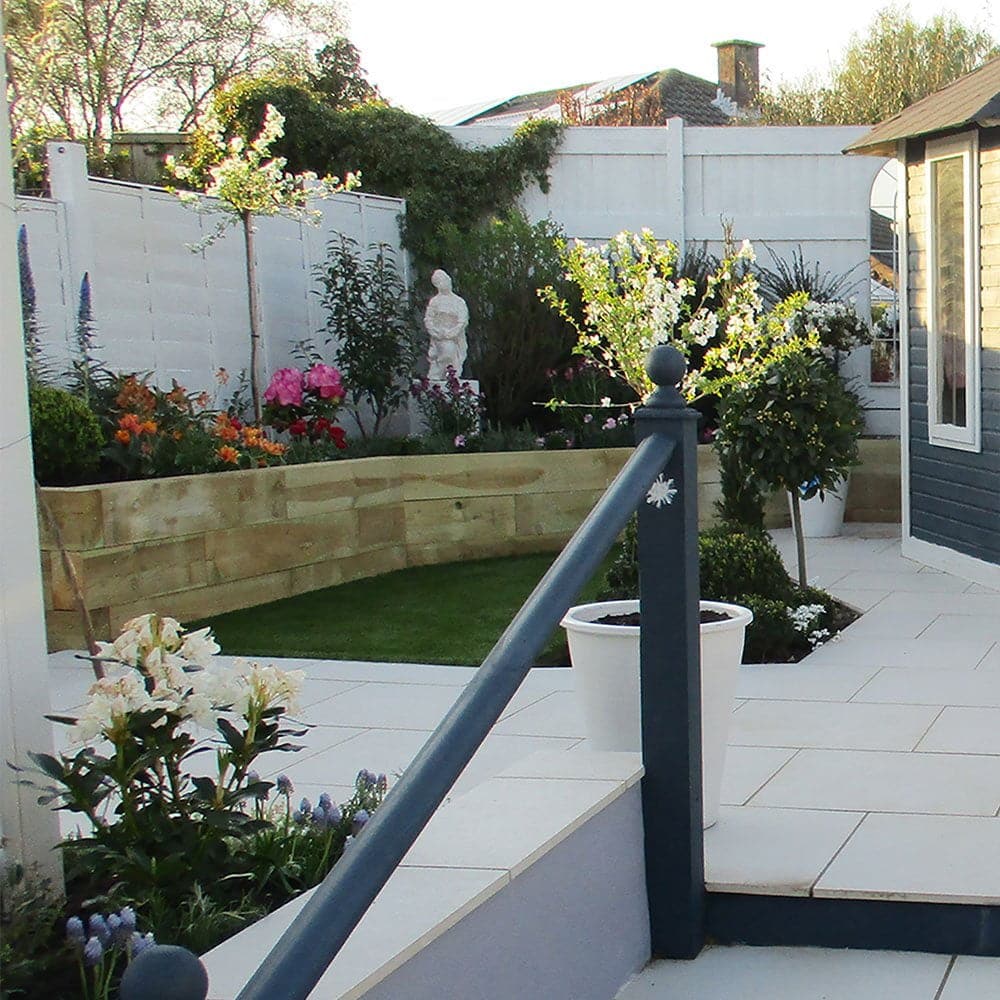
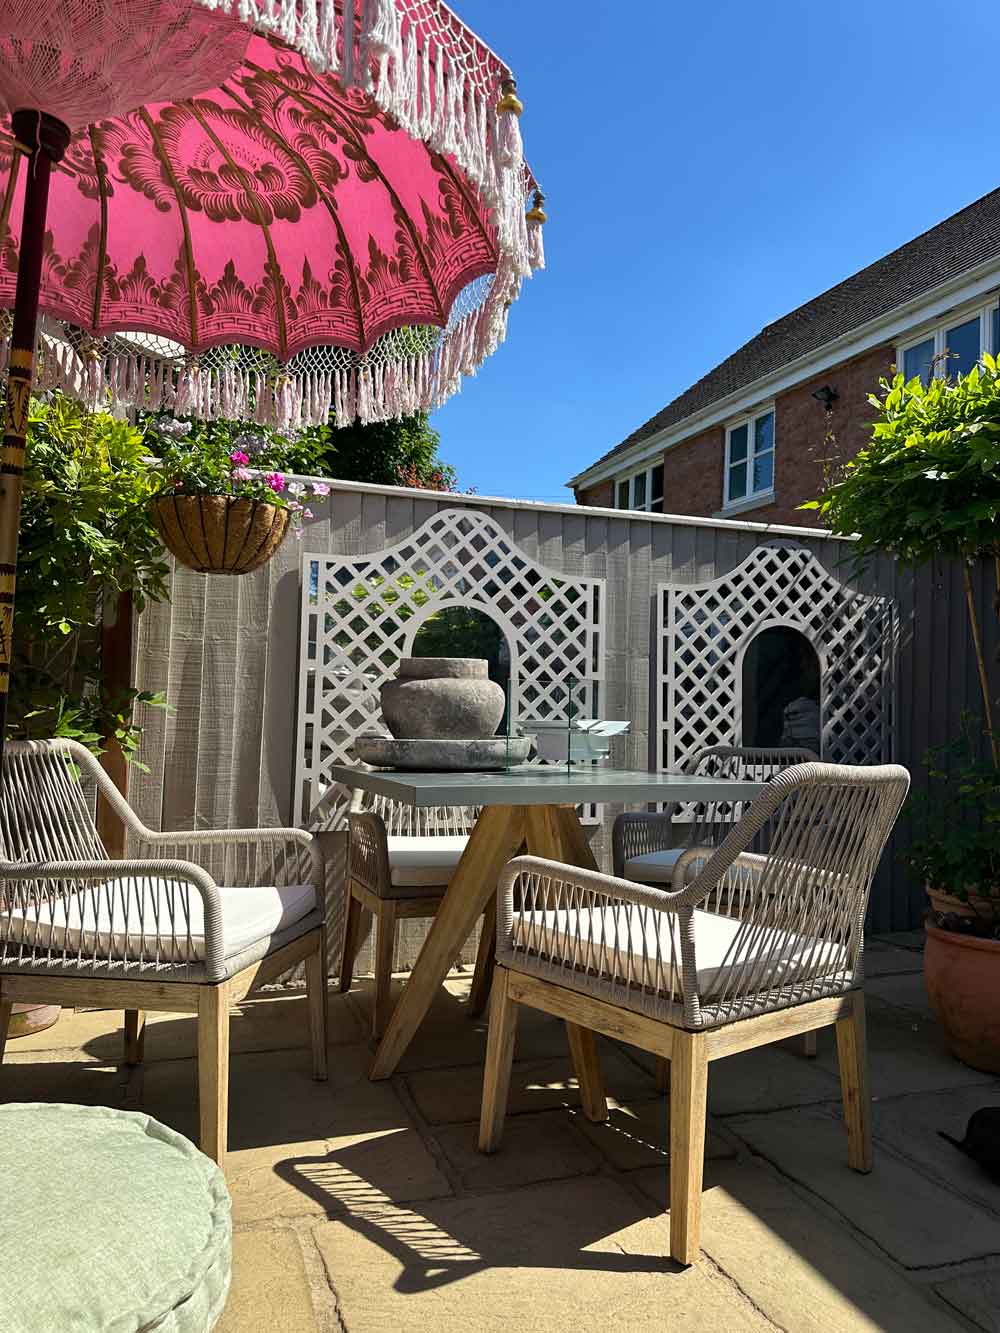
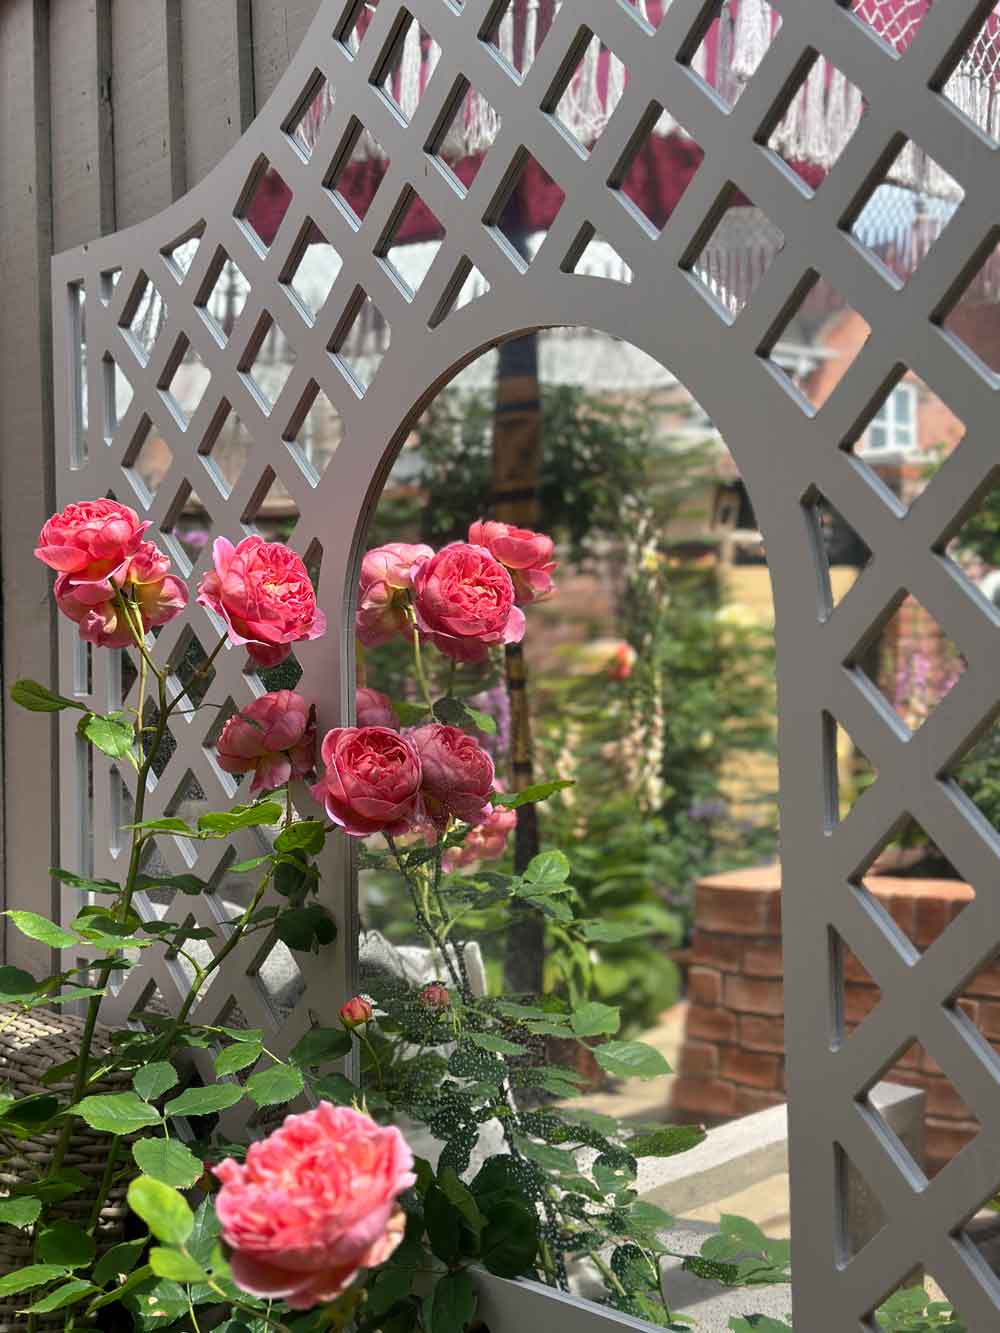
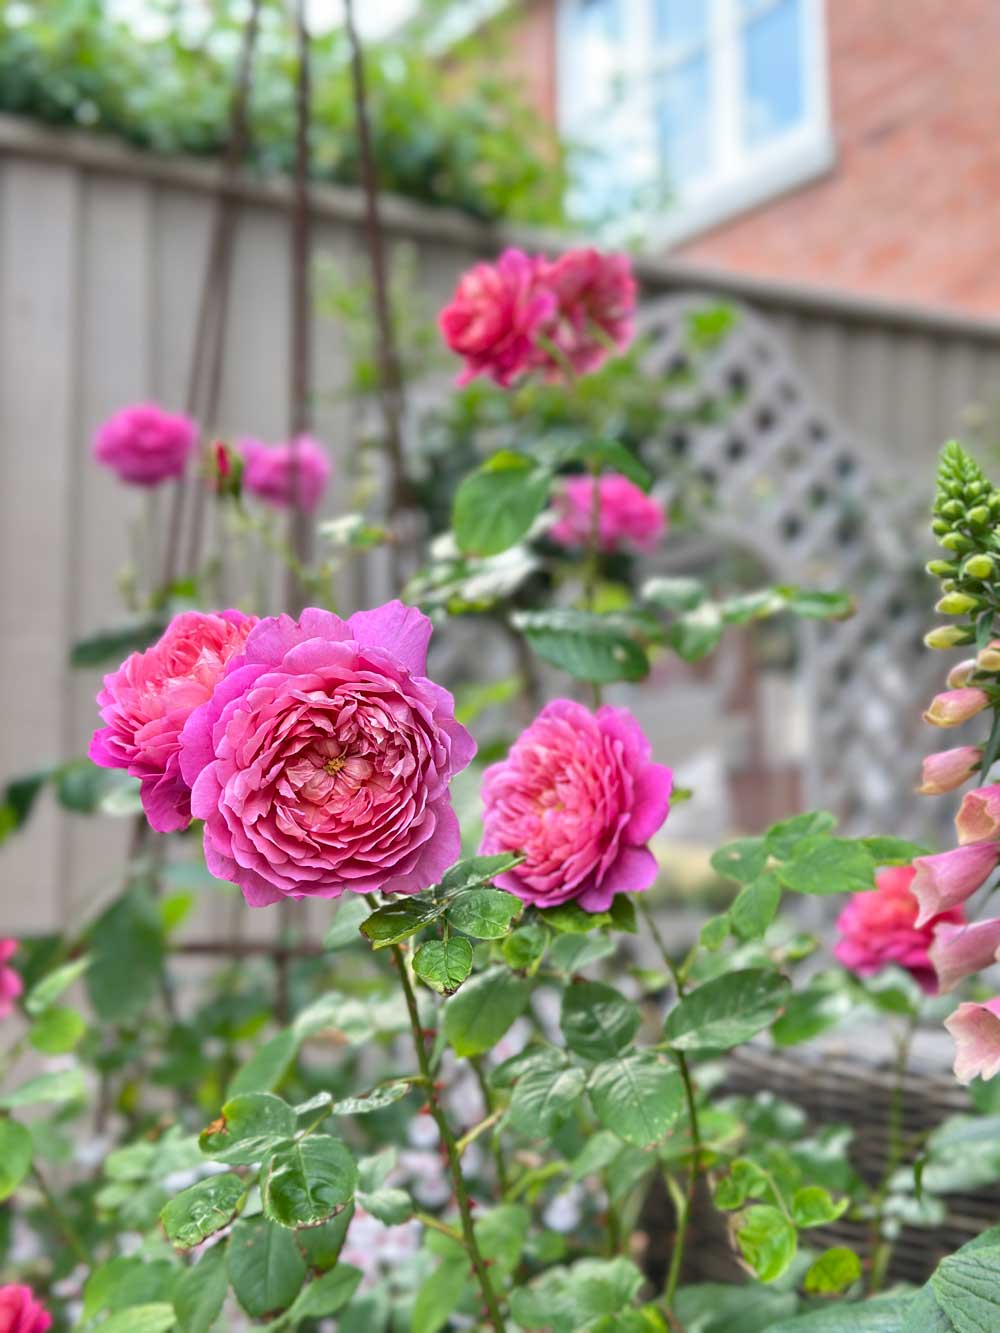
DESIGN IDEAS FOR YOUR FENCE
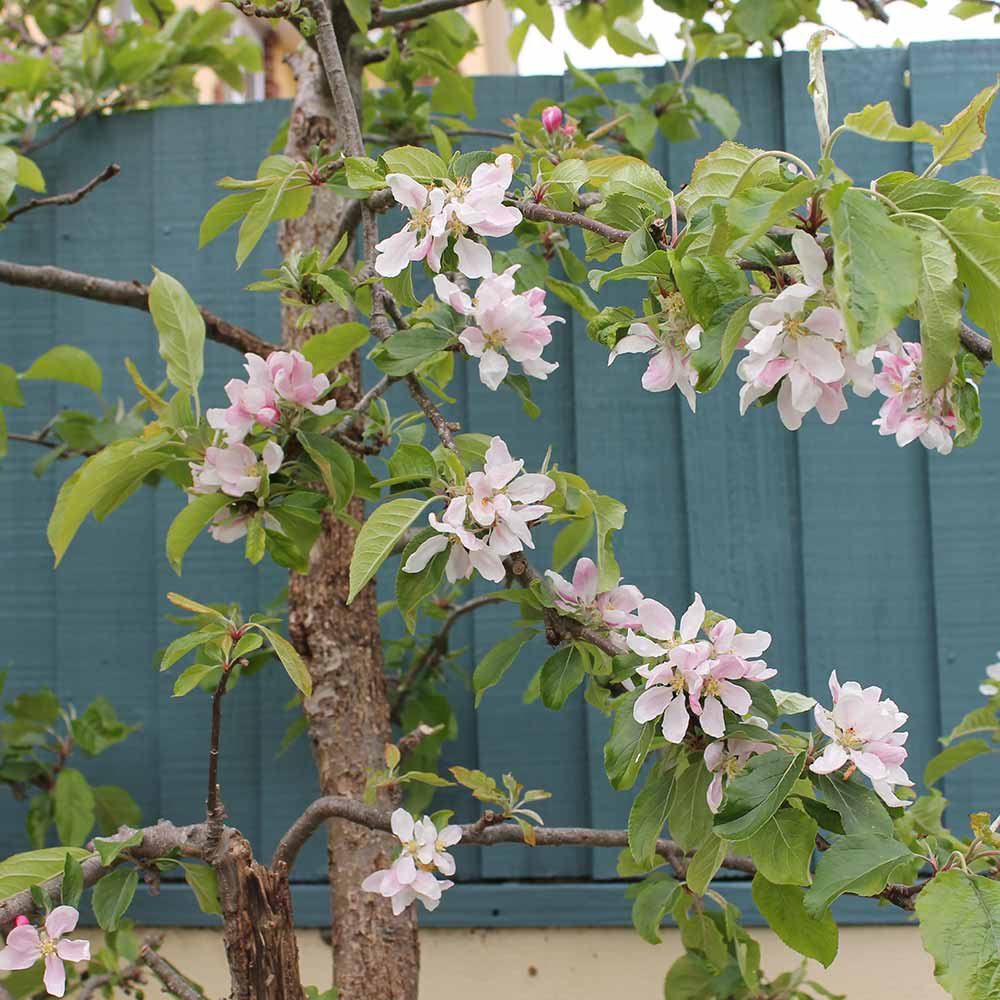
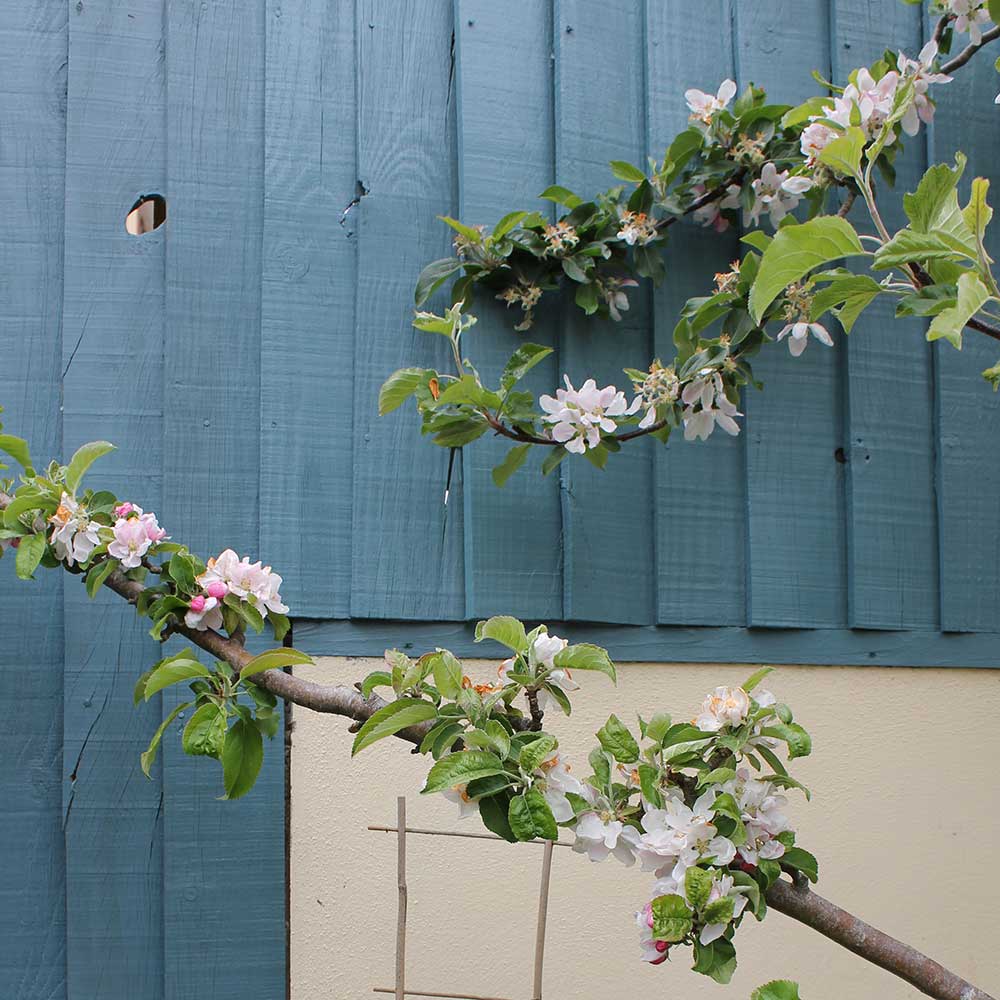
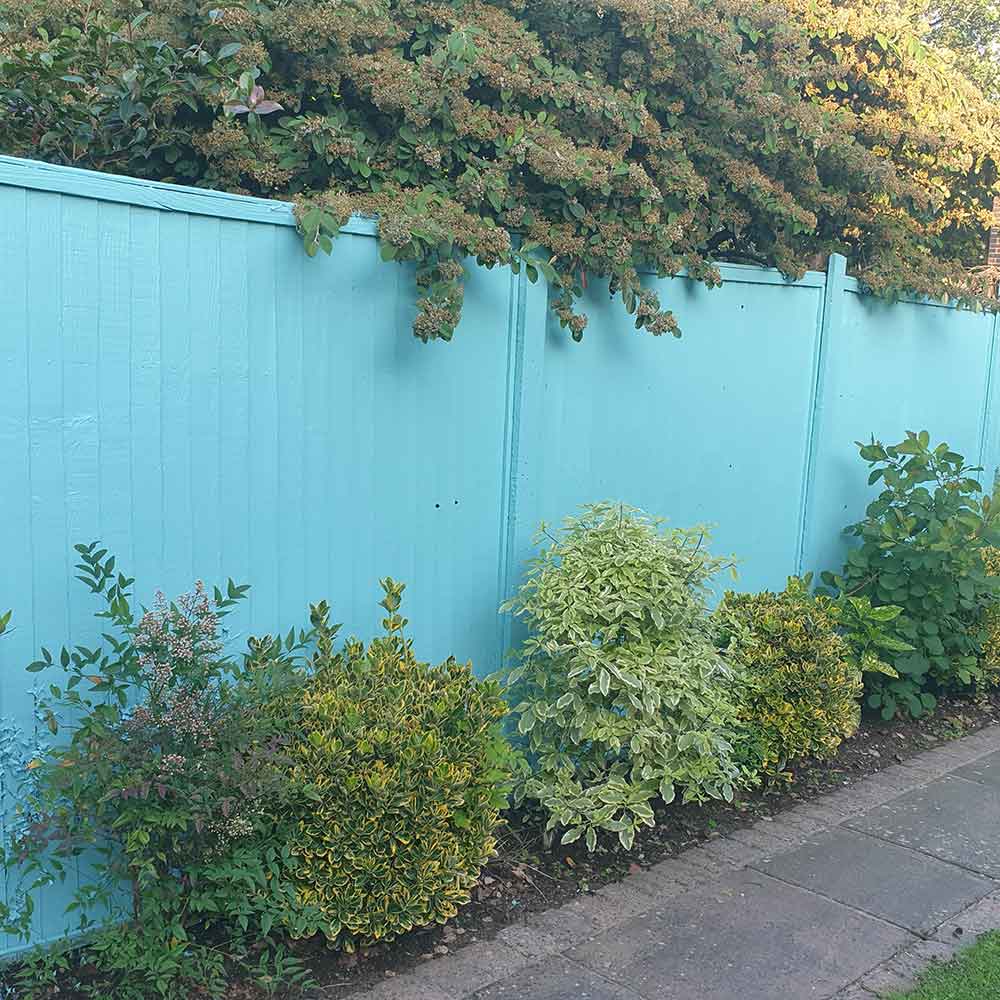
The fences below have been painted with Thorndown Wood Paint in the colours below;
- Swan White
- Bespoke RAL colours for Manoj Malde’s Chelsea Flower Show garden
- Brue Blue with apple blossom
- Goblin Blue
- Bishop Blue
- Blackthorn
- RAL 7016 Anthracite Grey
- Greymond


You can download our simple guide to painting fences here Thorndown Fence Painting Guide
For inspiration on painting fences and garden design tricks, visit our Project page on Fences.


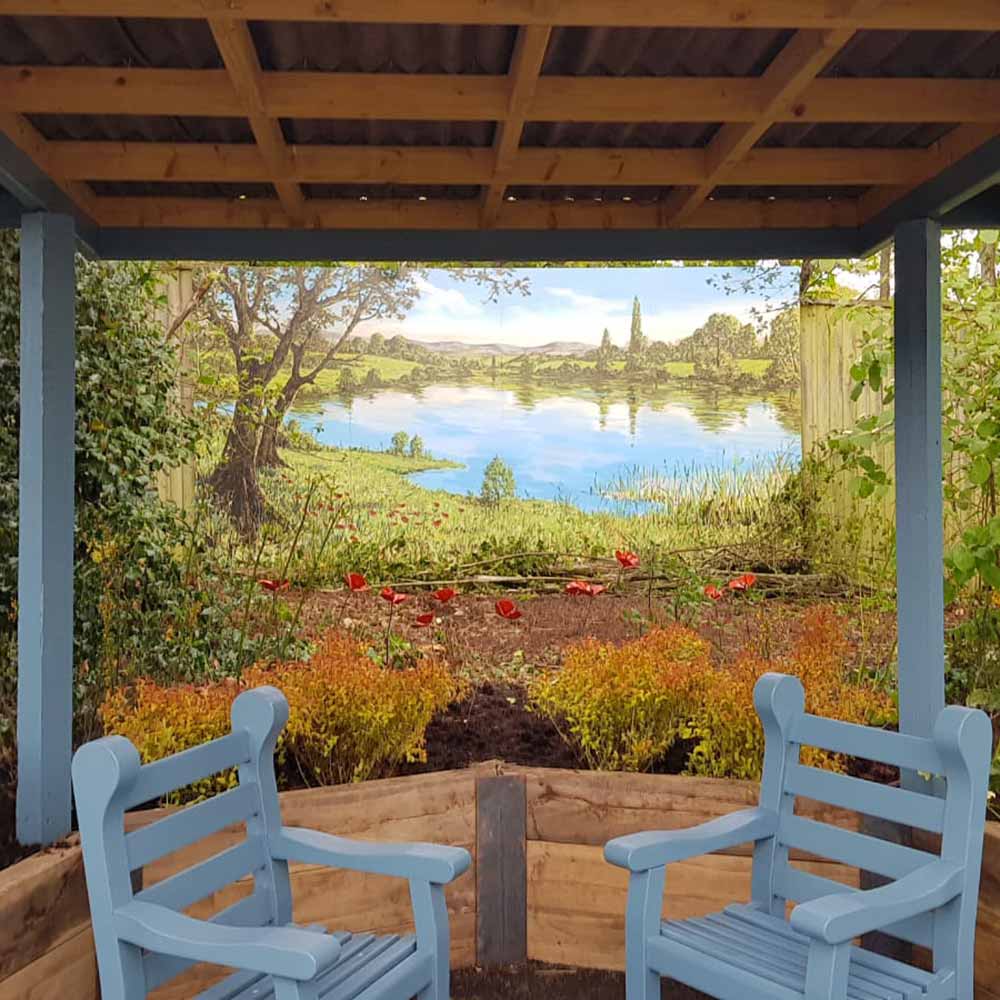
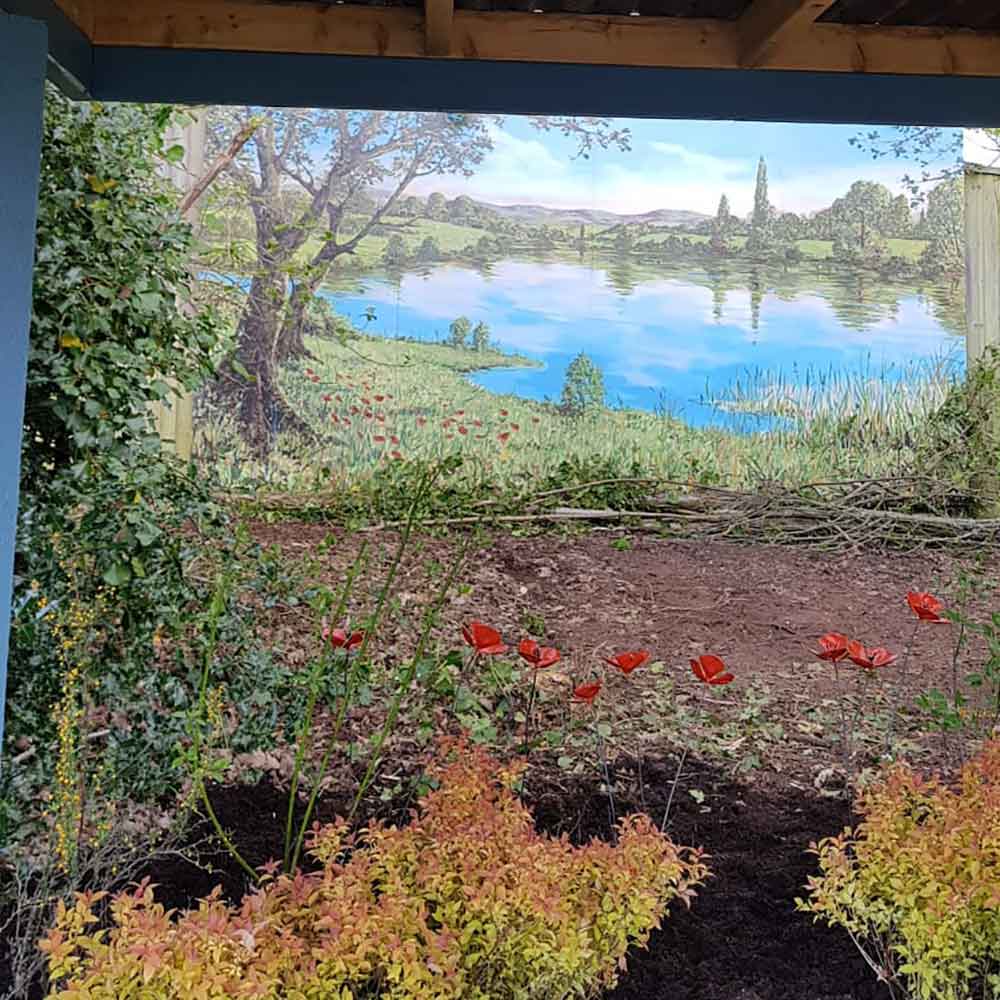
Above photos courtesy of Love Your Garden with Goddess Green on fences and fence murals painted with a variety of Thorndown Wood Paint colours by artist Jon Minshull.