Upcycling Wood Furniture
Upcycling Wood Furniture With Thorndown Wood Paint
Thorndown Wood Paint is the perfect upcycling wood paint for furniture projects as it’s easy to use, kind to the environment and high-performing.
Our wood paint is water-based so it’s better for the environment than old oil-based paints and easy to clean-up. Paint brushes just need to be run under water to clean them out with a drop of detergent helping on any dried in sections.
We have designed our wood paint for exterior use so it’s really durable, water-repellent and hard-wearing making it the best choice for timber furniture, bathroom panelling, kitchen cupboards and doors.
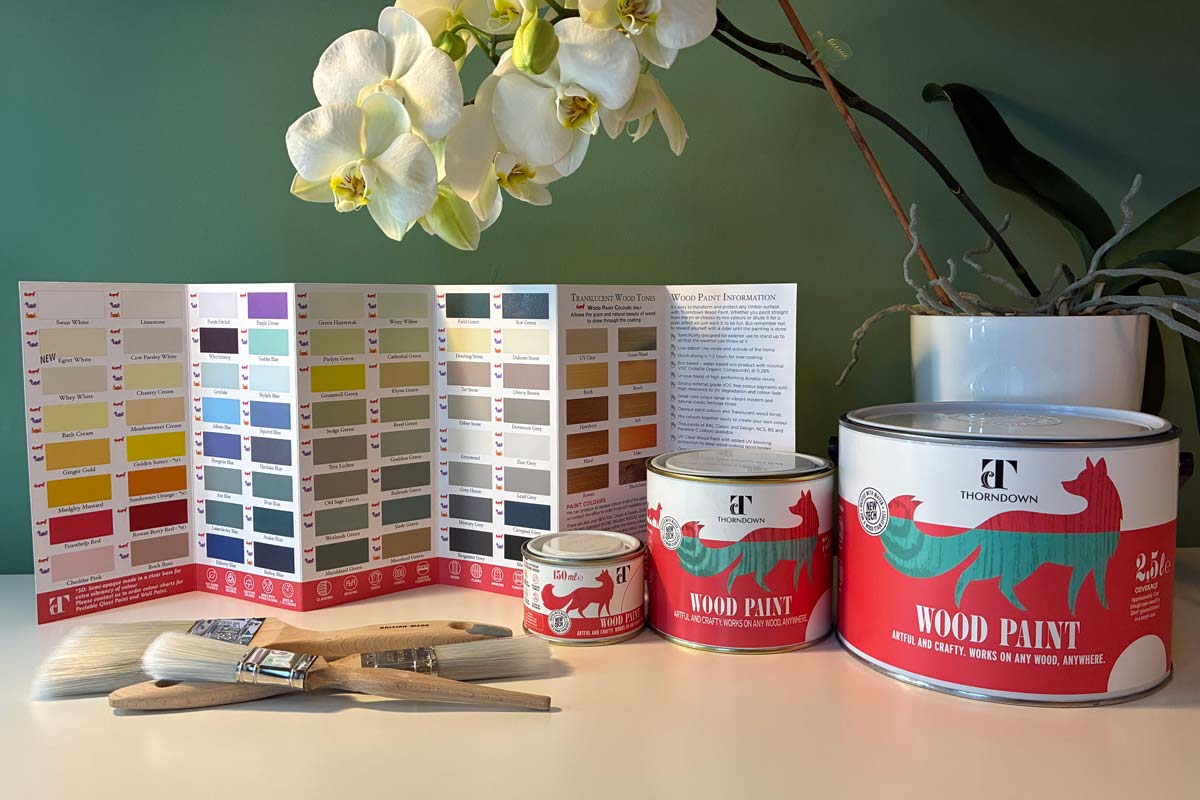
All of the raw materials have been selected to have as little VOC (volatile organic compounds) as possible and we use architectural exterior-grade VOC free colour pigments that stay strong and true for years and years. With 74 colours in theWood Paint core colour chart, plus over 1800 RAL Classic and Design, 2050 NCS, 434 British Standard (BS318C, BS4800 & BS5252F) and 924 Pantone C colours available, you are spoilt for choice!
The wood paint is designed to load on to the brush well and come off beautifully on to your surface. It has been engineered so that the coating is strong but not thick and clunky so you can see the nature of the wood grain showing through.
Preparation is minimal and there’s no need for top coats so upcycling timber furniture is simple and fun. Follow our advice below and create your own works of art.
Upcycling Prep
The process is the same as if you were approaching any timber painting project and can be broken down into these easy steps.
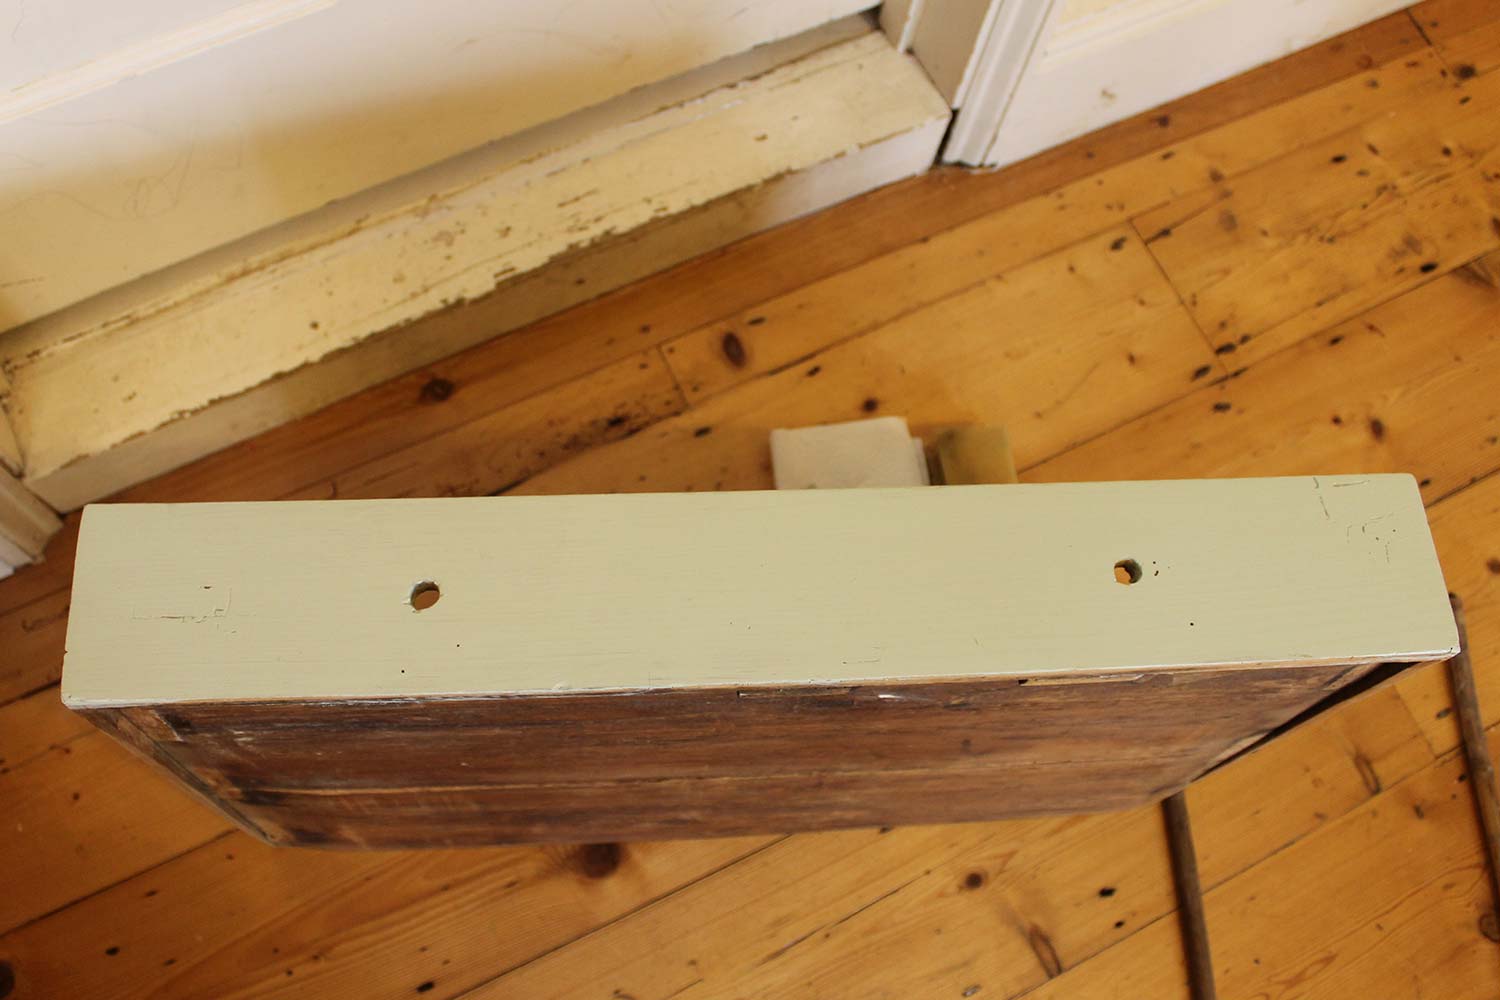
1. Check And Mend – See if the item needs fixing and make it good before you start the project. Use tacks or nails with a hammer to bang parts back into place again (like with a box or crate) or if it’s an item that you may need to access or take apart to maintain, then use screws. If it’s softwood and simple then you can use a power tool to put the screws in or you may need to pre-drill a hole so that you can put a screw in without causing any damage.
You may need to glue sections back together again or fill cracks and gaps. Make sure to select a product that is water-based, can be overpainted and is preferably clear. A PVA wood glue is perfect as it dries clear and once dry it is stronger than the wood that it is holding together.
Put plenty of glue (not too thick though) into any cracks and firm together. Wipe off excess glue and bind together with clamps or tie really tightly with some rope and leave to dry. Make sure you add some padding to protect the furniture where the ropes or clamps meets it to stop it from being damaged by crushing.
When filling add up to and slightly above the surface line. When it dries it can settle and shrink so this will help avoid it sinking lower than the surface. Leave to dry and then sand back so it’s flush with the surface.
2. Prep Surfaces – If there are stains on the surface or loose bits of wood that may splinter you will need to sand next. If it’s a big job then use a power sander and/or mouse starting with a medium grade paper for tough work then going down to a fine sandpaper for finishing off with a nice smooth surface. For smaller jobs just use sandpaper and arm power.
Laminate and Veneer – these shiny surfaces make it more difficult for paint to bond to it so either paint on a multi-surface primer first (although in most case you won’t need to with our wood paint as it sticks really well with no need for a primer), or just sand lightly to provide a key to the surface for the paint to fix to.
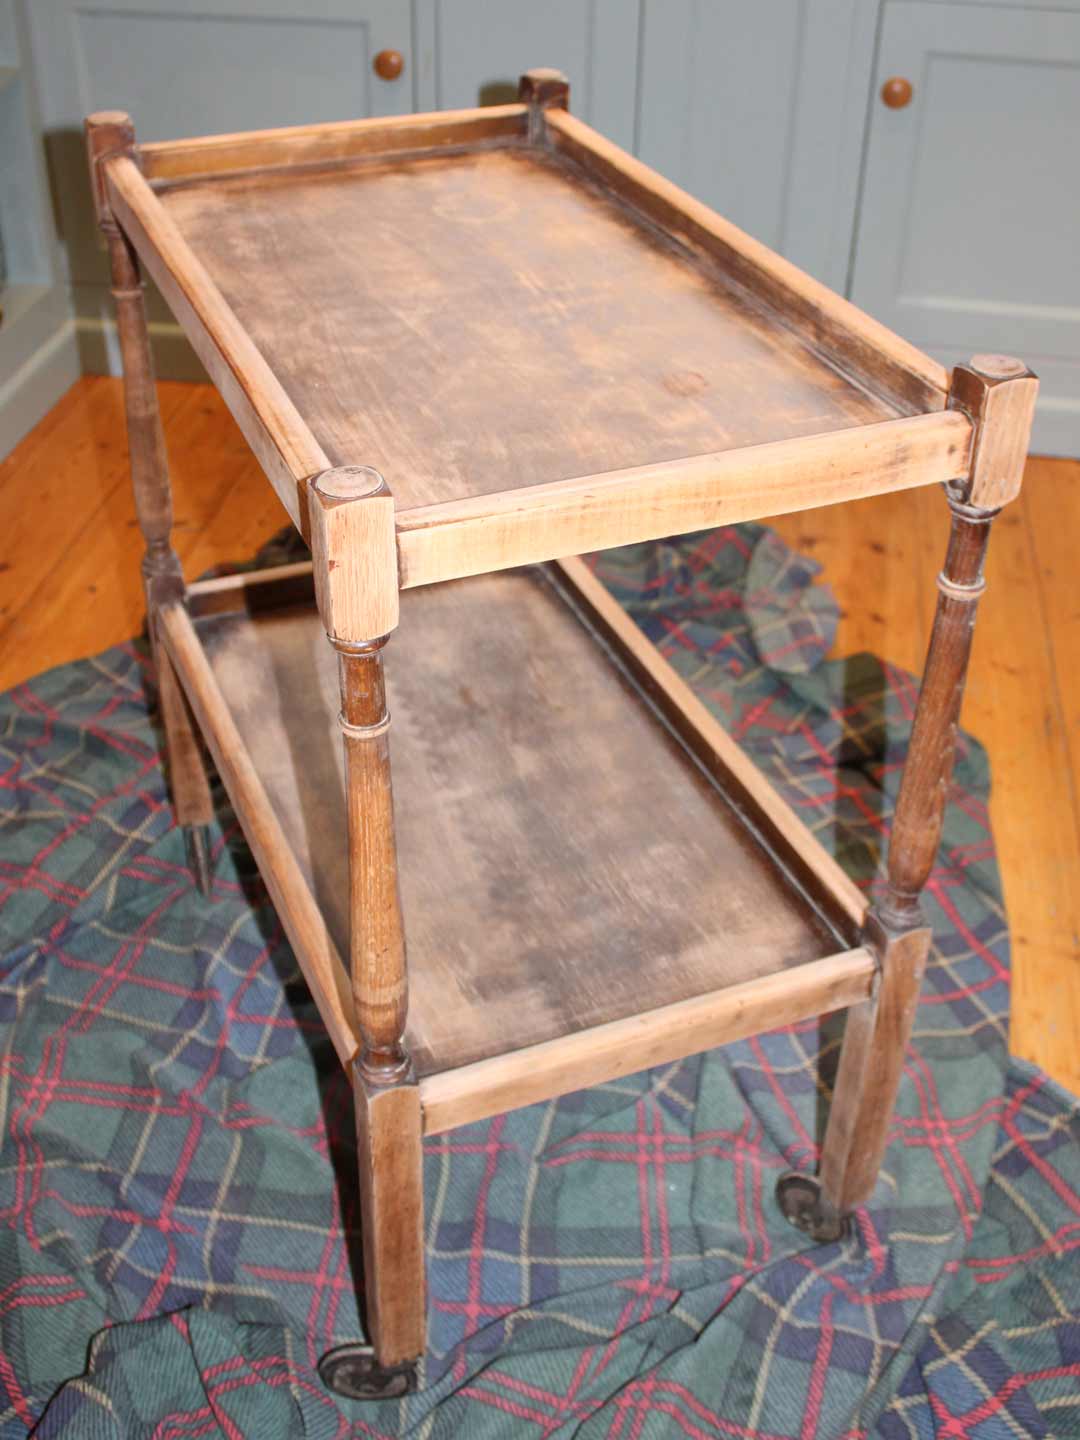
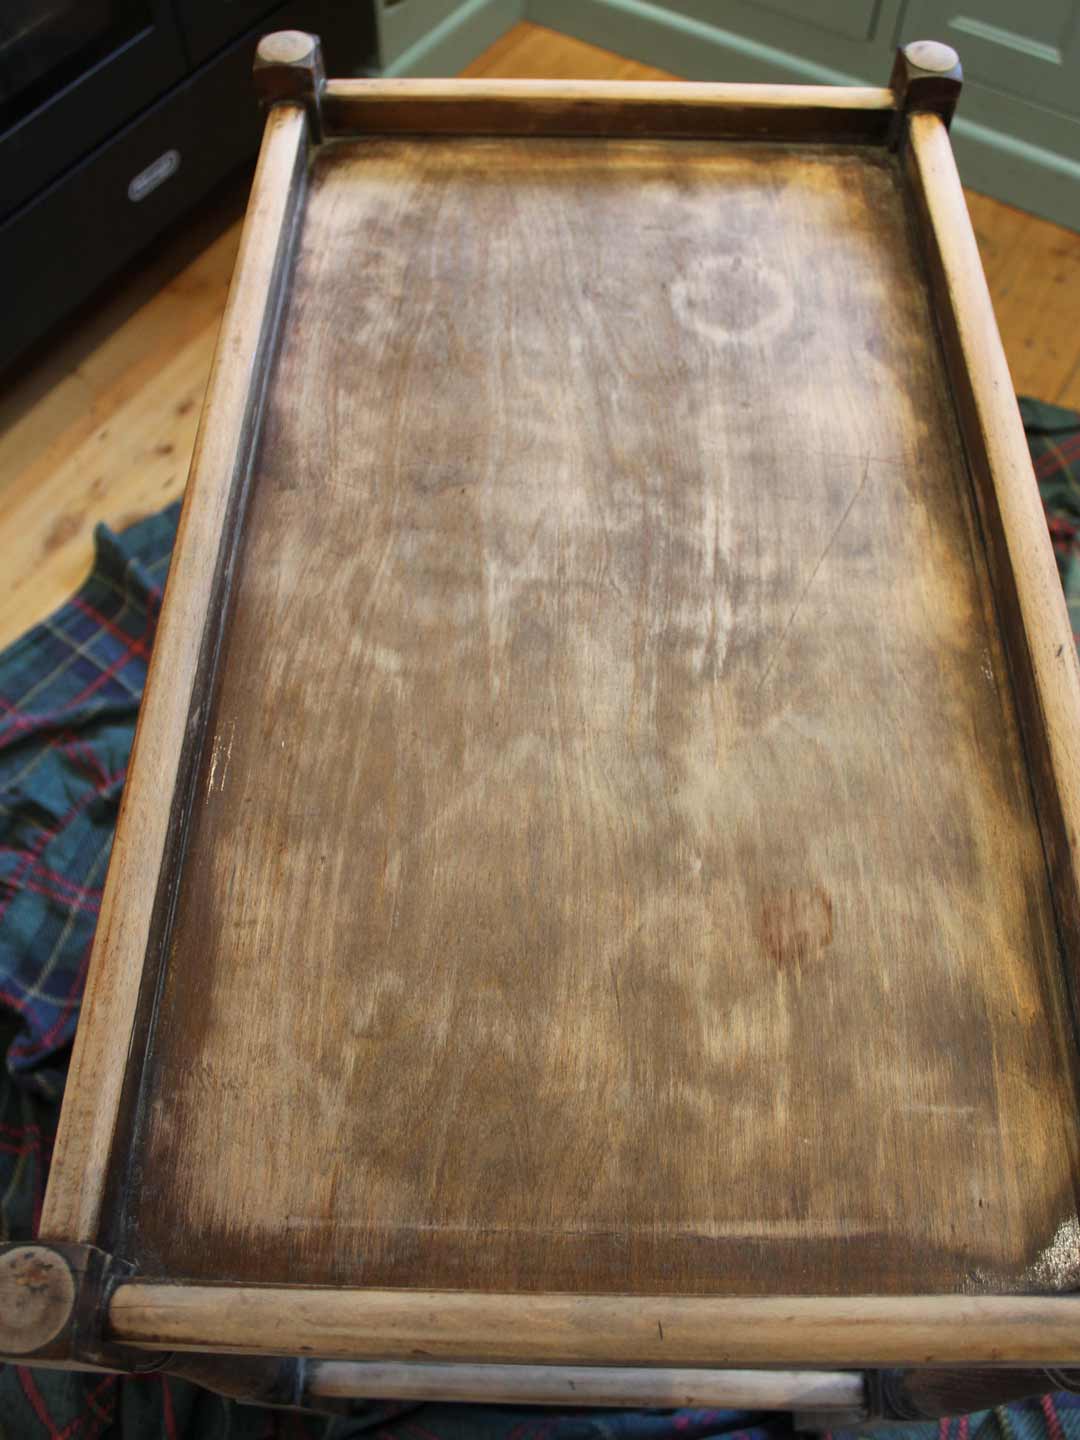
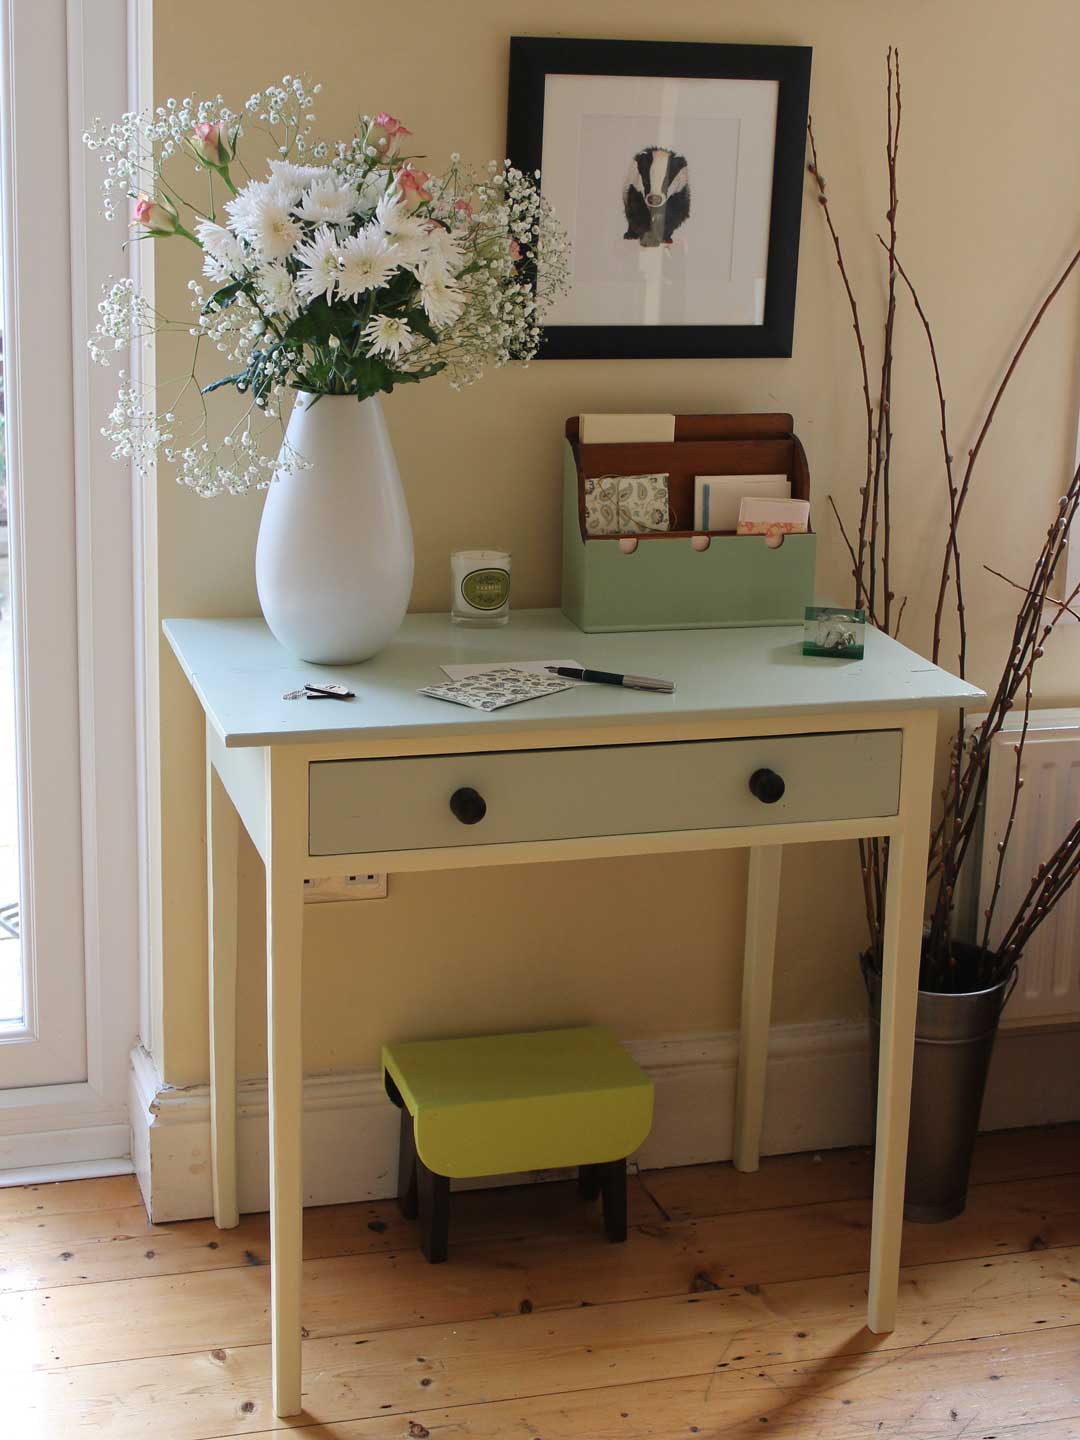
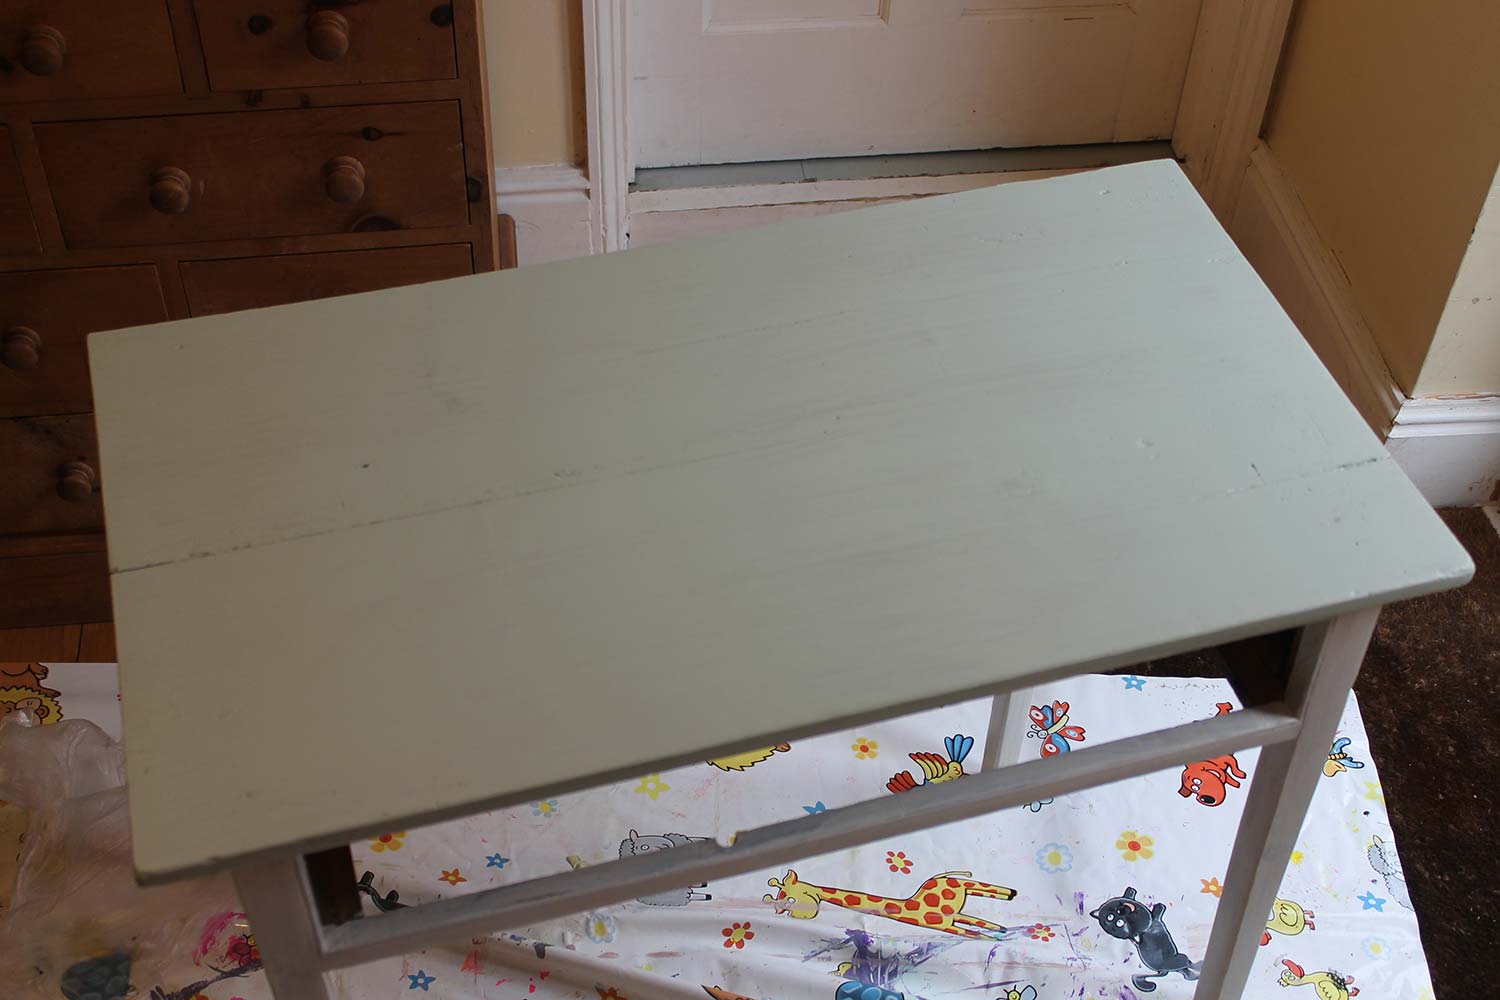
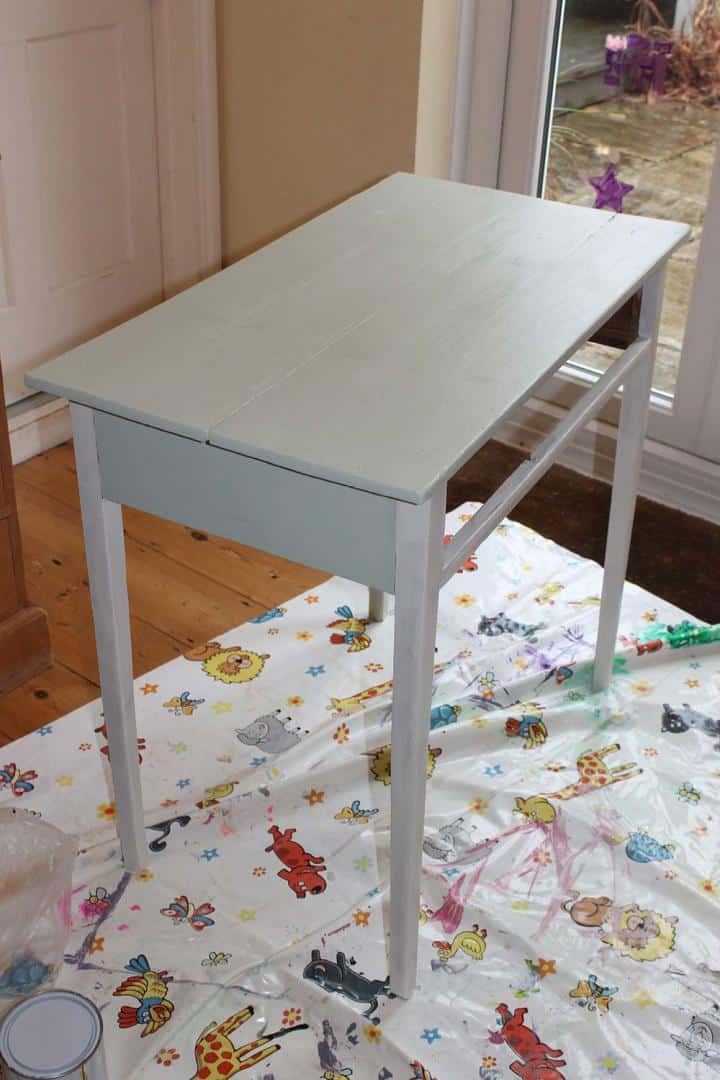
On this old occasional table the surface was a little old and grubby with some splintered edges so a quick sand with a power sander brought it back to a great surface to paint on to.
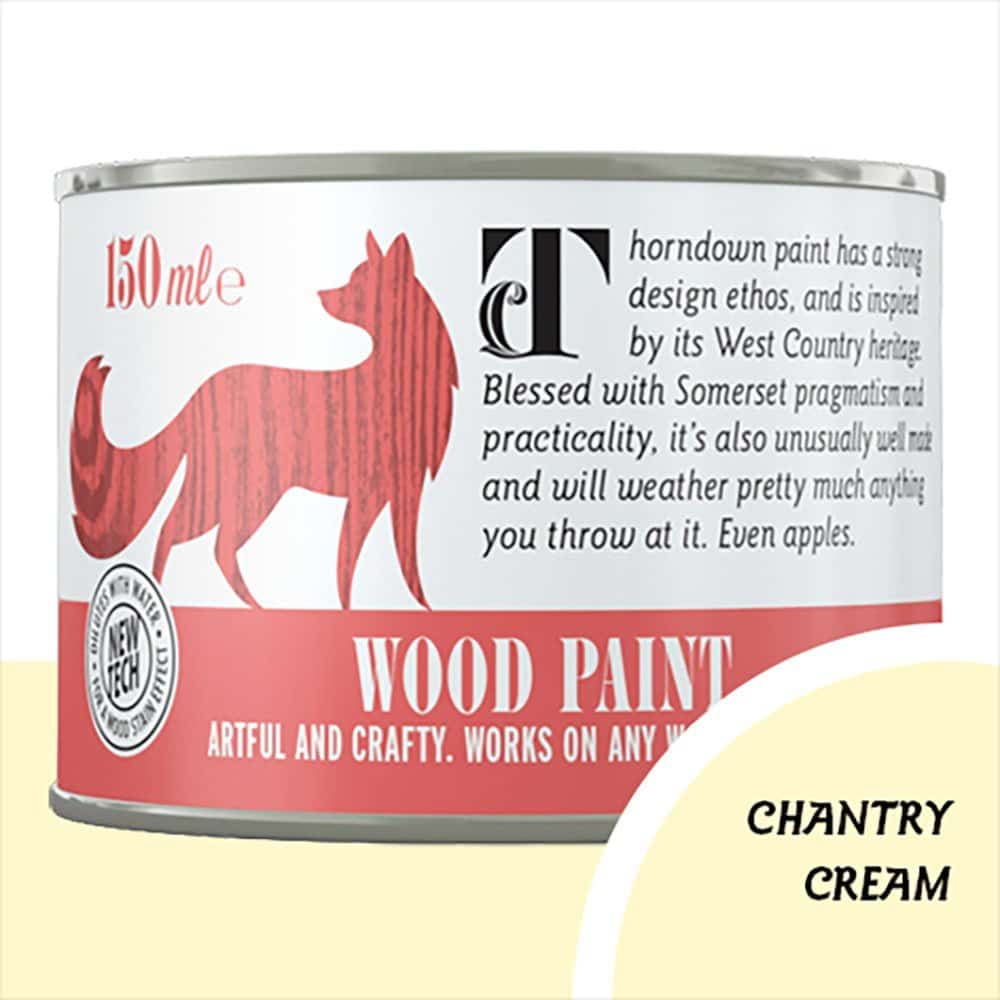
With Thorndown Wood Paint you can just paint straight on top without any need for a base coat or primer. Painting on one coat will give a shabby chic look and two to three coats (for lighter shades like off-whites and creams such as Chantry Cream used here) will give a solid coating.
If you’re painting a solid (opaque) colour on top of wood then it doesn’t matter if the old wood is a bit patchy or stained as the paint will cover it over. If you’re painting on a translucent wood colour then you will need to sand back to remove stains and patches or these will show through.
3. Clean And Dry – As with all painting jobs you need to make sure all surfaces are clean and dry. Use soapy water to clean off any muck or just a damp cloth to remove dust. Make sure the wood is totally dry before starting a job otherwise the paint won’t be able to bond and fix to the surface properly leaving you with a weak coating.
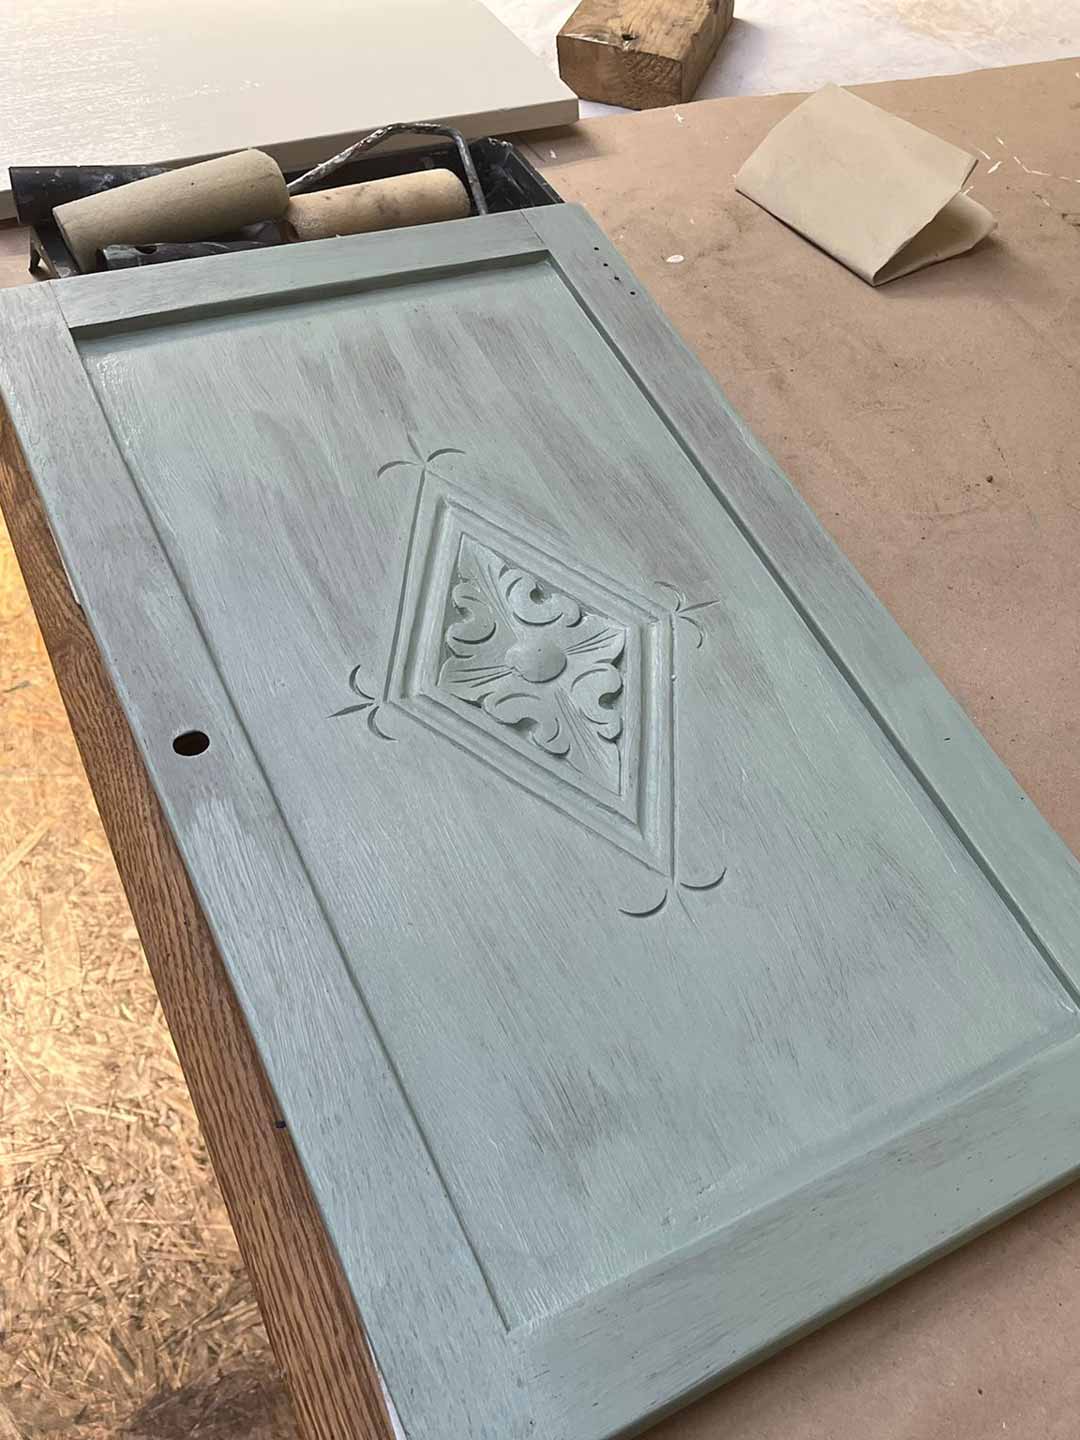
4. Painting – Select a colour that will suit the piece and where you want it to be. Crack open the tin and stir well to make sure that all the ingredients and pigments are mixed together properly. Shaking on its own doesn’t do the job as well so I normally shake and stir.
I wanted a light and elegant country cottage scheme to match the age and elegant design of this table, so I chose a combination of Chantry Cream and Wispy Willow Wood Paint.
With lighter paint shades you may want to apply our Stain Blocking Primer first to block any possible tannin stains or resin bleeds from discolouring the paint coating.


For an item of furniture this small you could get away with a few 150ml sample tins but a 750ml tin will mean you have plenty for 3 coats and touch-ups, or to use on another project!
Load the brush with a moderate amount of paint (so the head isn’t too clogged and dripping) and paint on with the grain working in sections. Paint the next section making sure you always paint against a wet patch so you don’t get dried streaks and patches. It always helps to work methodically especially when it comes to the second coat.
With Translucent Wood Tones these work differently to paints so you need to treat them like more of a stain. Get a small amount on the brush and work in really well spreading the paint out so you get a nice even coating. If you slap it on it will dry strong and patchy like a sun tan product!
I normally start at the bottom or back and finish with the top surface or front-facing areas that are seen most, so you can make sure that they won’t have any streaks or drips on them and it’s your most perfect finish.
After finishing the first coat leave to dry. In warm dry conditions this wood paint can dry within 30 minutes for overcoating so with most projects, by the time you’ve finished the first coat you’re ready to start again with the second.
When you’ve finished painting leave the object to dry for a good few hours before handling. 2-4 hours will allow the paint to properly bond and fix.
For larger items that you will want to manually handle such as chairs, tables and cupboards I’d recommend leaving to dry for 24 hours before using it which will allow the paint to fully fix and cure, meaning the coating is rock solid, then start enjoying it!


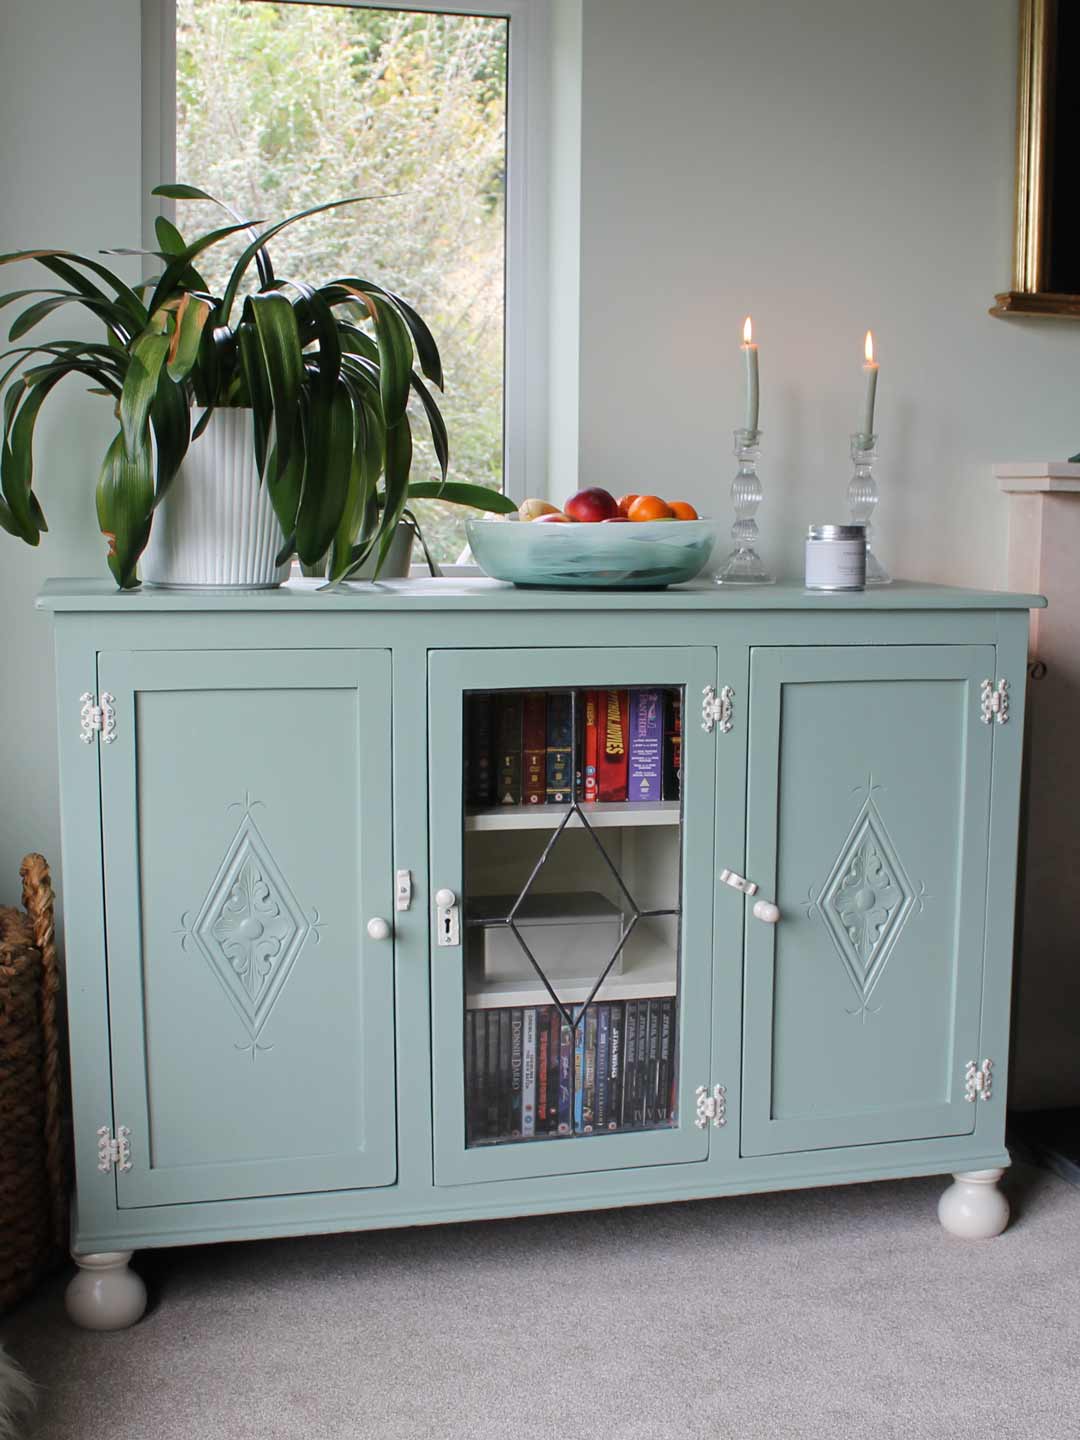
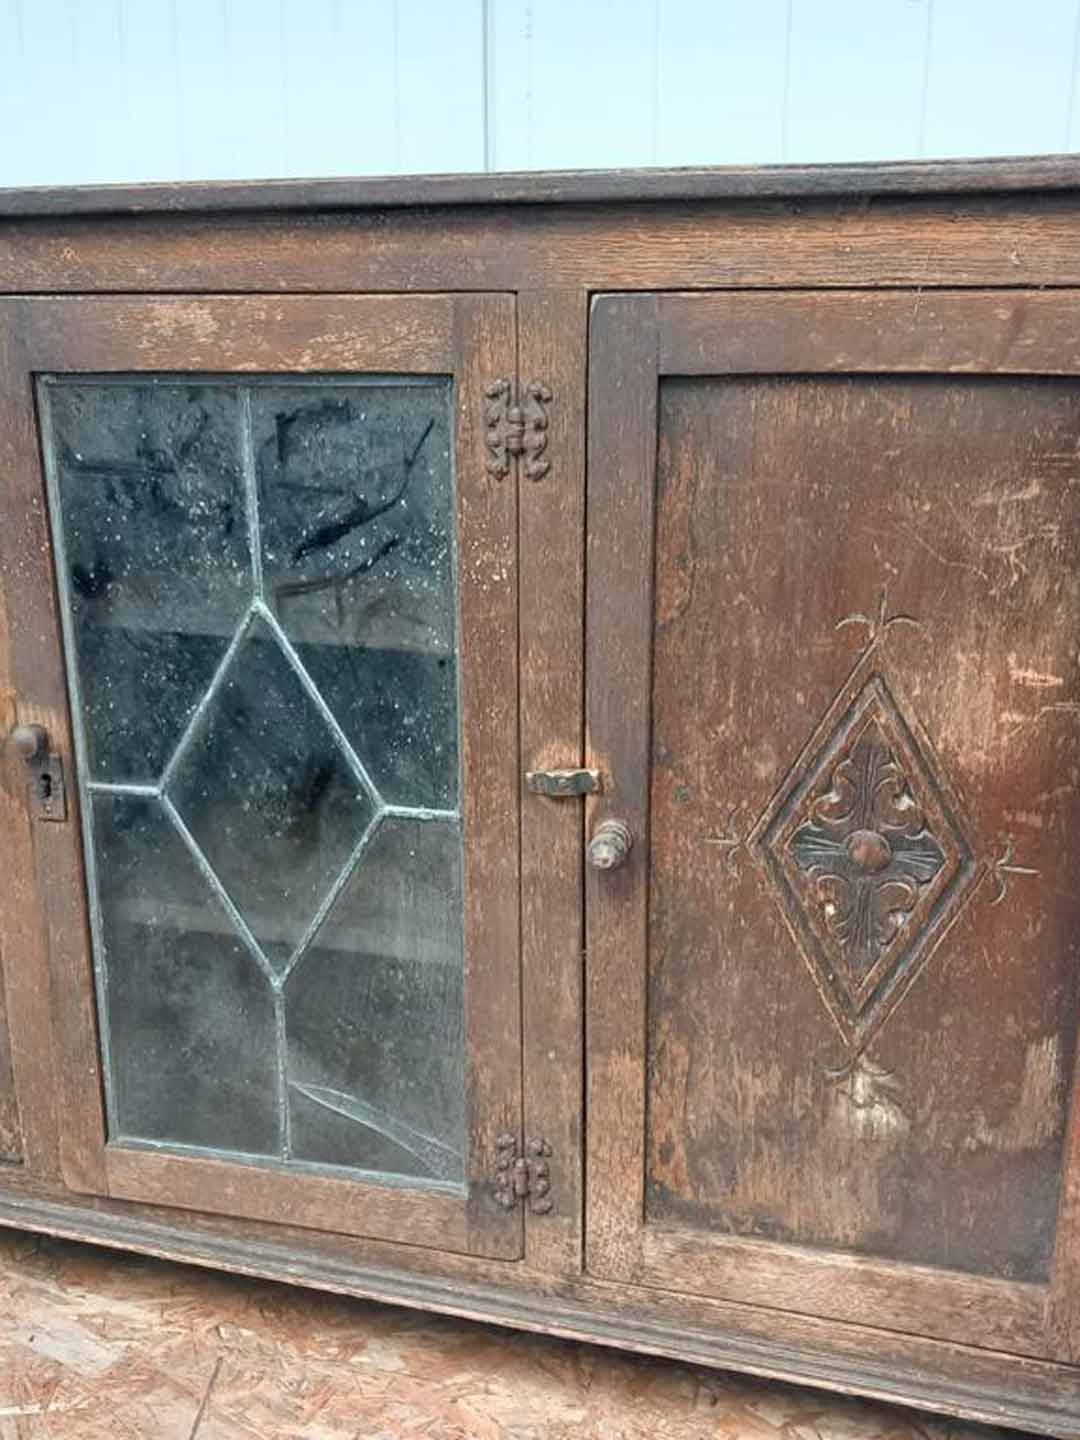
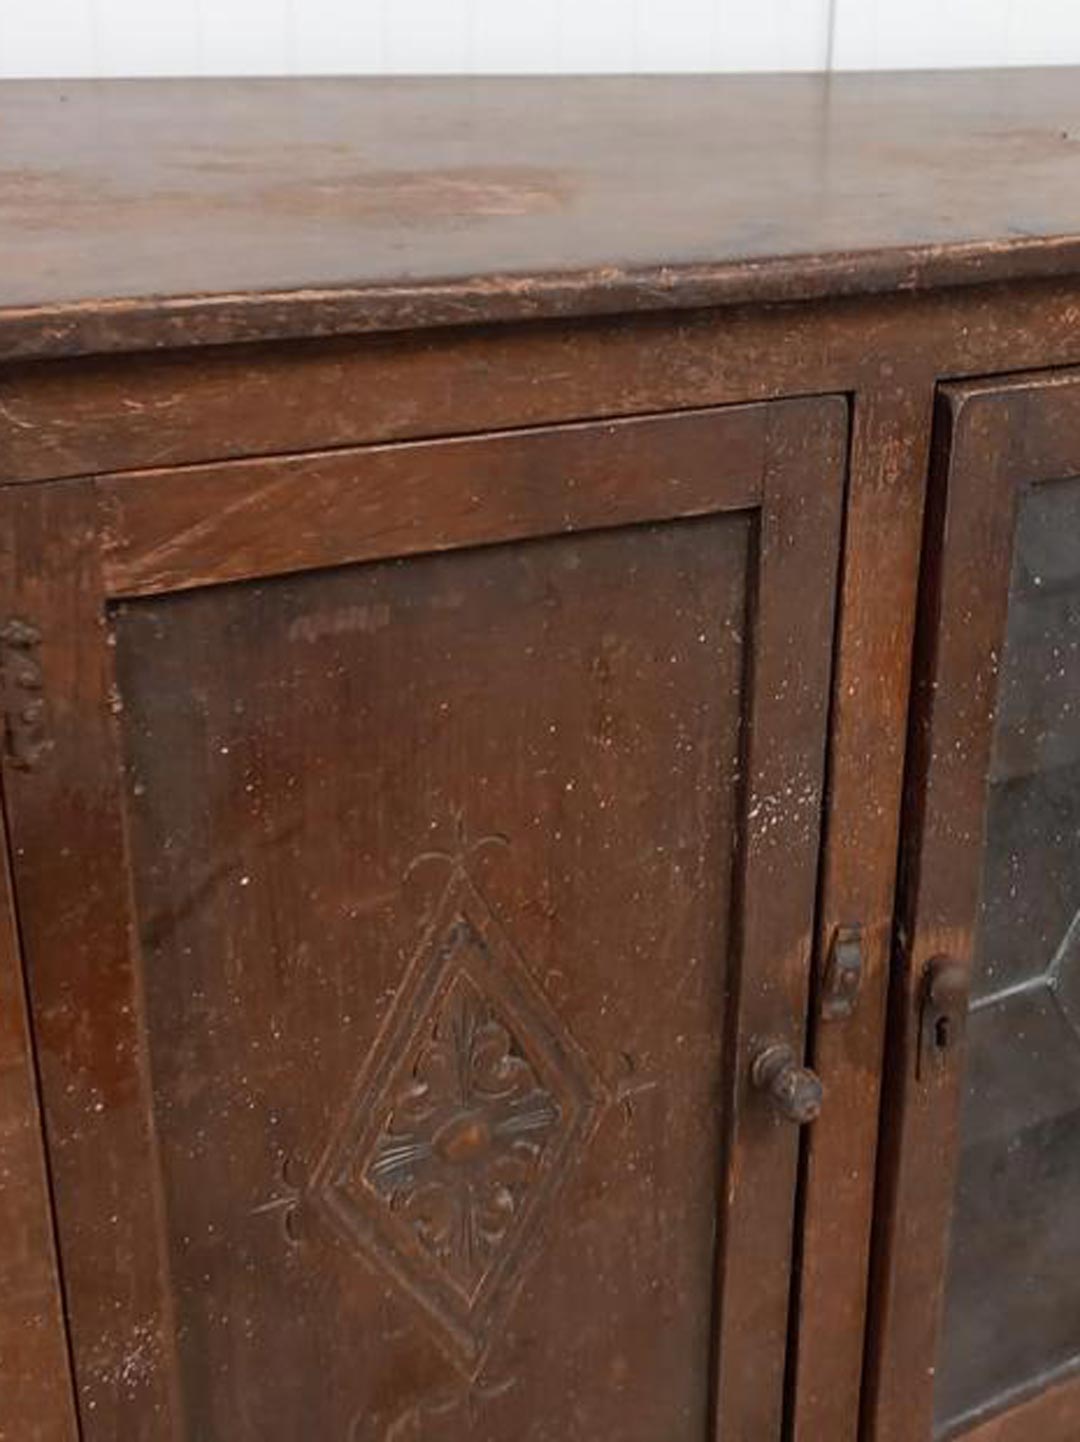
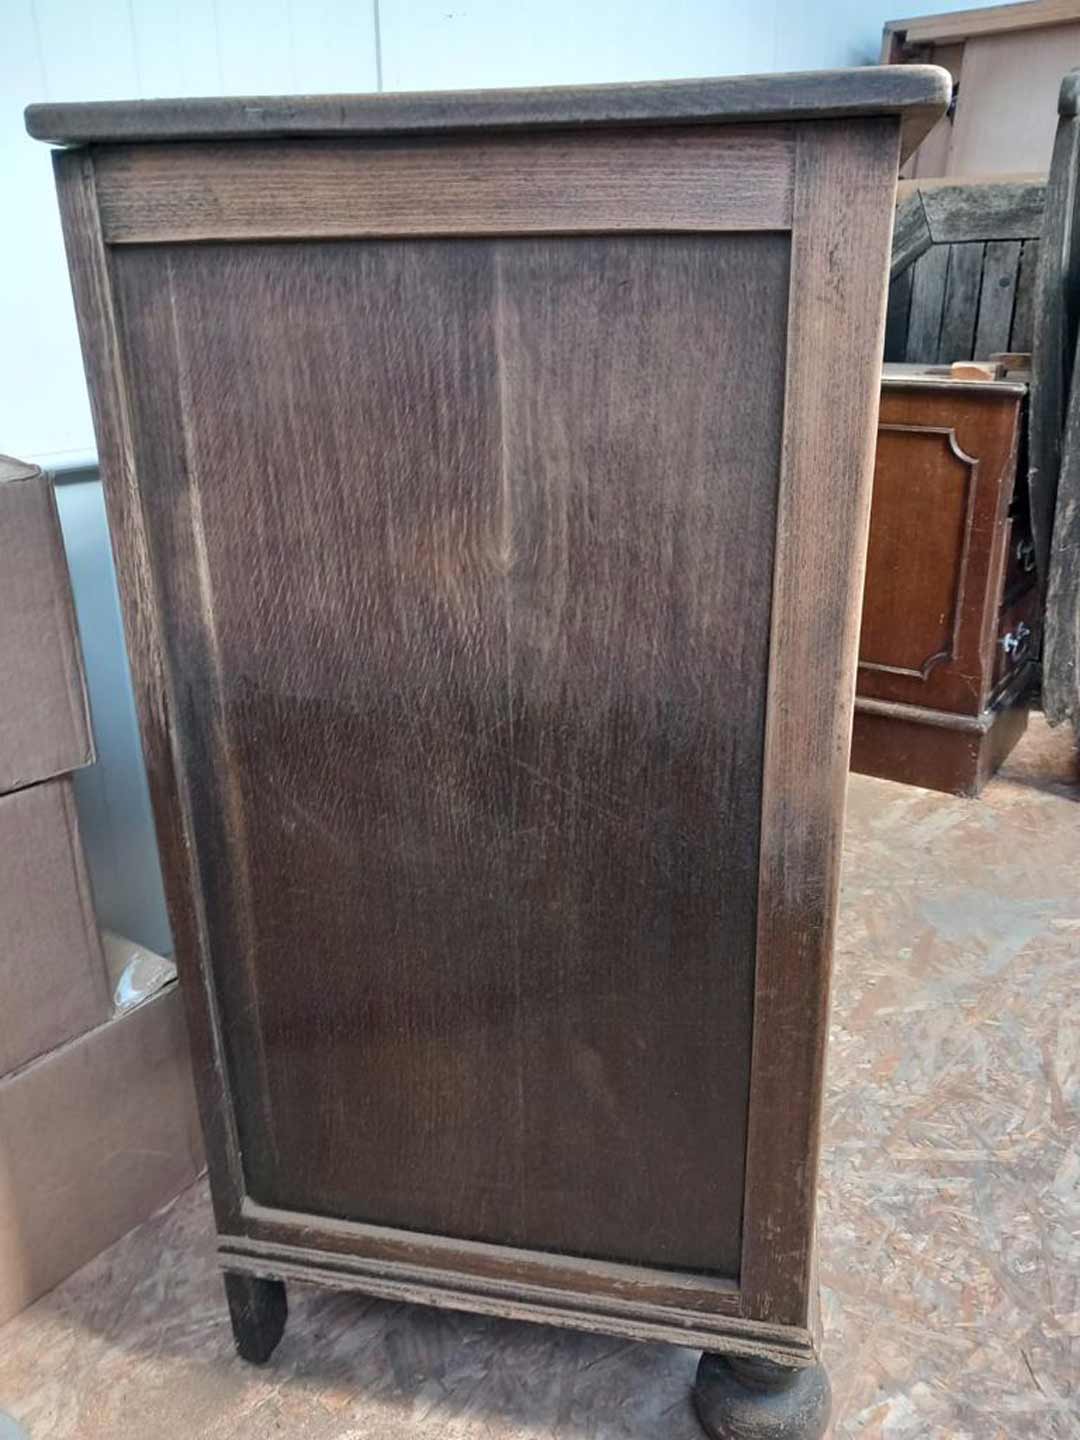
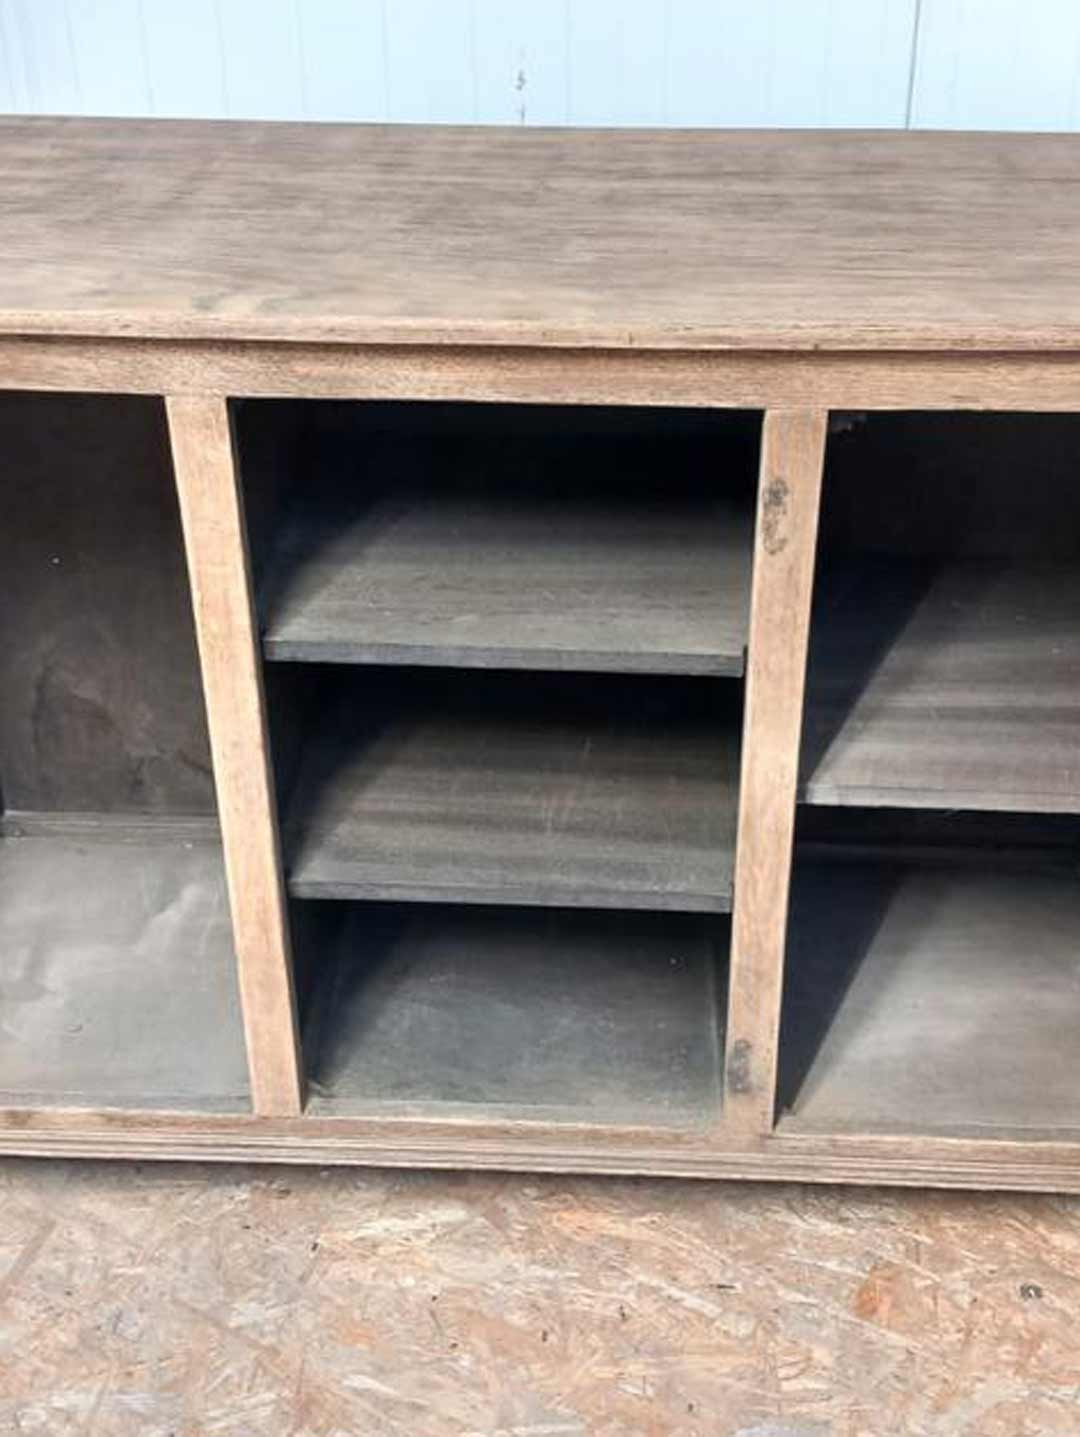
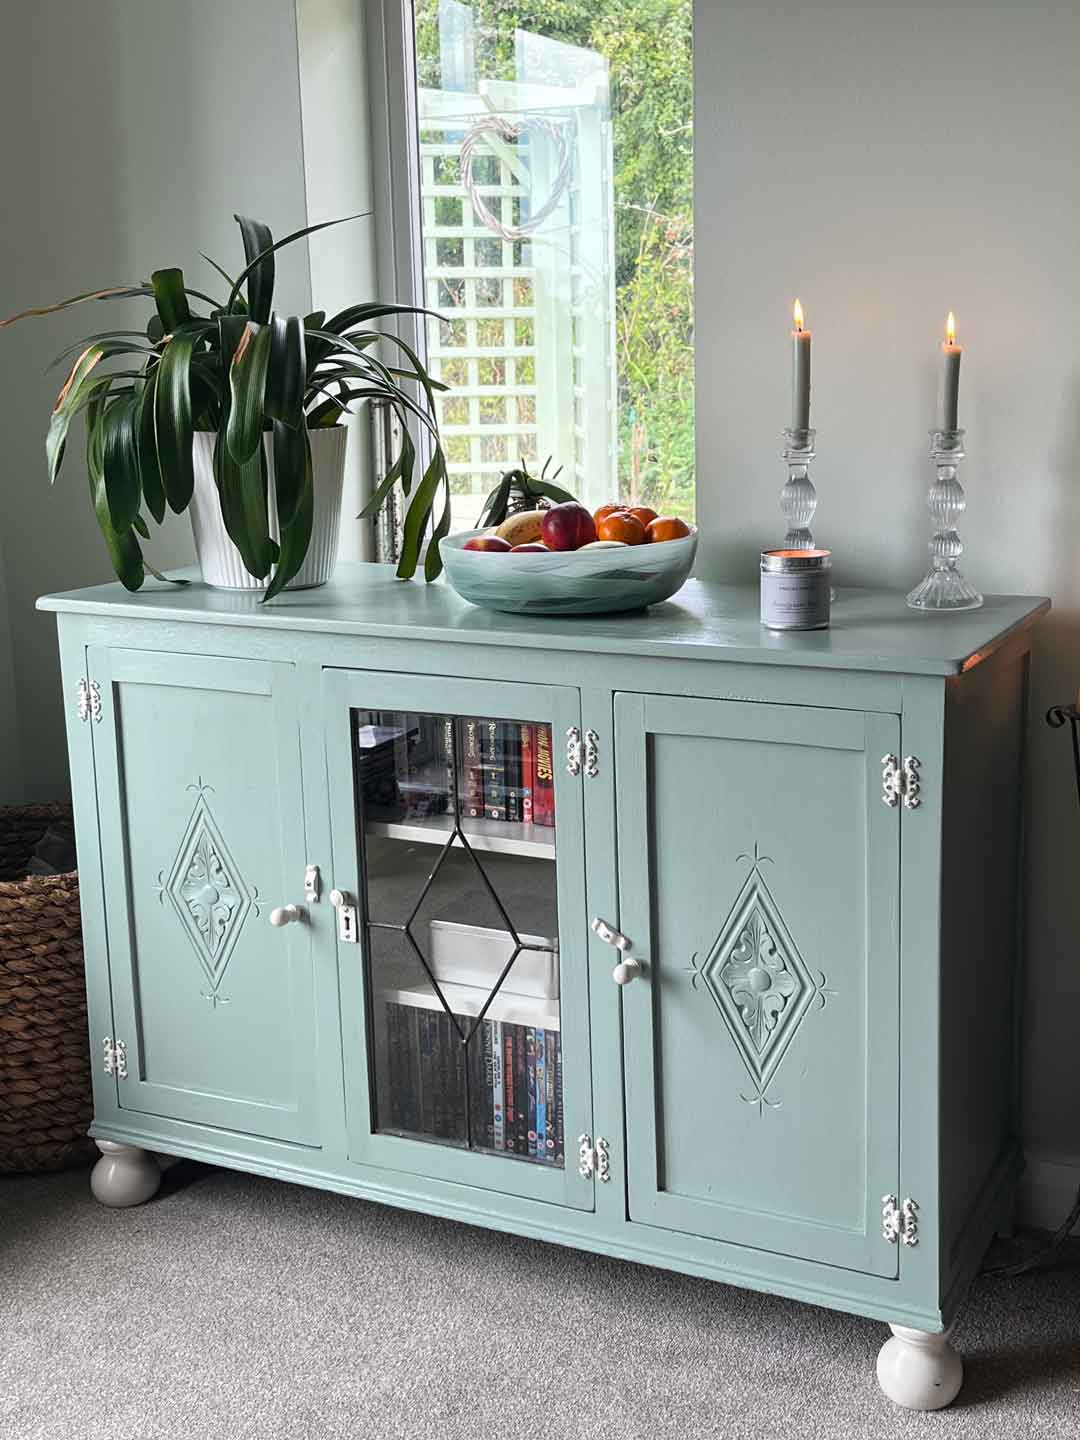
From Gross to Goddess
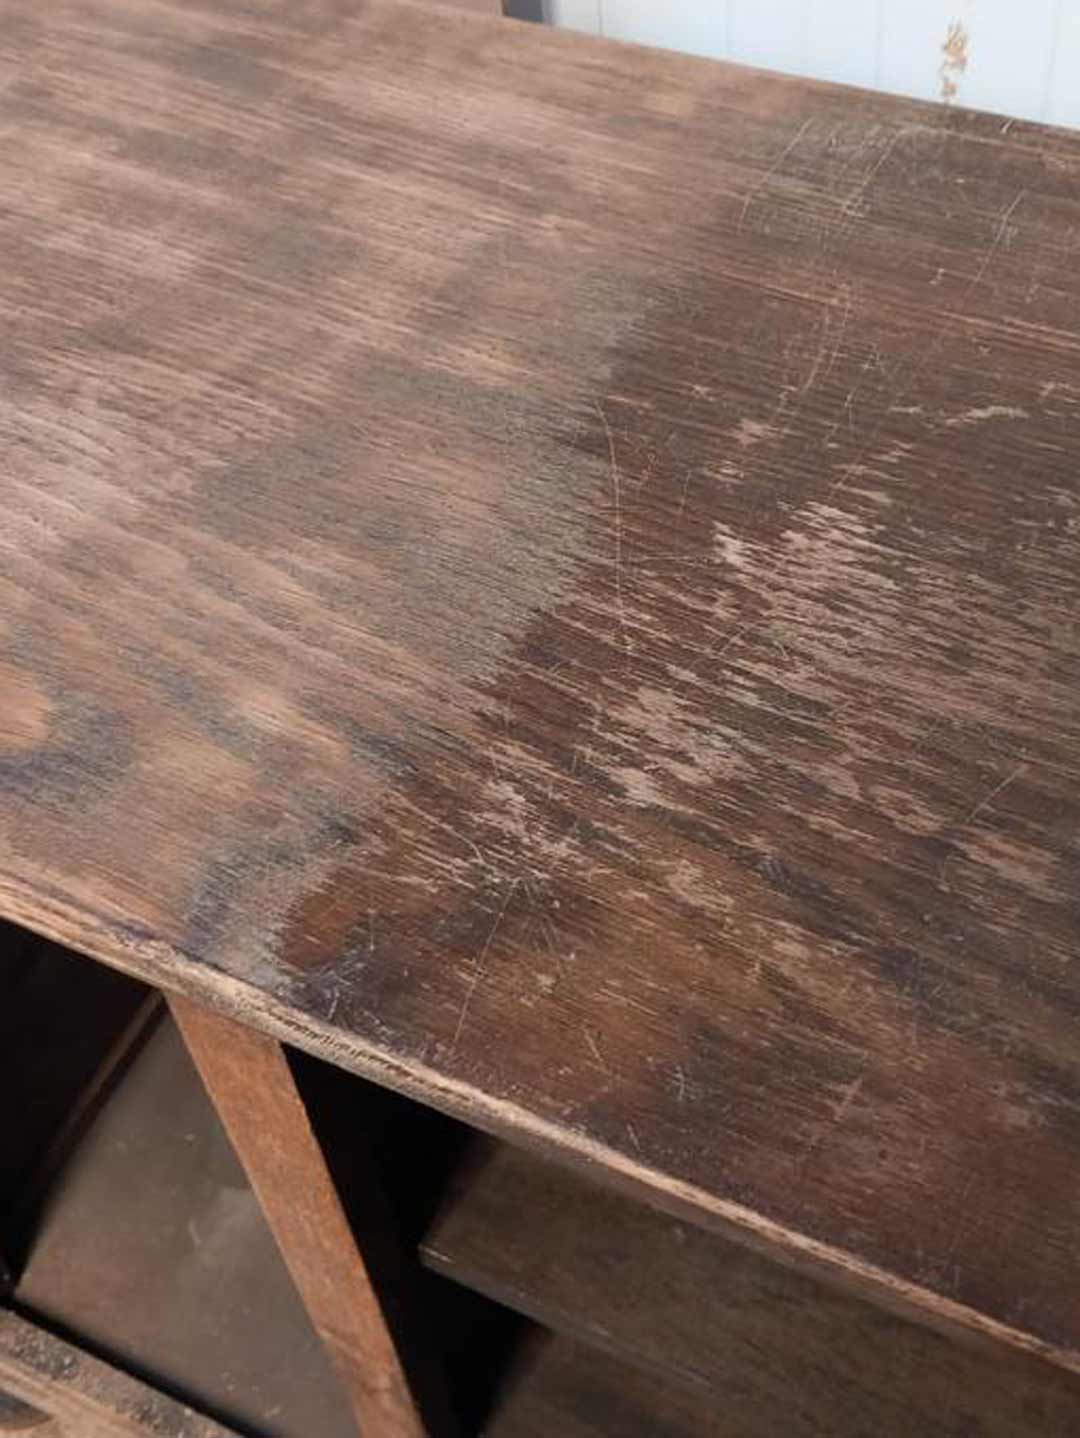
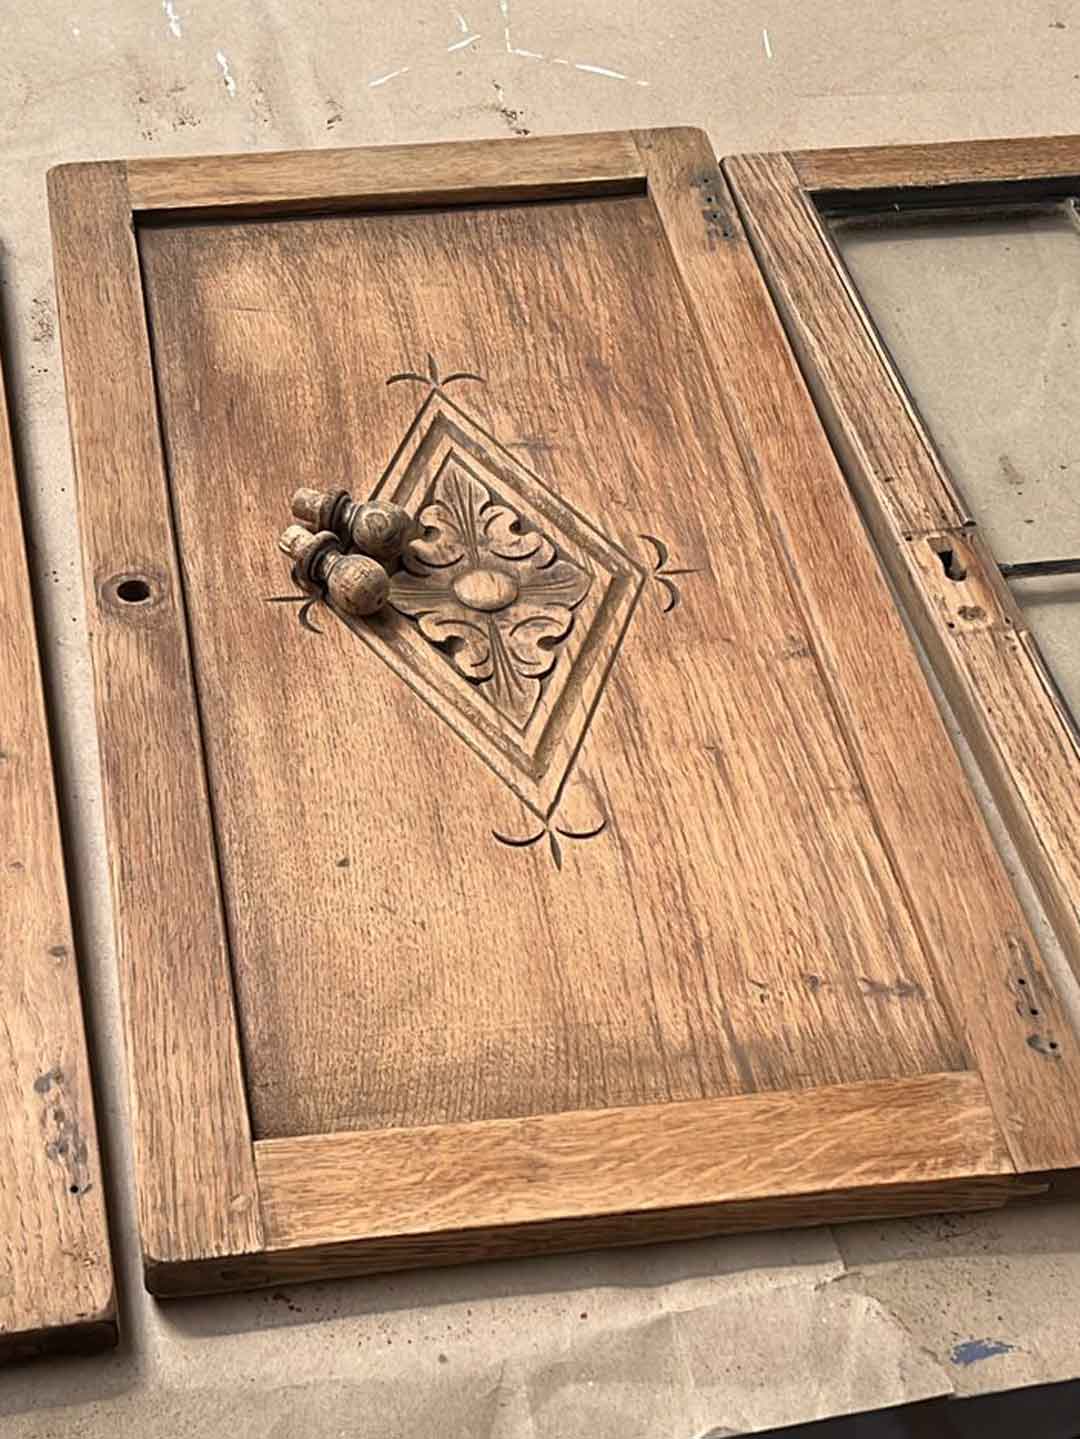
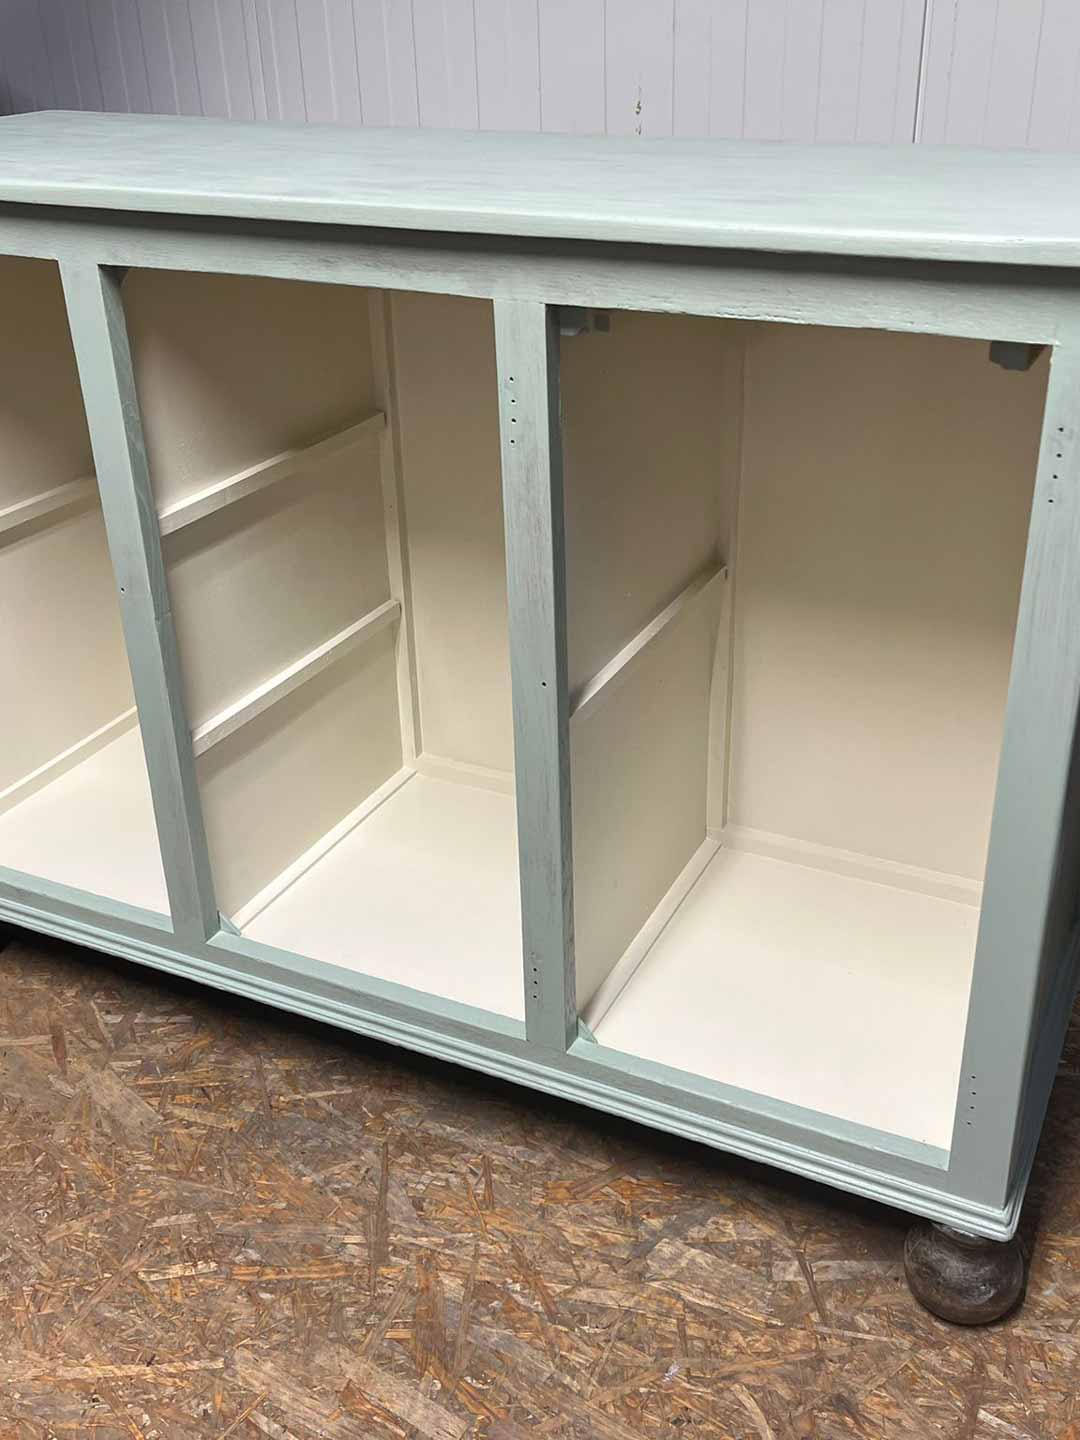
This old sideboard had the most beautiful bones but needed a lot of love to bring it to its best.
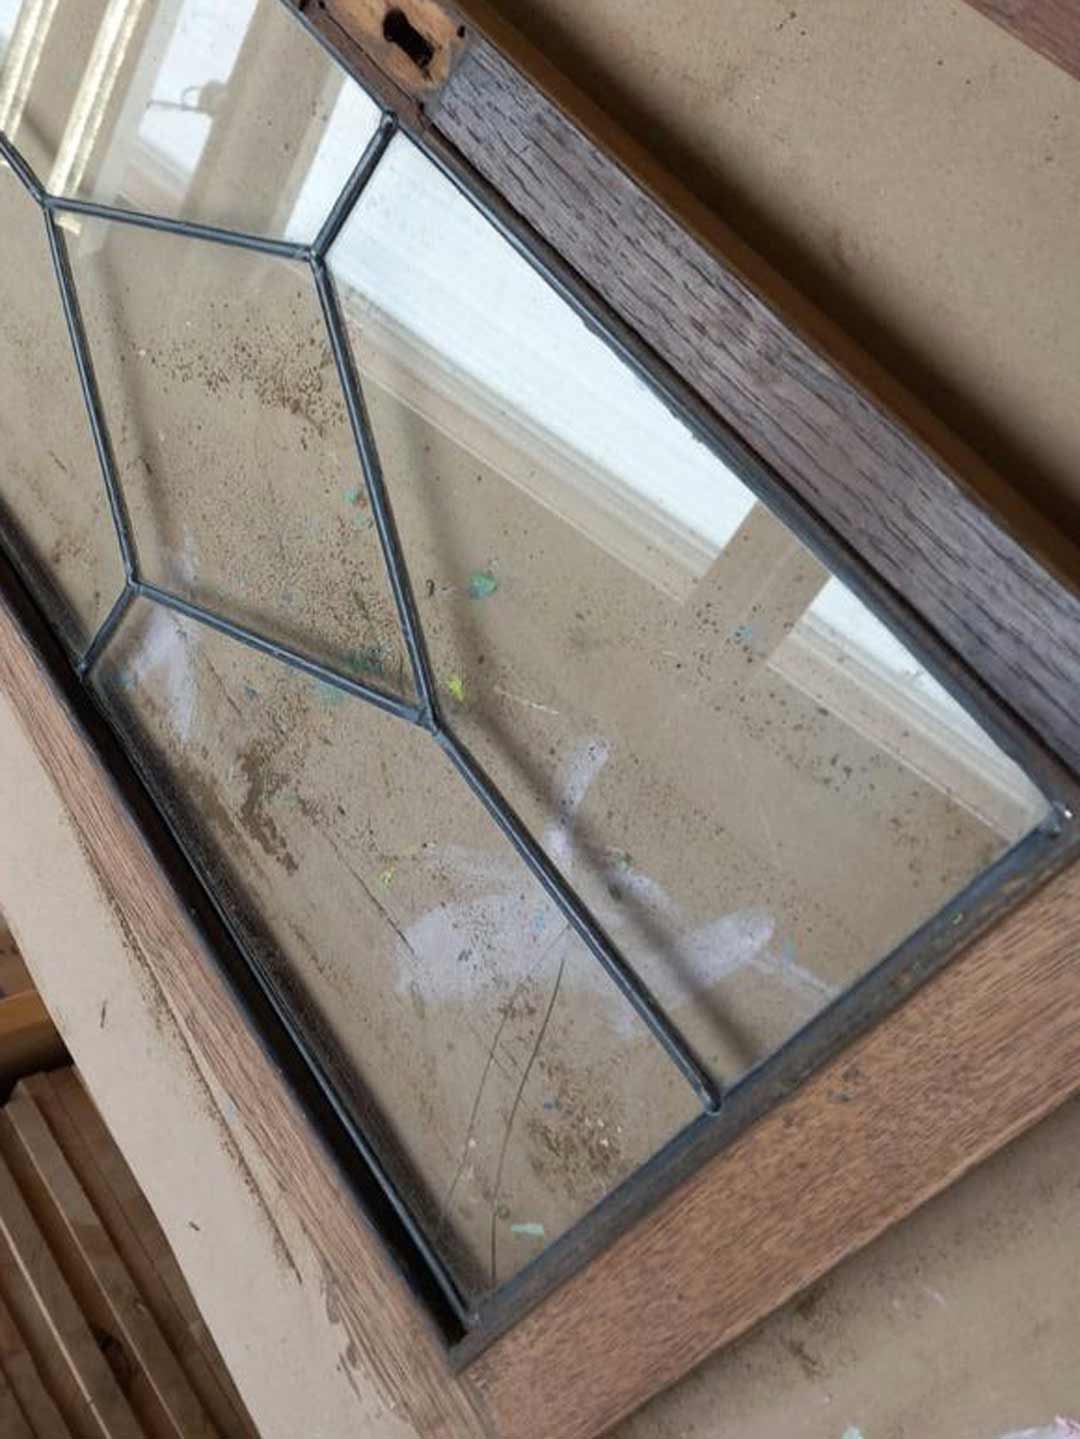
The dark old varnish was sanded off and the broken window repaired by the fabulous stained glass artist @karenbosanquet.
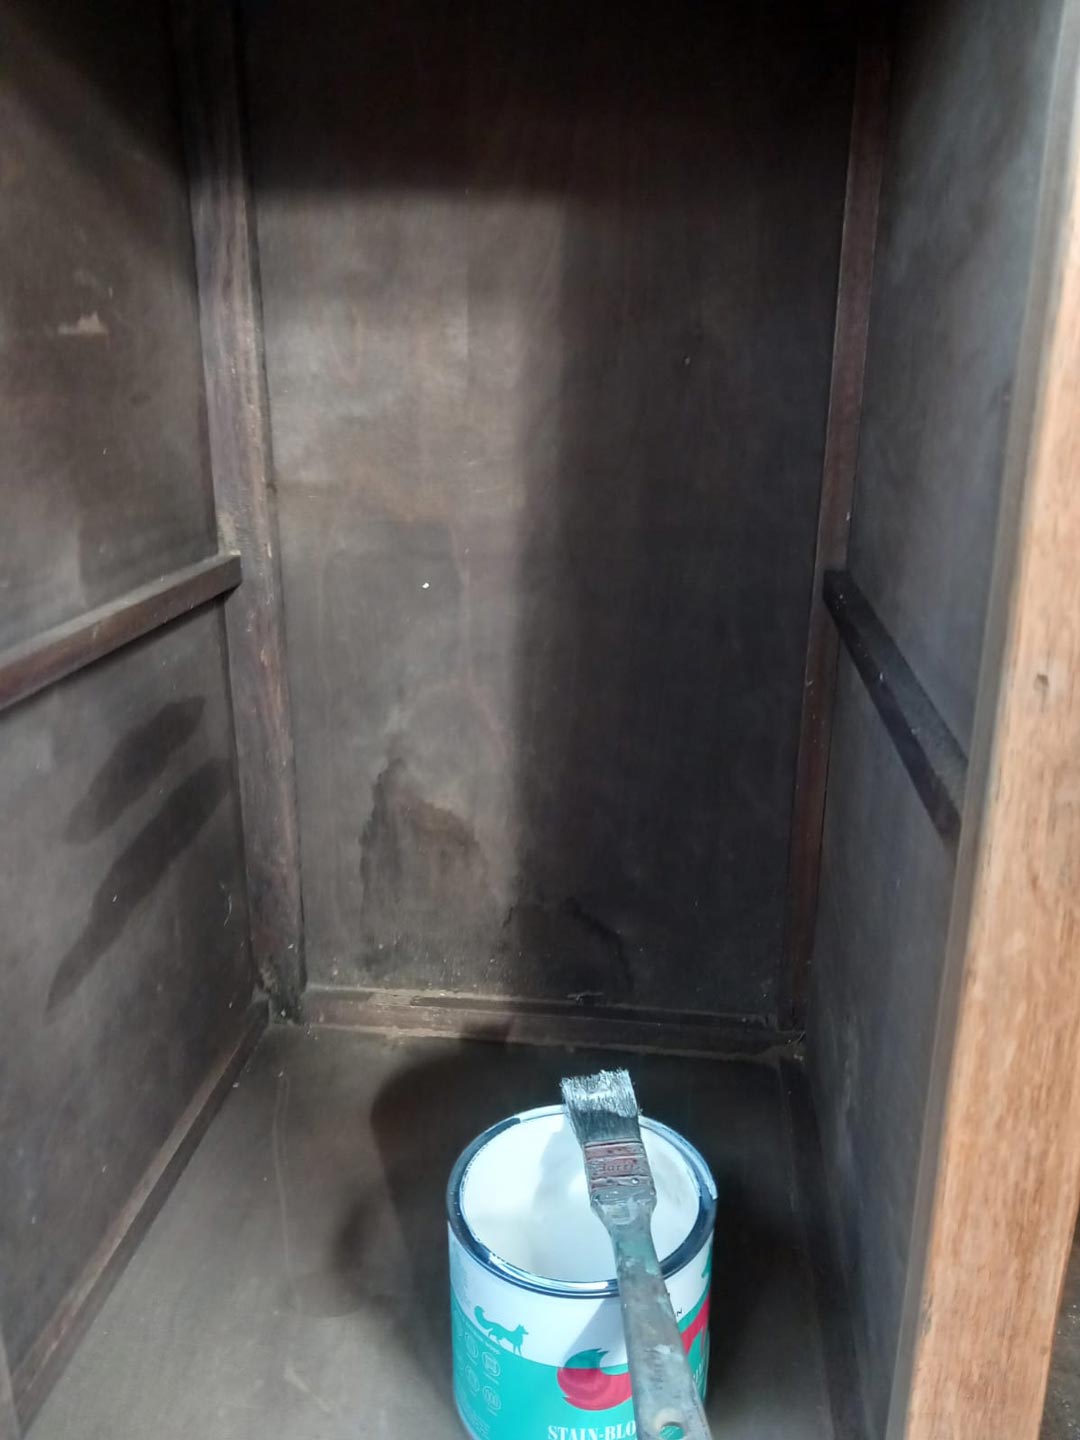
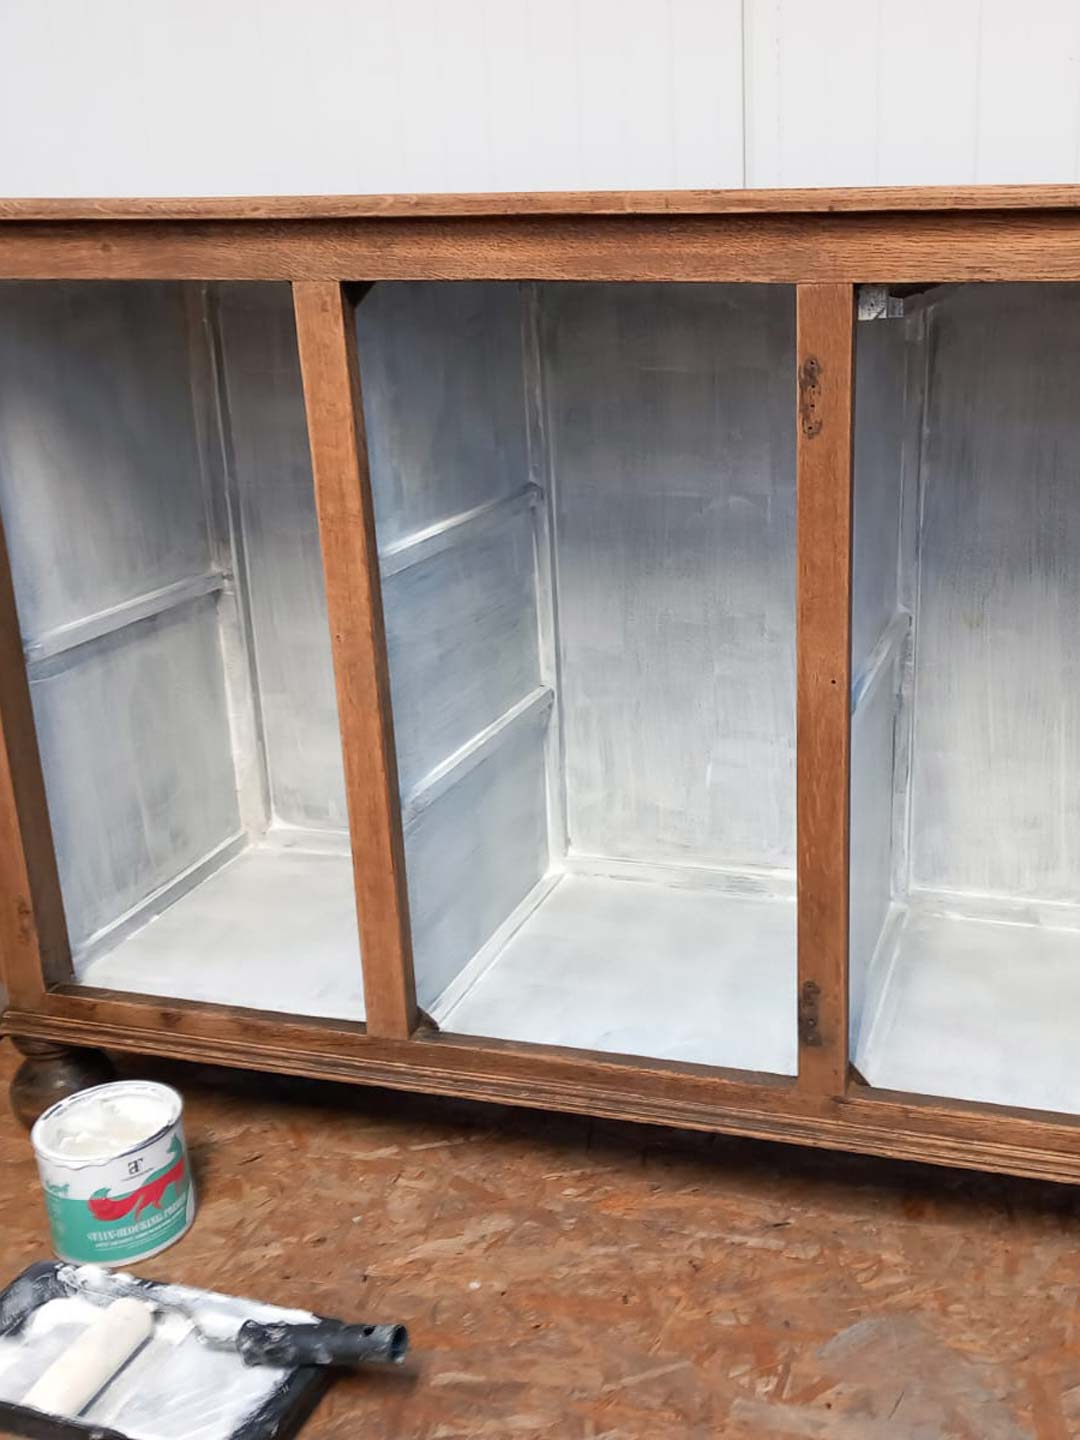
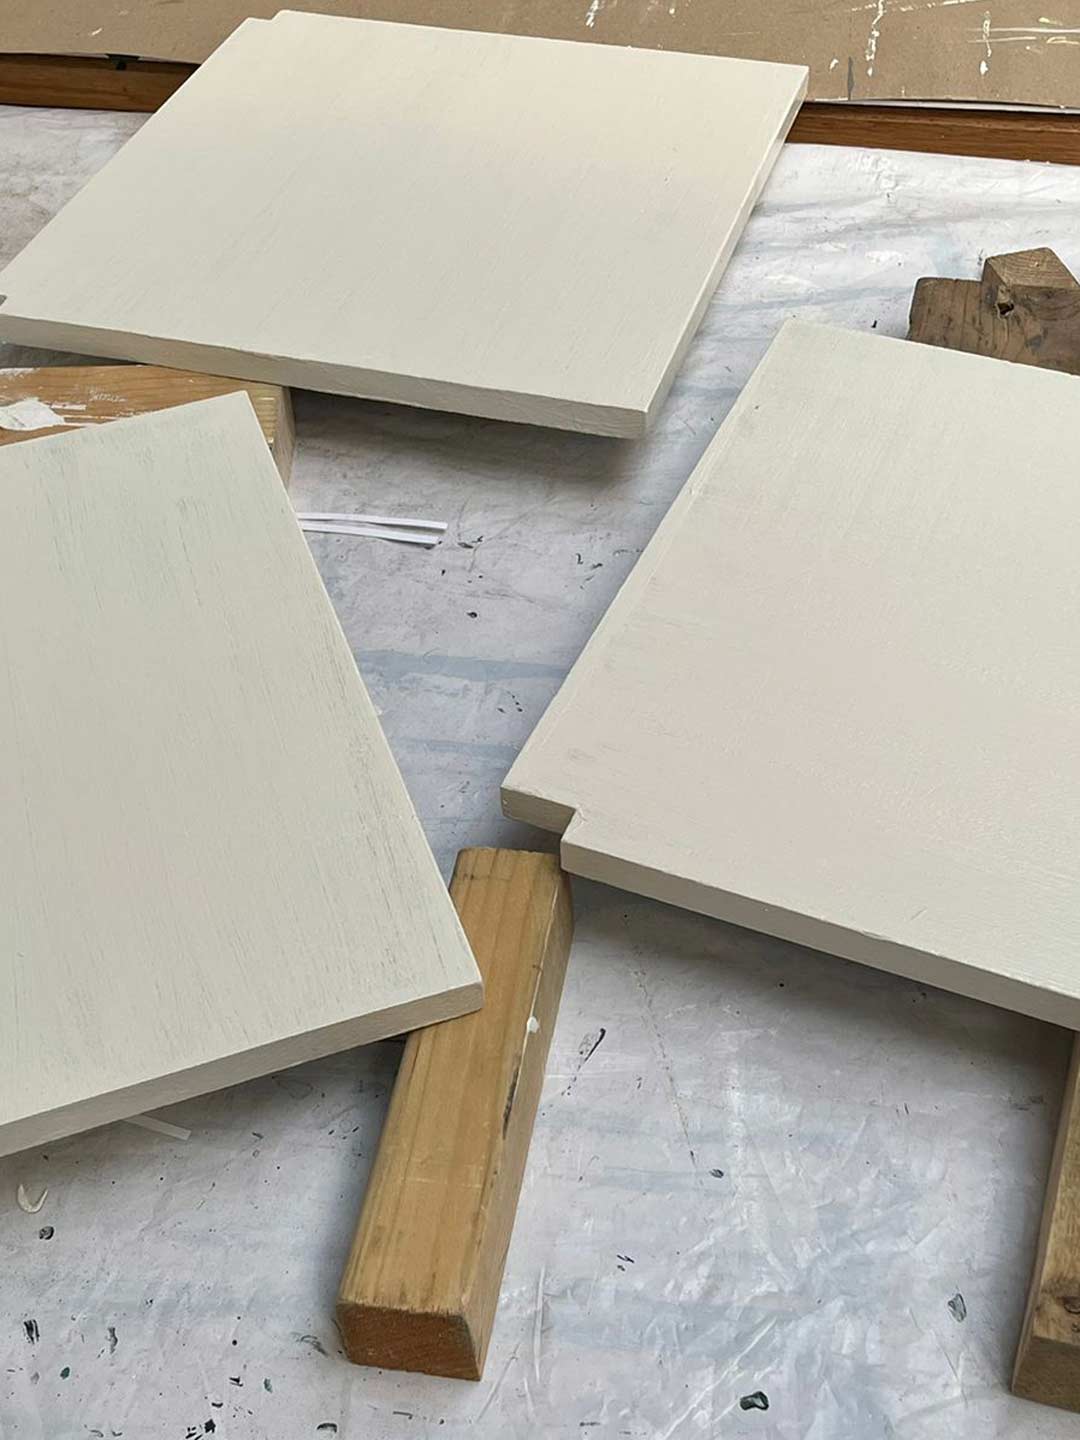
A couple of coats of Thorndown White Stain Blocking Primer was painted on the dark interior to block any possible stains discolouring the paint coating.
Cow Parsley White Wood Paint was applied to the interior to brighten it up, with matching feet and accessories.
Two coats of Thorndown Goddess Green Wood Paint on the exterior completed the makeover, giving it a beautiful and long-lasting durable satin coating.
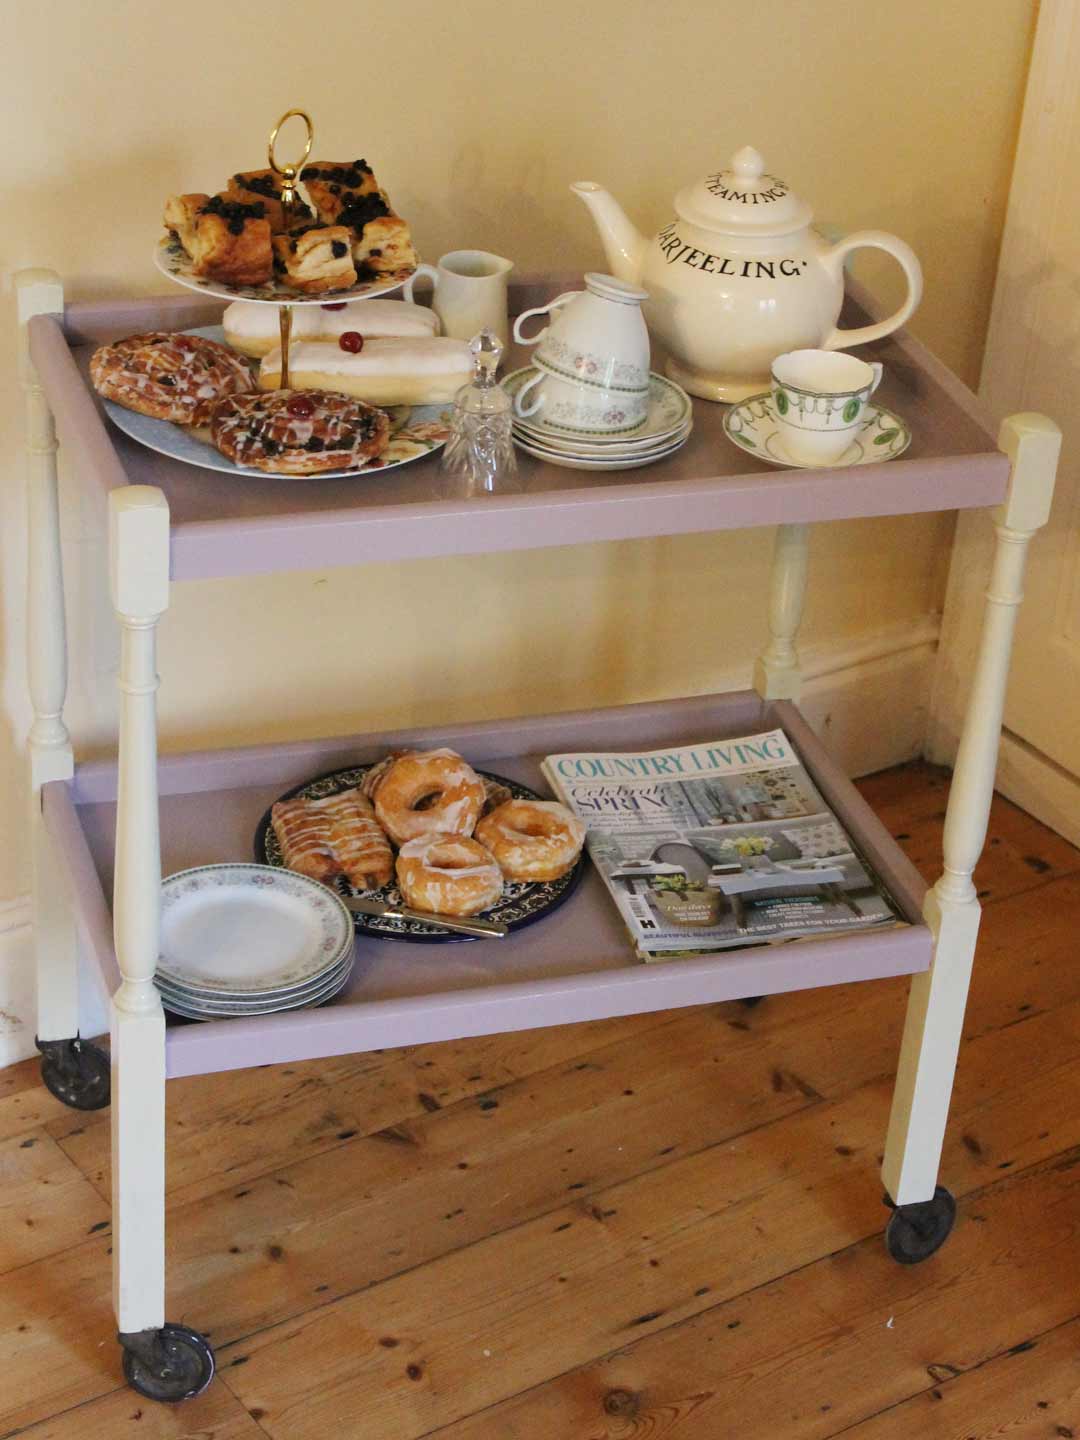
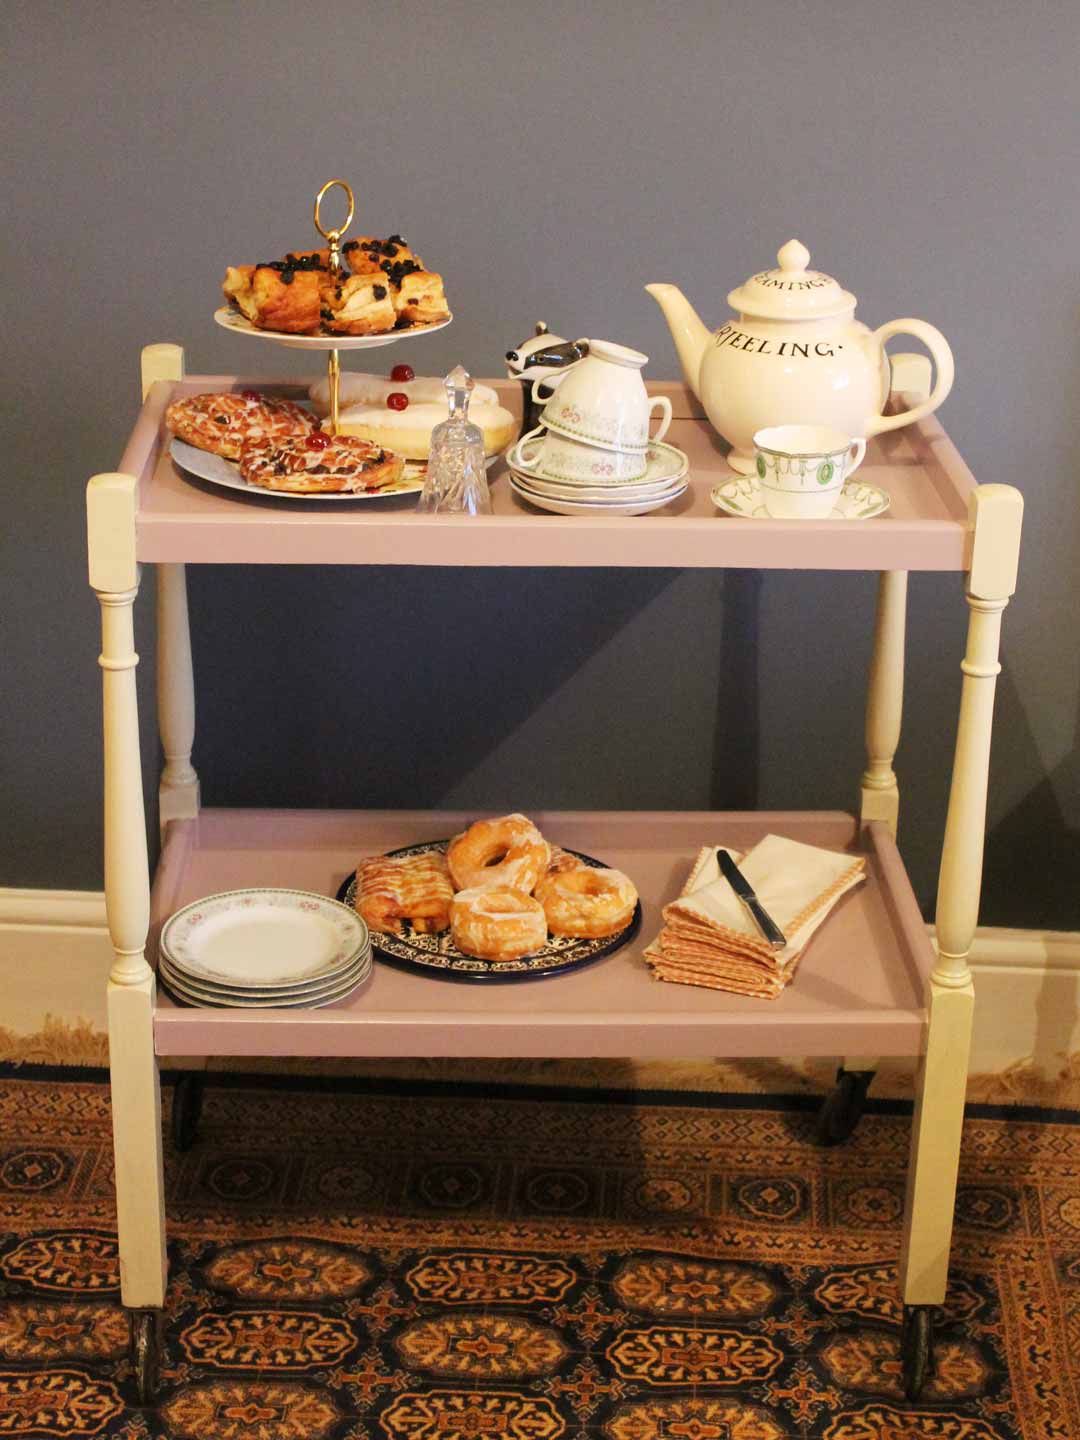
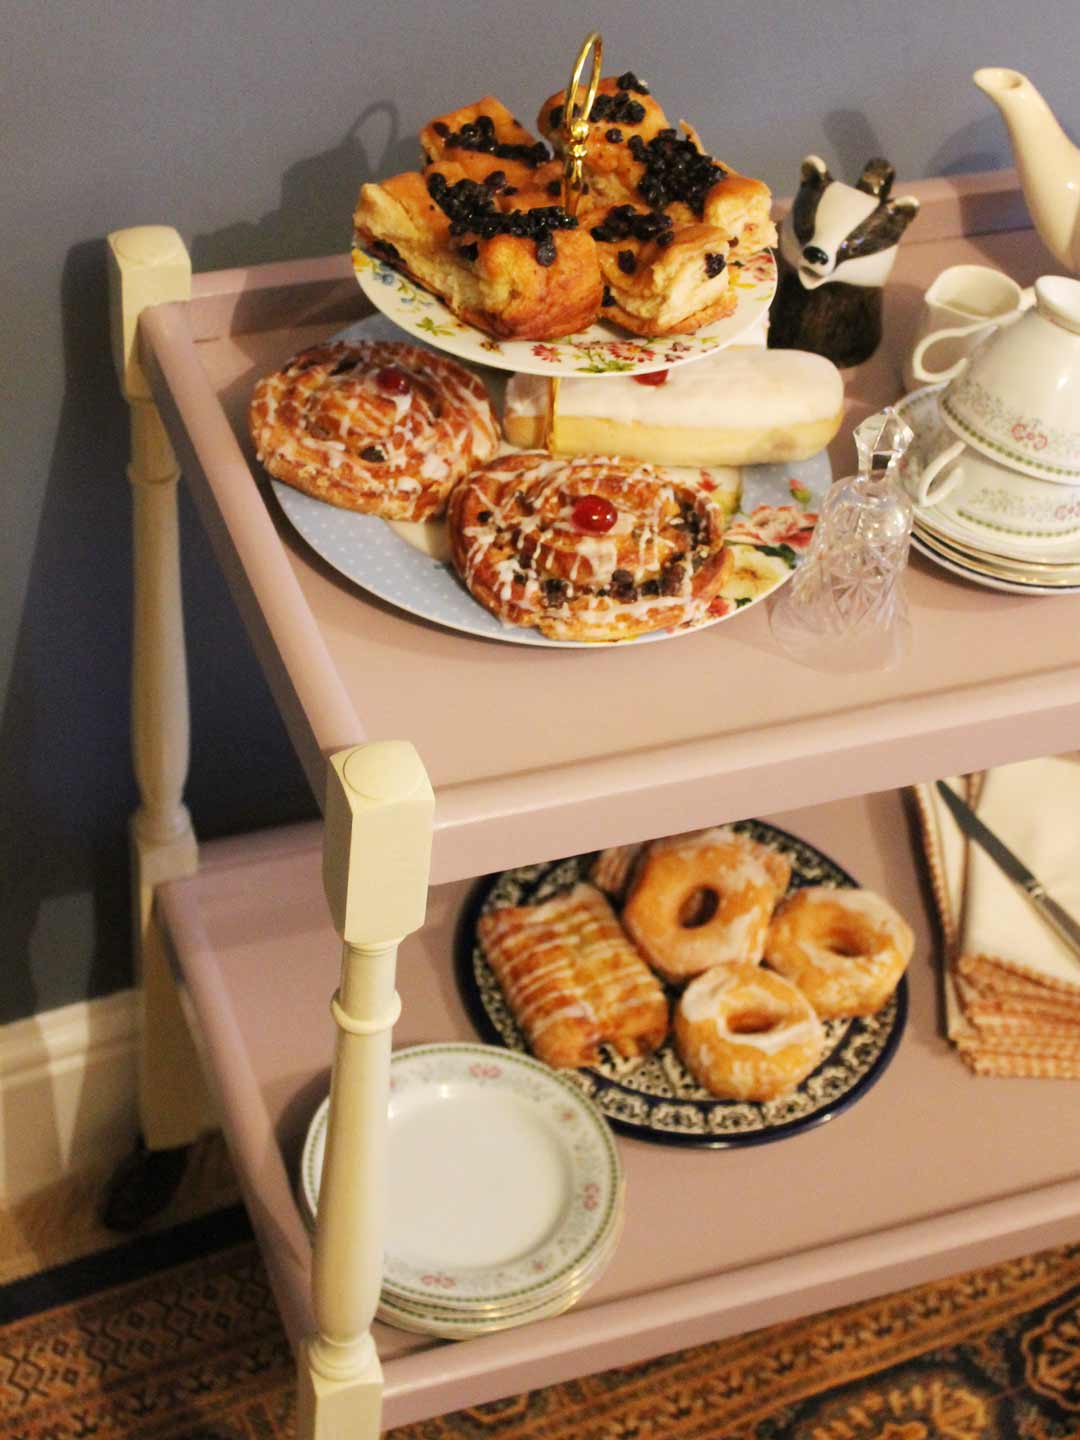
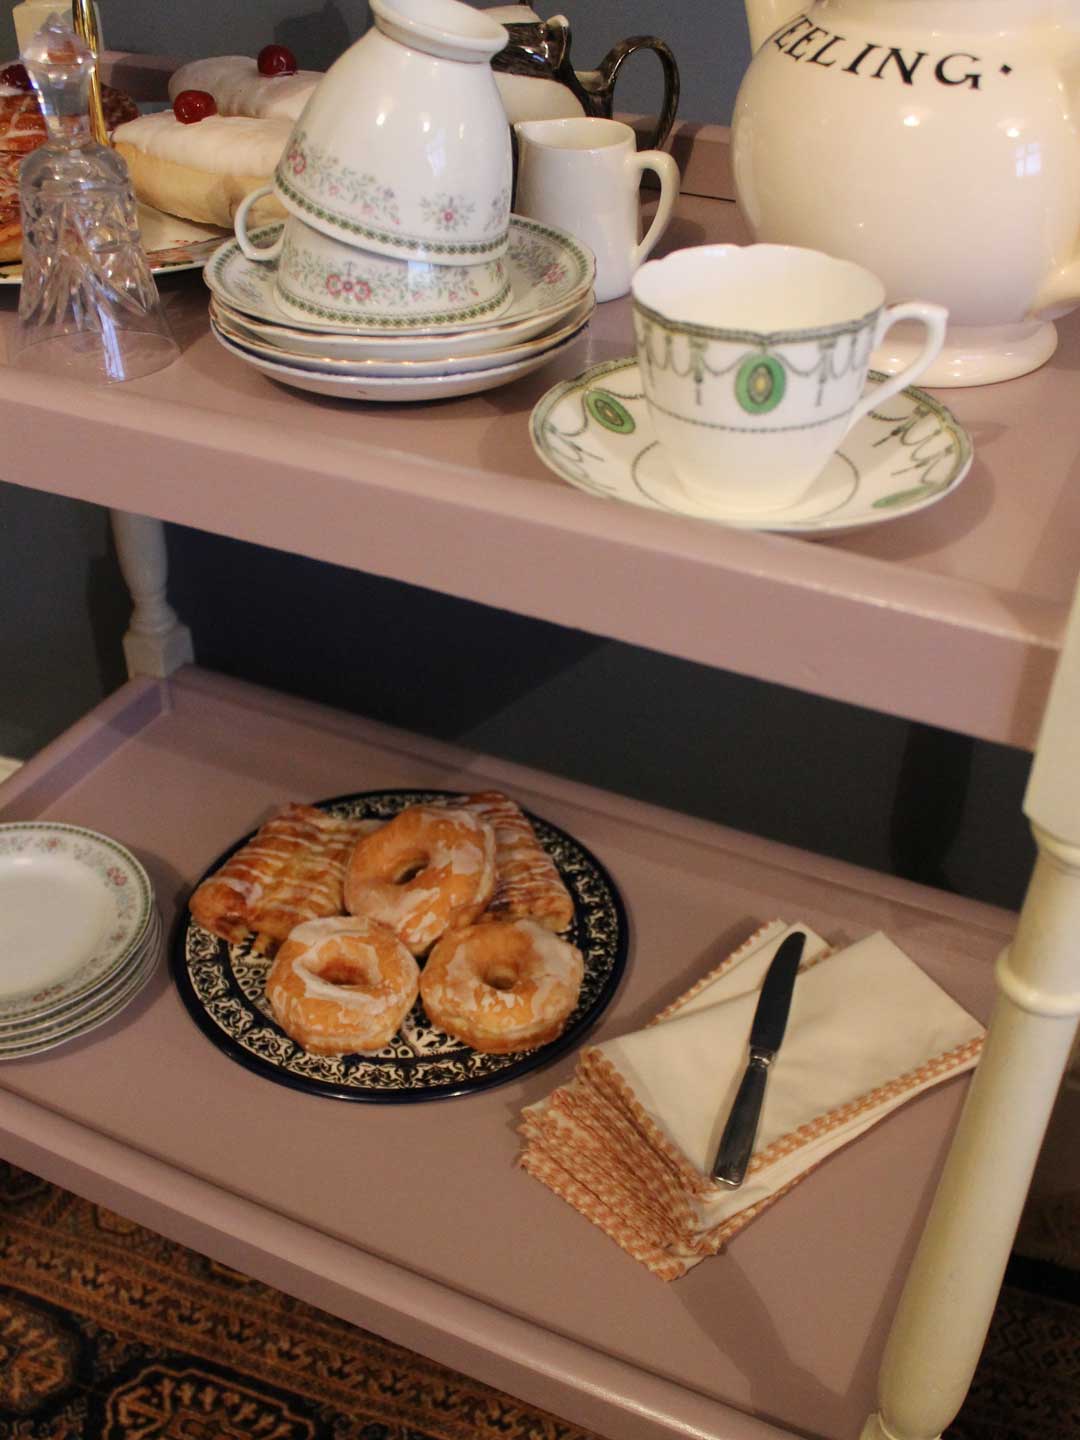
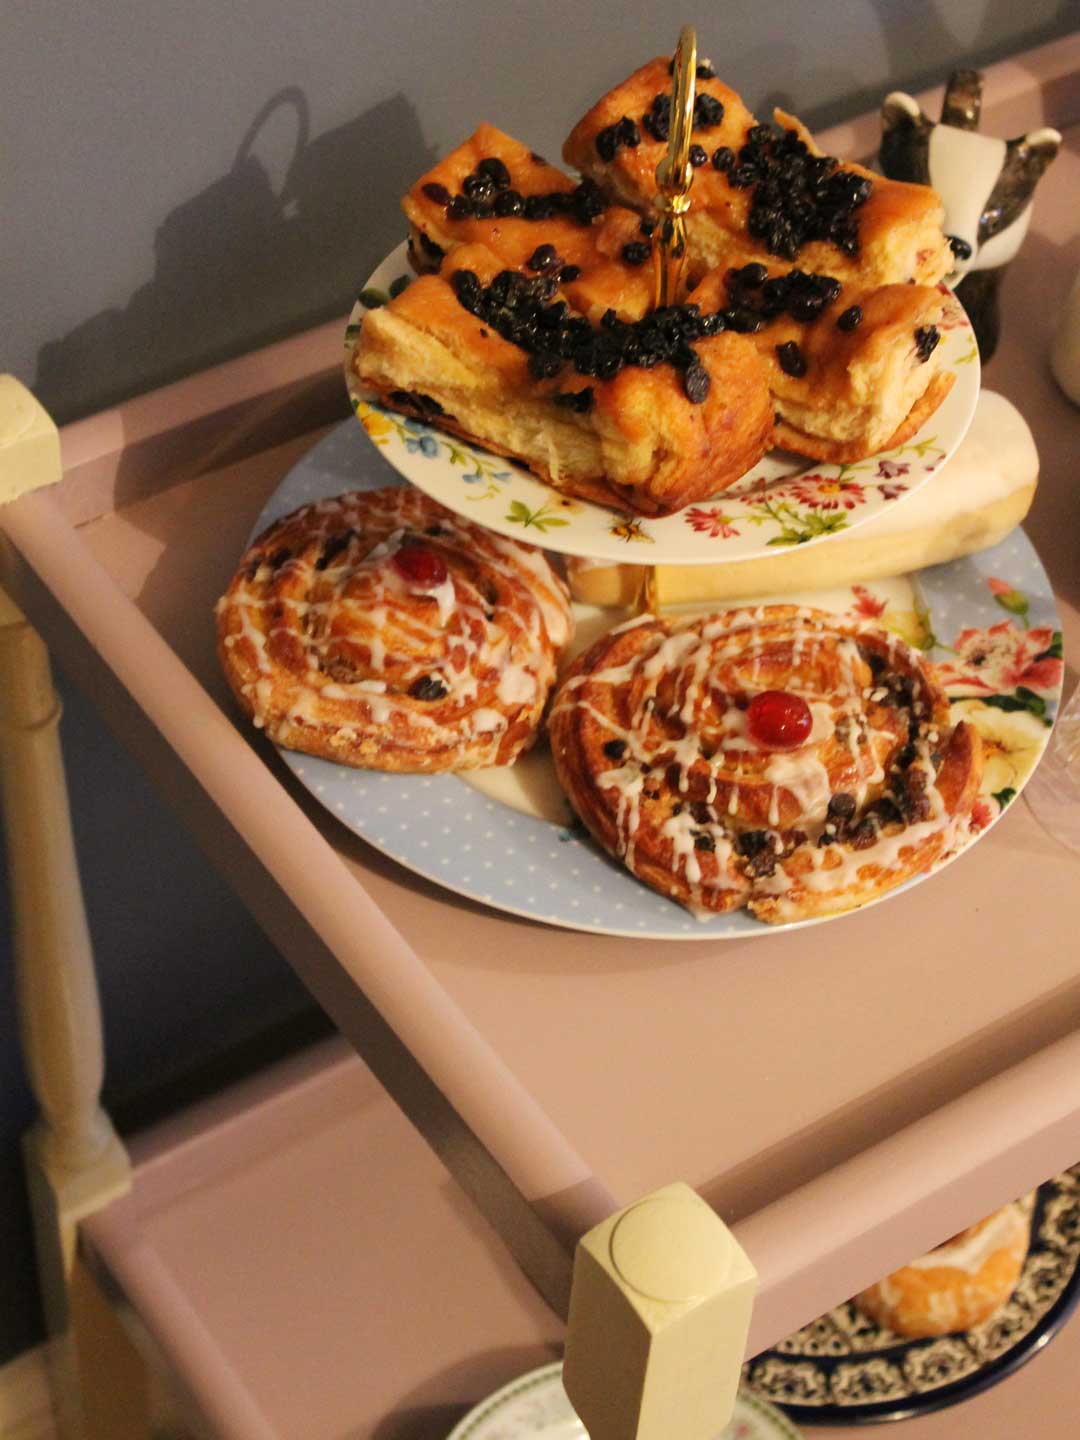
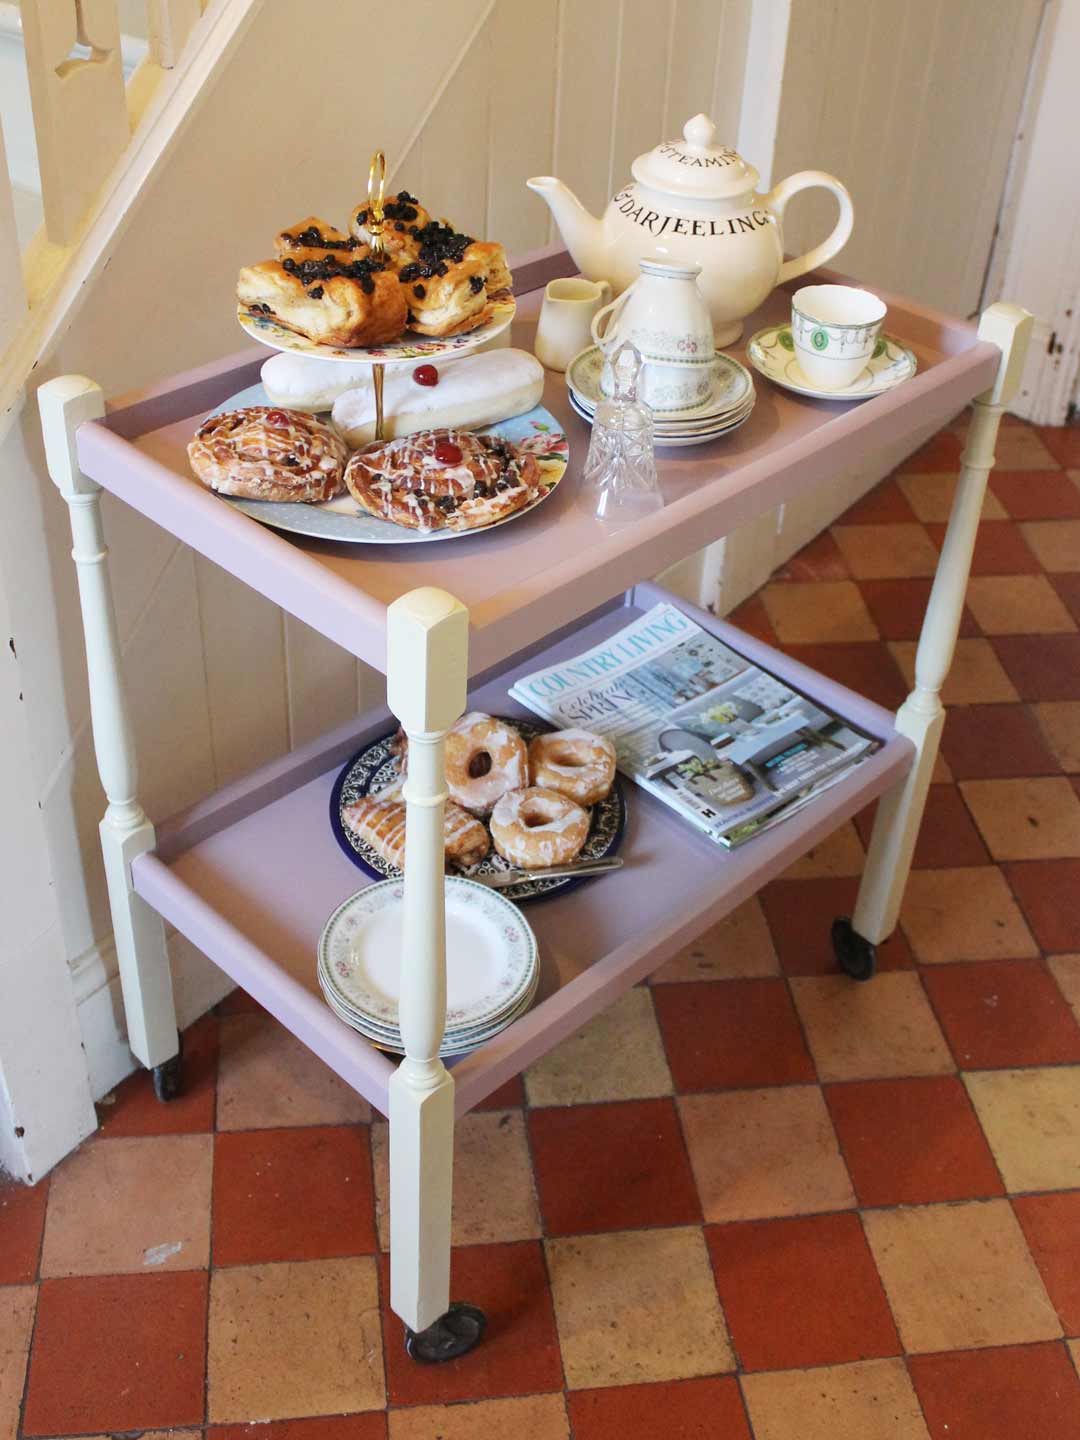
Time for Tea
A fabulous secondhand find was perfect for a pretty makeover, creating a very useful piece of moveable furniture.
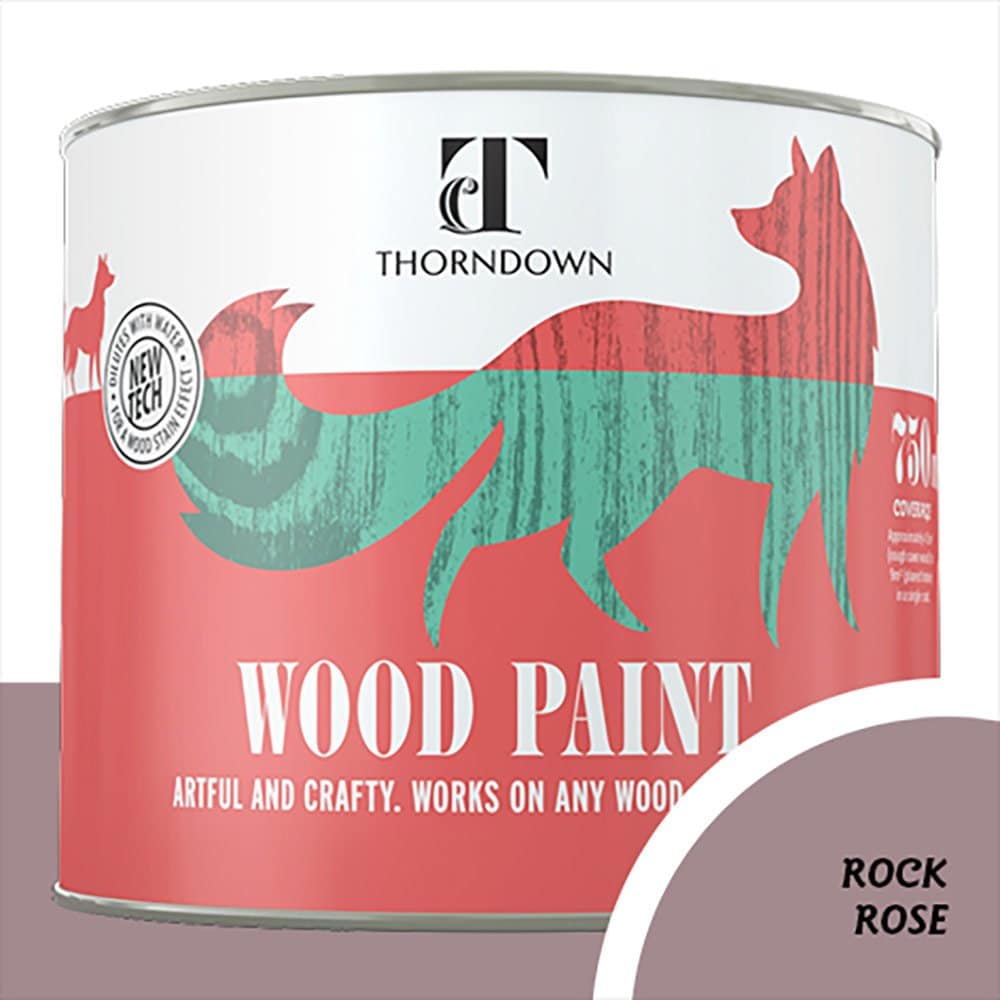
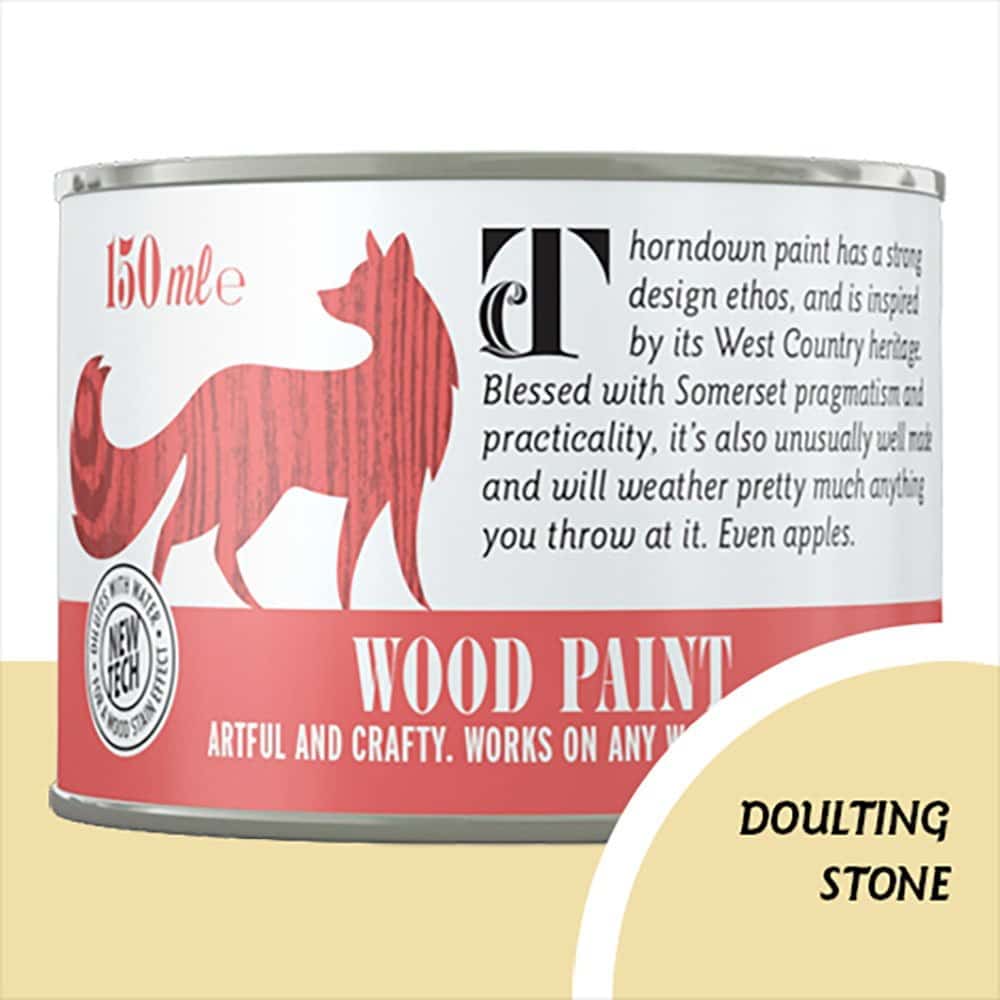
After a light sand the tea trolley was painted with a couple of coats of Rock Rose Wood Paint with contrasting Doulting Stone legs to complete the country chic look!