Welcome to our website! If you have any comments please email us at studio@thorndown.co.uk
Painting Wood Paint on Garden Obelisks
Painting wood garden obelisks is a really quick and easy way to create colourful statement pieces in the garden, and to inject all-year round colour. Painting on a good quality wood paint like Thorndown Wood Paint also has the added advantage of protecting timber from rot so it will last for years and years!
If you are painting a new wooden obelisk it is best to paint it before assembly making it easier to paint and cover every nook and cranny. Be sure to paint the bottom of the legs that will be in contact with the soil as these will be vulnerable to rot. Painting timber in direct contact to the soil won’t stop rot from happening but it will greatly delay it.
For maintenance of previously painted wood obelisks it is easier to do it on a dry, sunny winters day whilst plants are dormant and growth is at its minimum. Failing that get it done in early spring before new growth makes it harder.
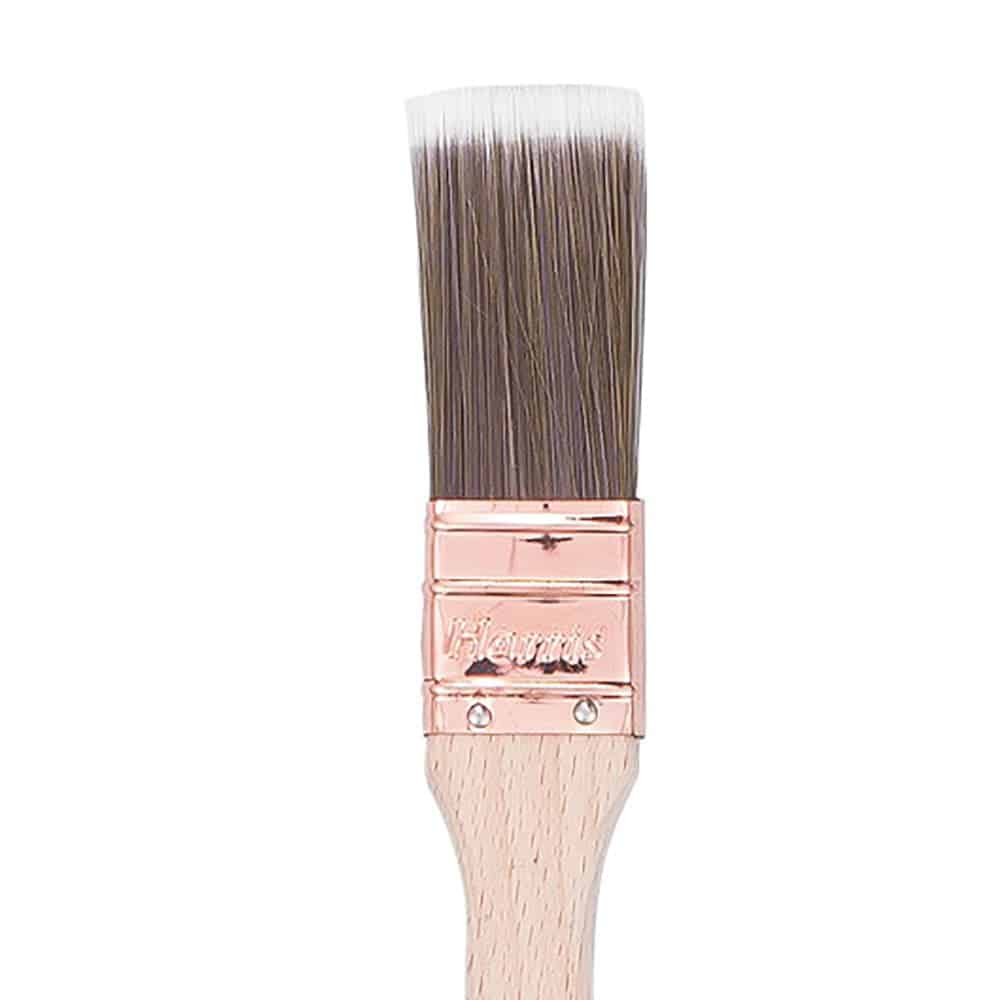
This project is really quick, cheap and easy to do and gives great results that last years. All you’ll need is one or two 150ml tins of Wood Paint depending on the size of your obelisk, and a small paint brush. Painting both of the featured obelisks cost me less than £20!!
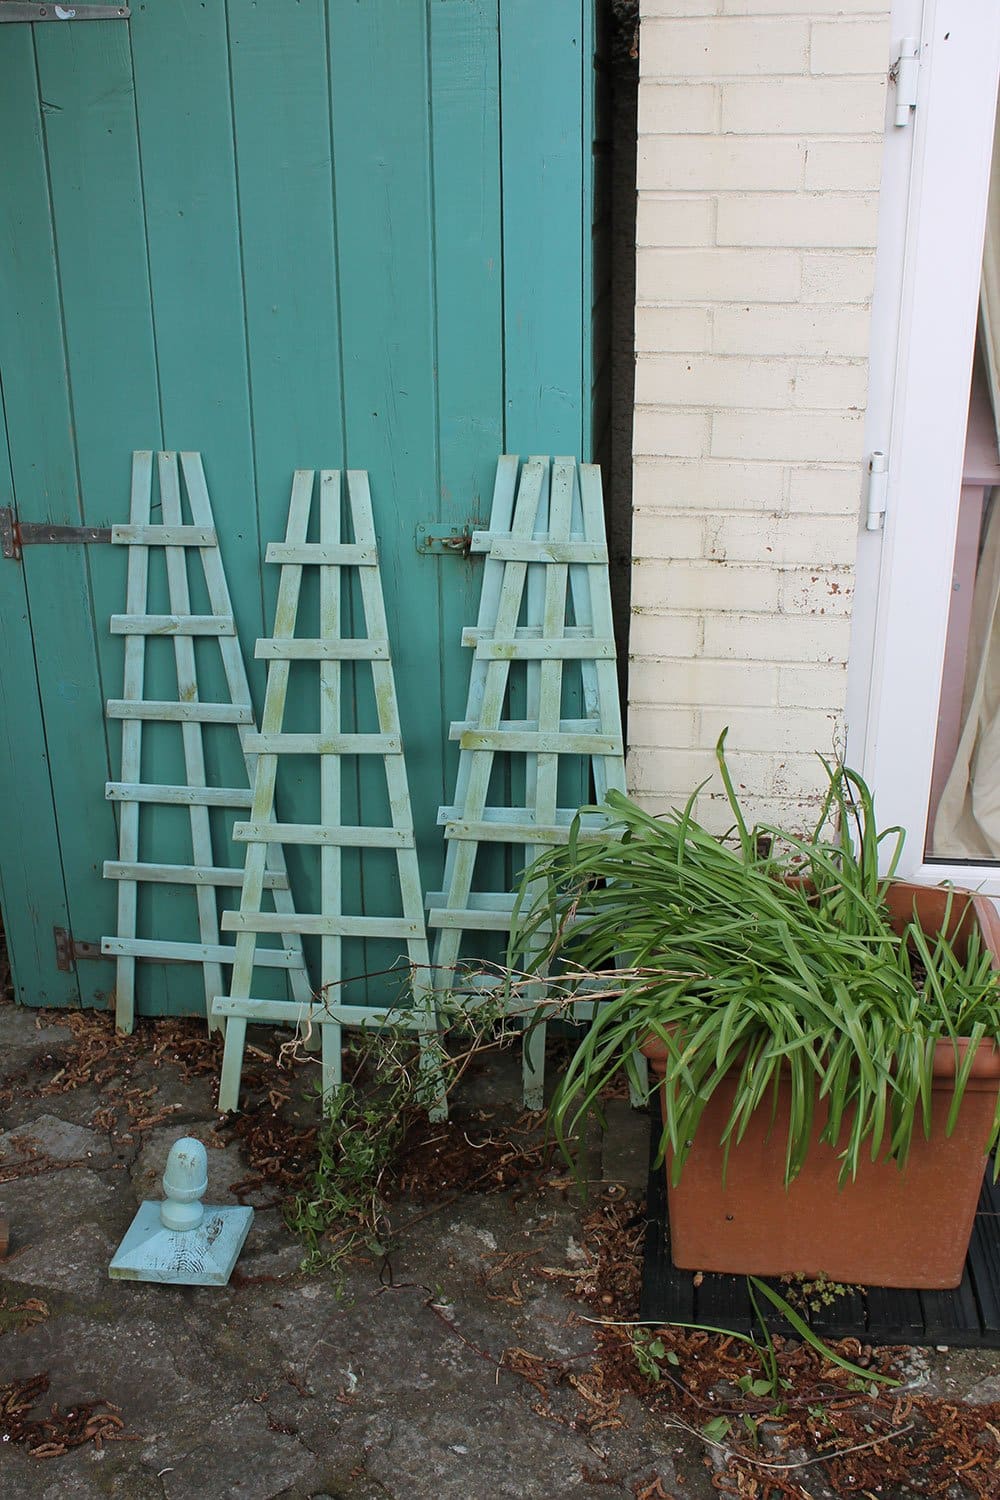
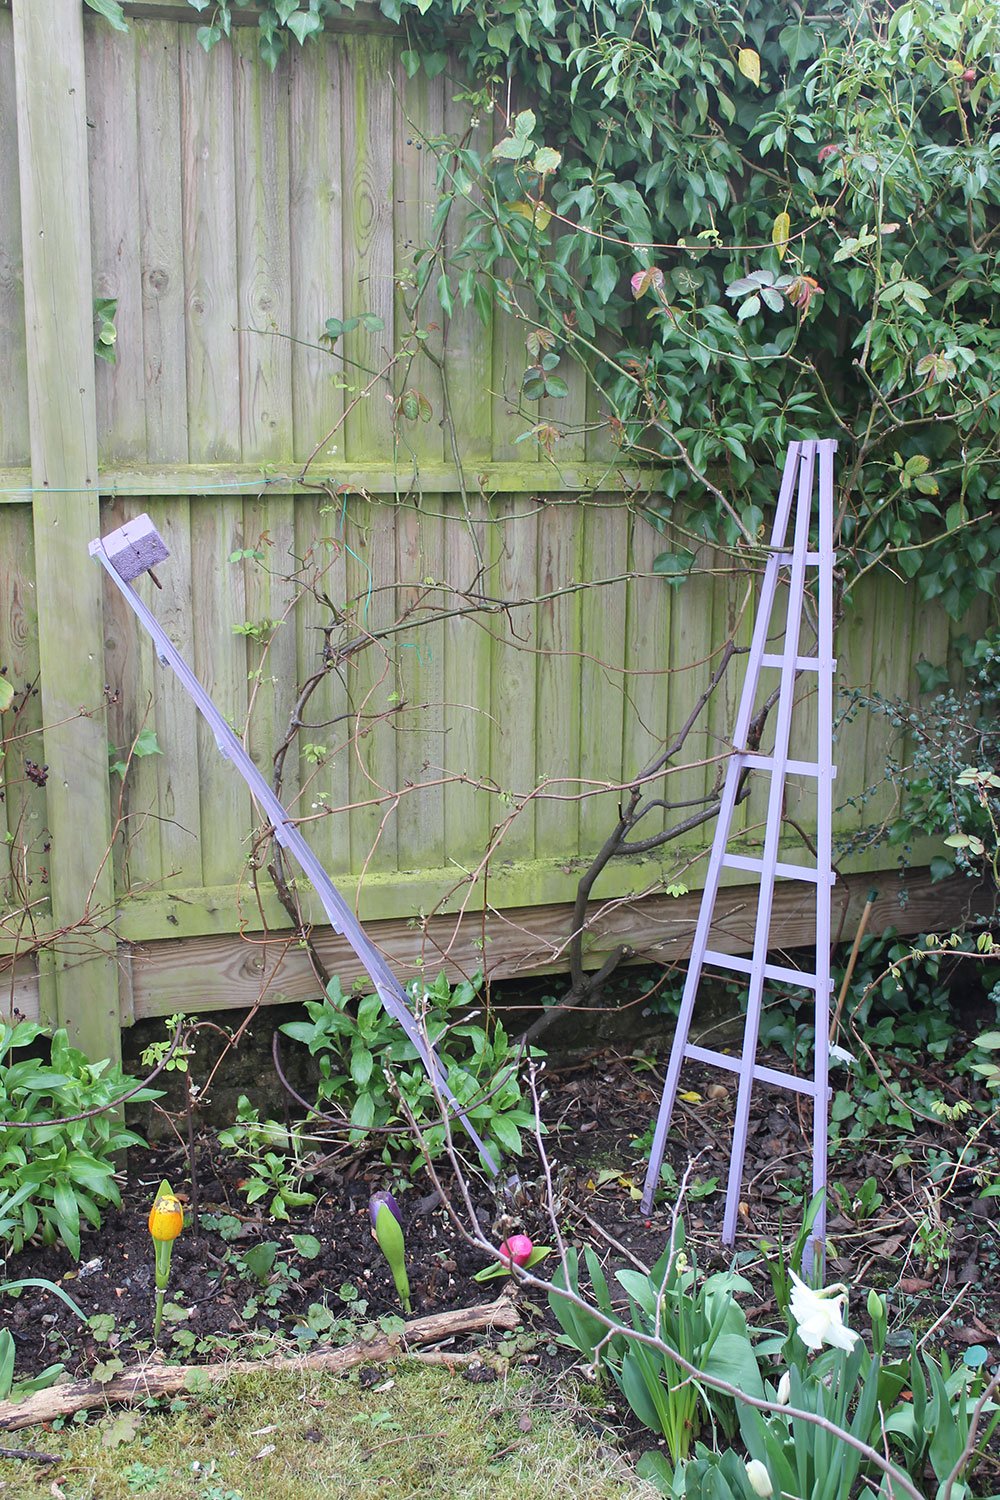
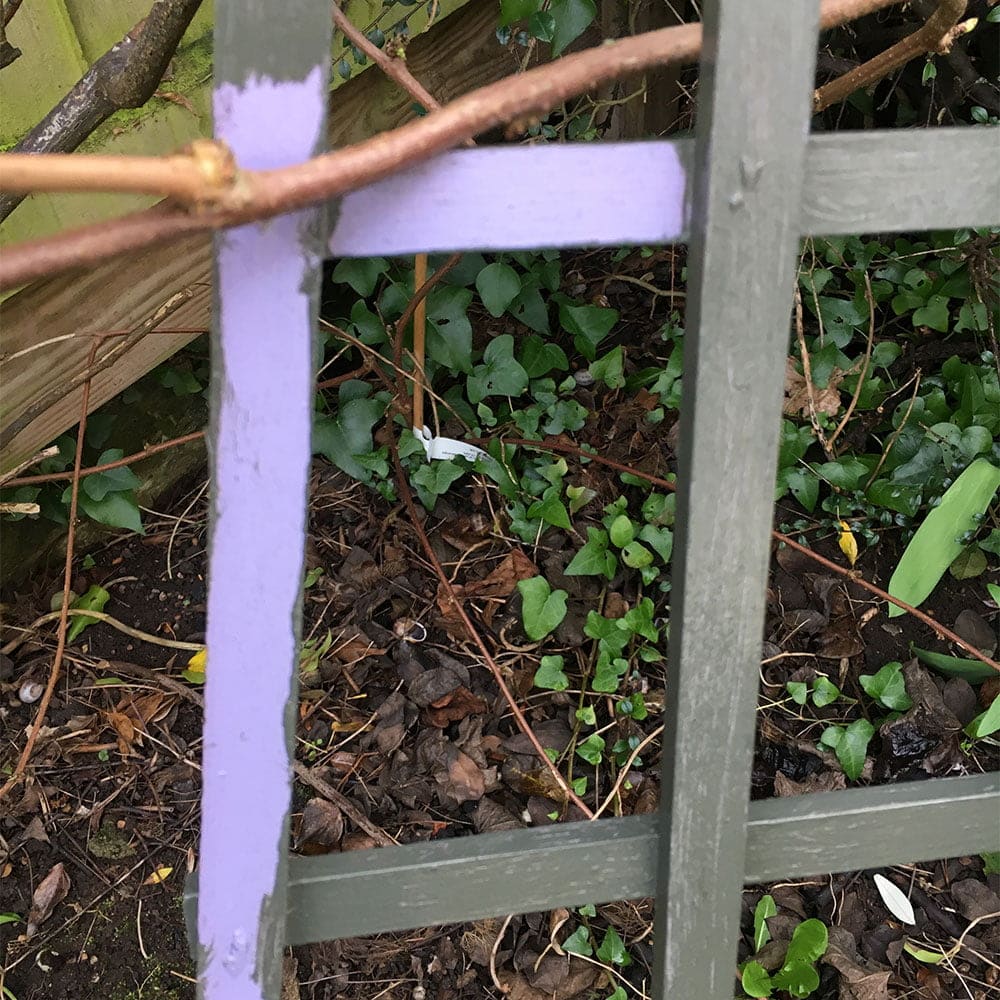
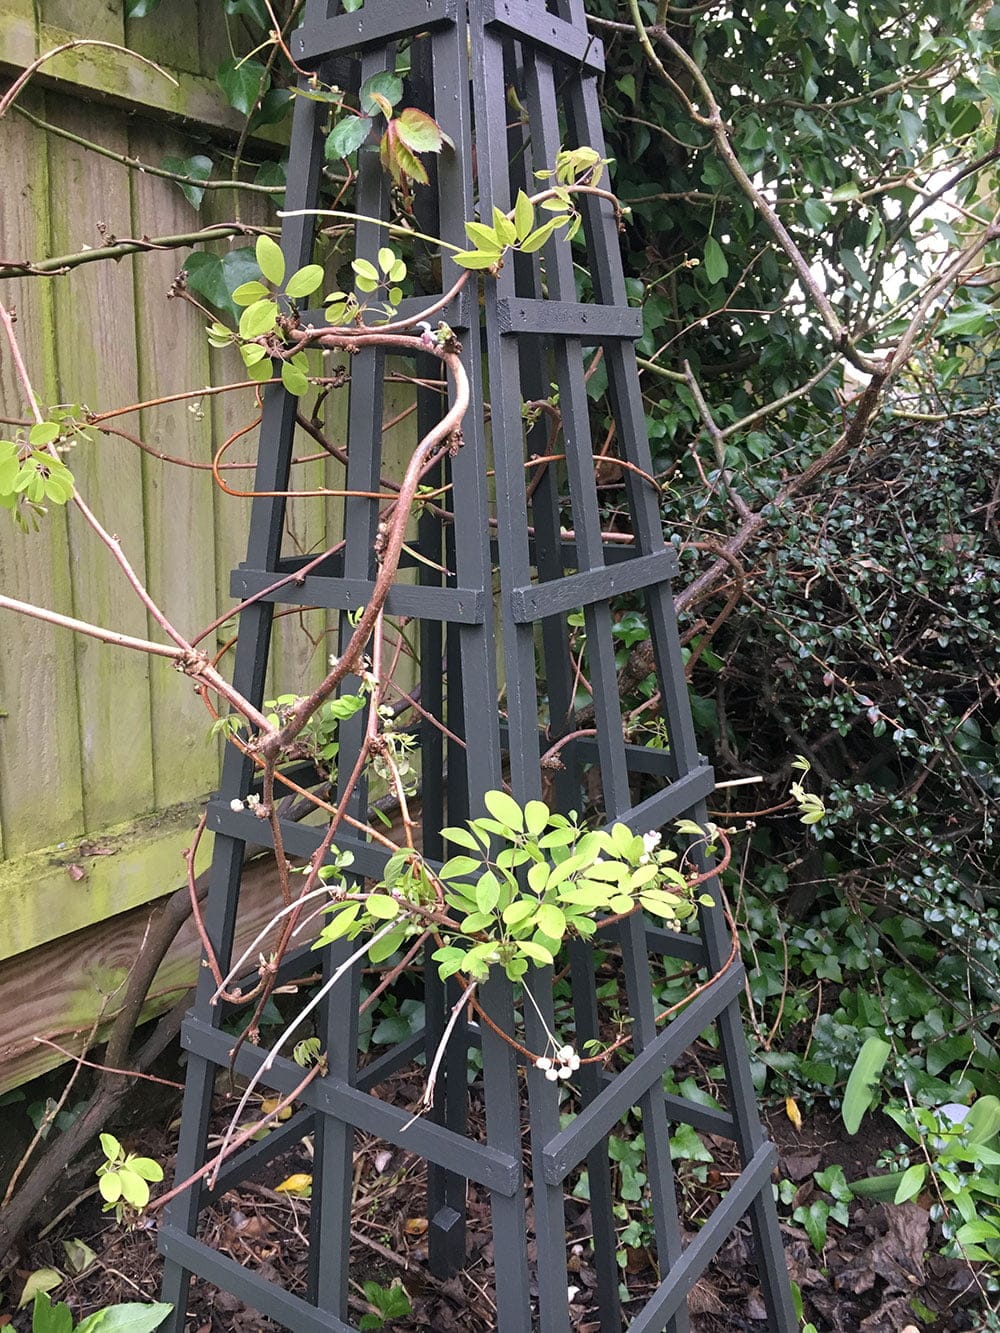
If you are maintaining an existing obelisk, the first thing to do is take apart your obelisk if you can, carefully detaching and setting aside safely any climbers. On one of my obelisks I was able to easily remove the two established clematis and lay them down, but on the other obelisk the climbing rose and Akebia quinata alba were so intertwined at the top that I had to leave two sections of the obelisk in the garden and paint in-situ.
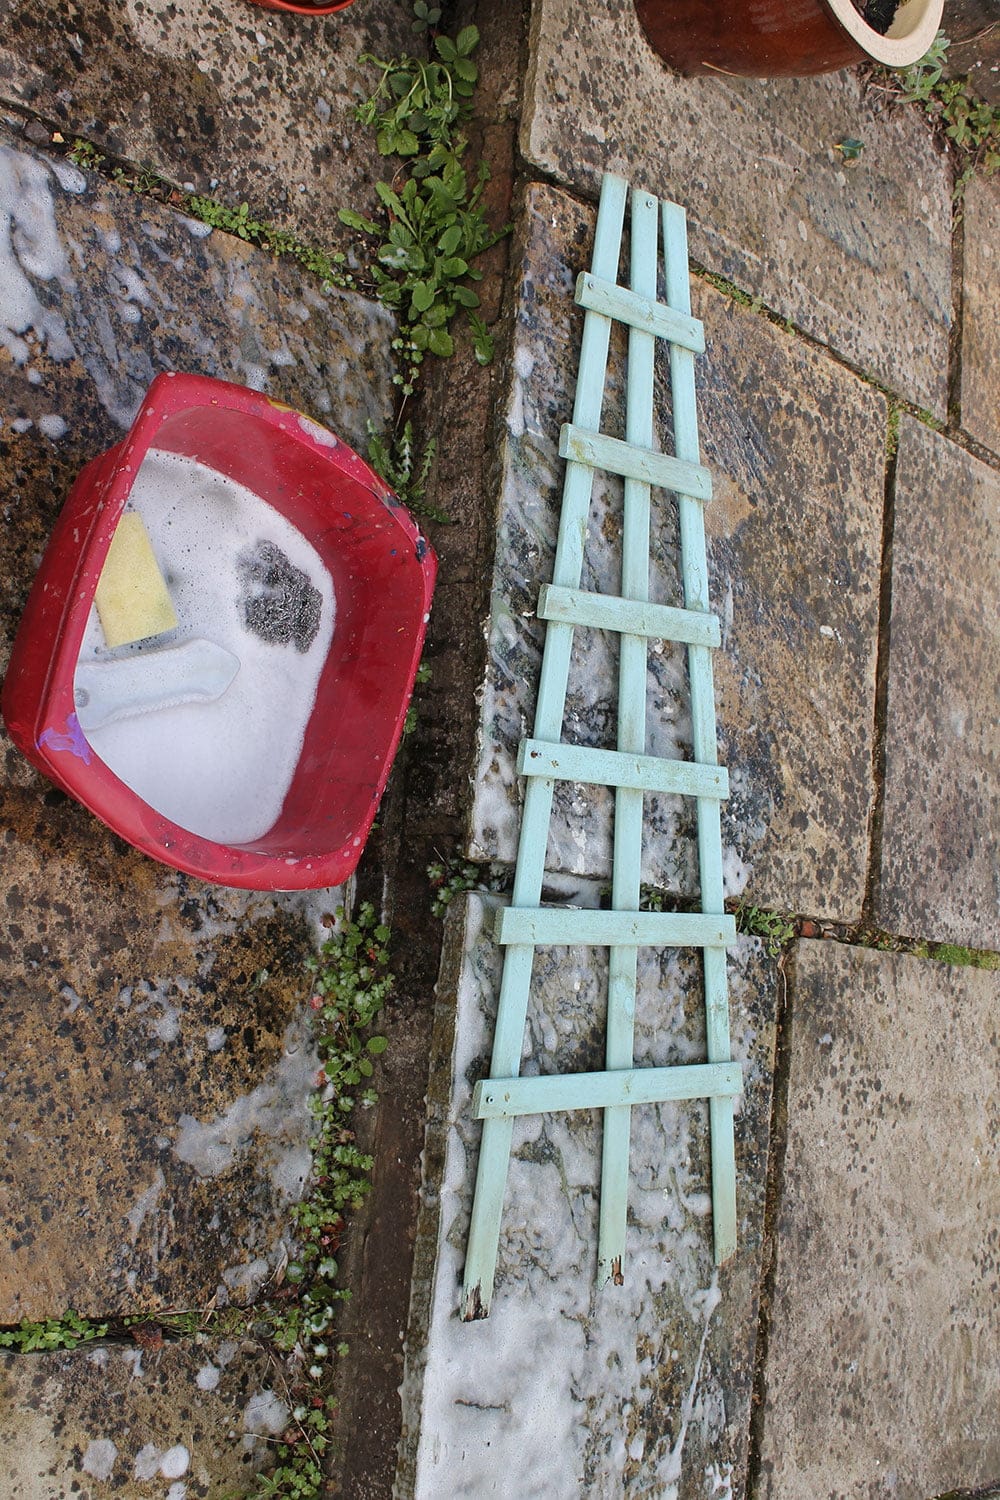
Next is to thoroughly clean with water and a touch of detergent to get rid of any surface muck and loose old coatings. Leave to dry thoroughly then get ready to paint. I was able to paint most of the panels inside on wet days and just laid them out on my kitchen table for painting.
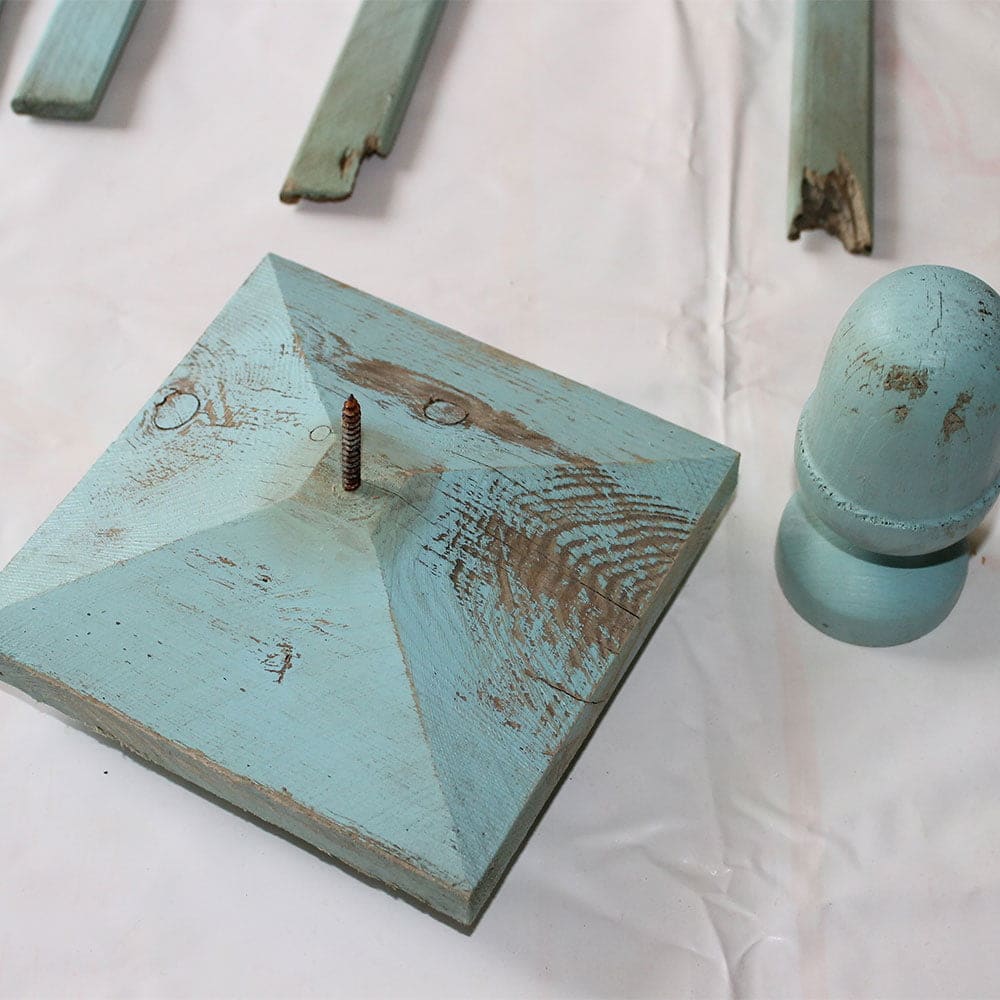
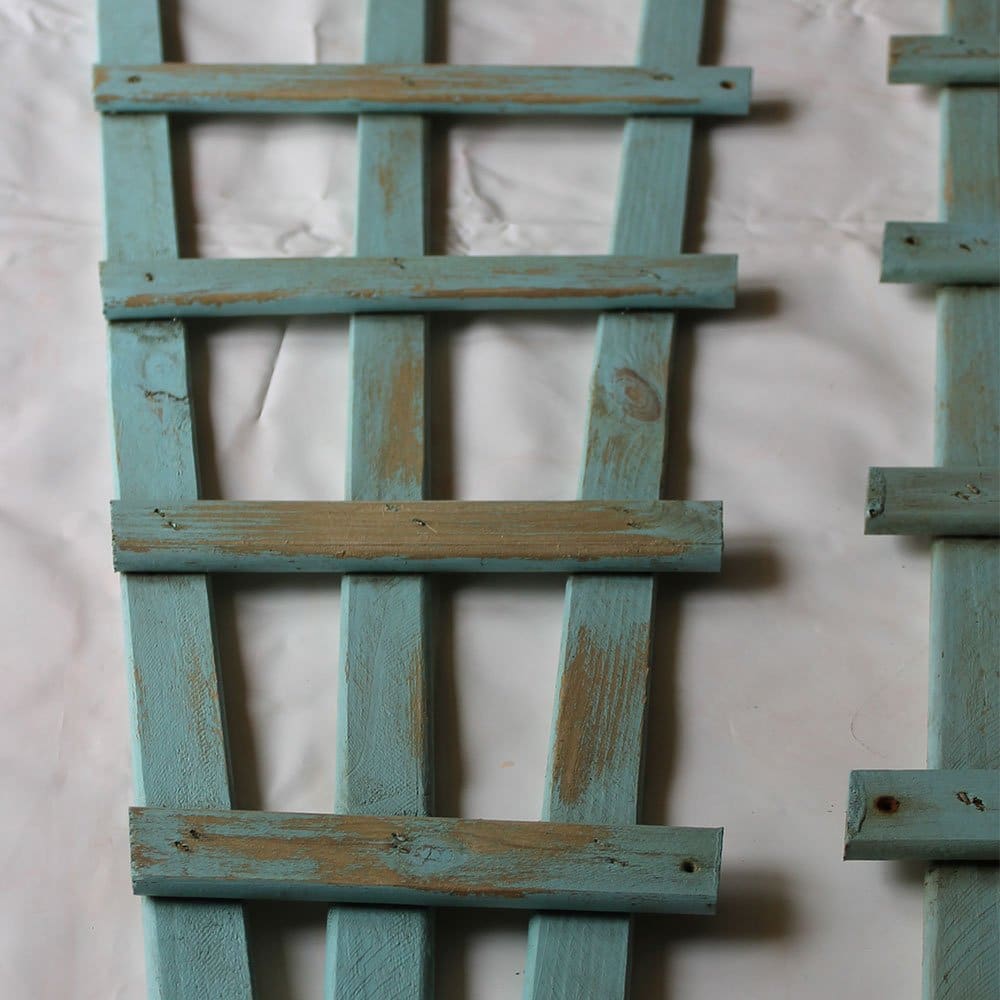
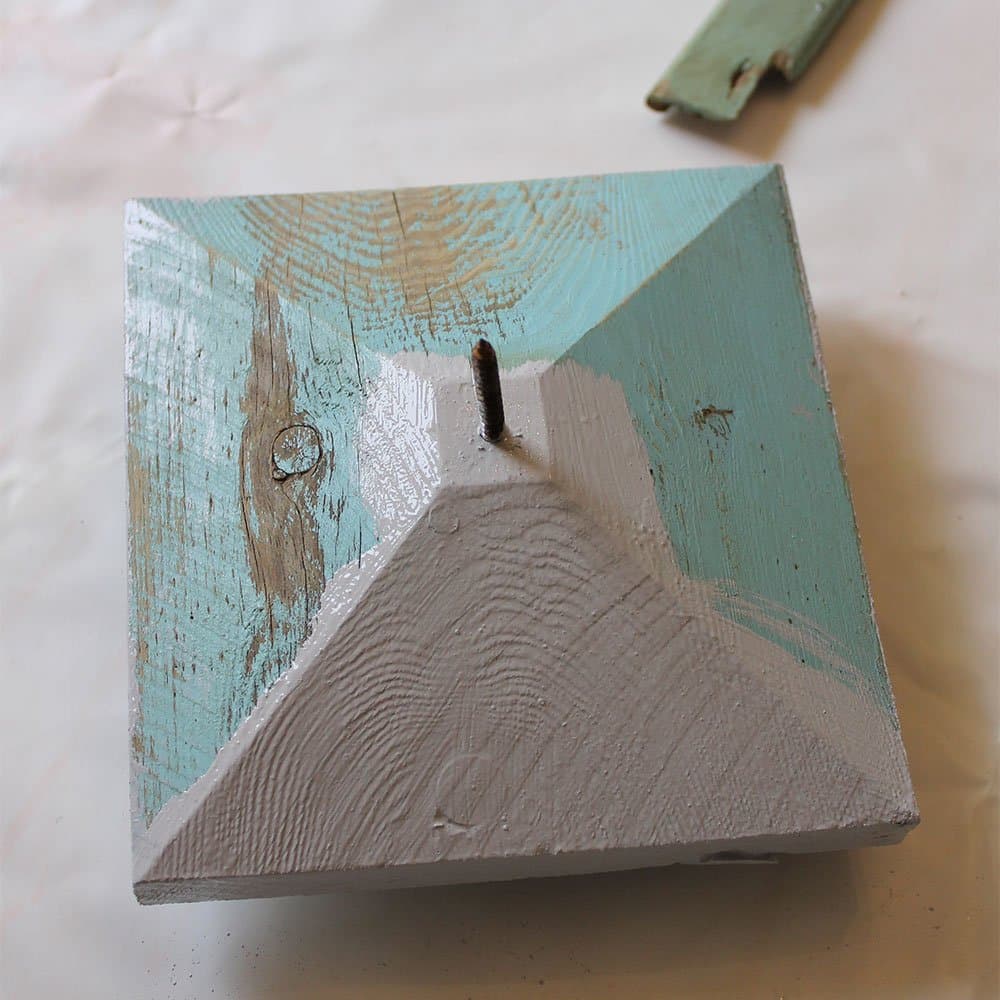
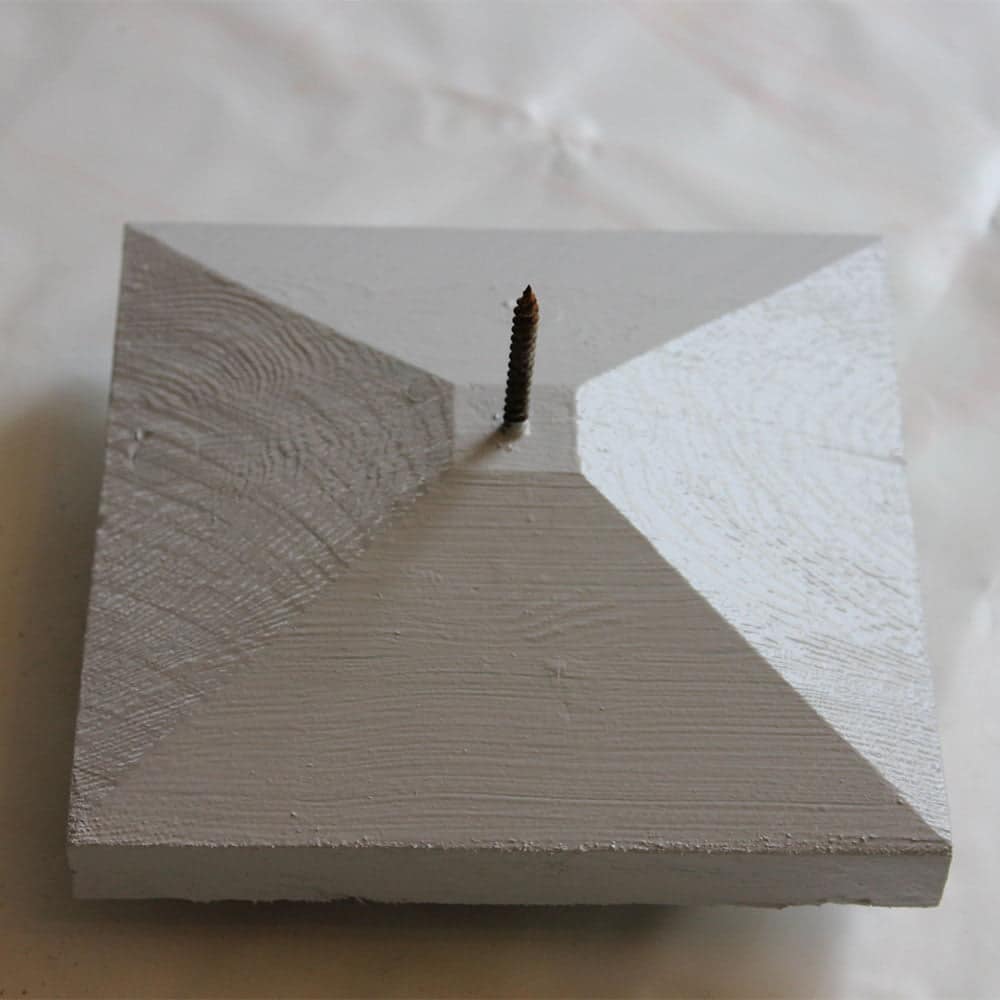
When painting an obelisk it is always best to approach it in a methodical manner to make sure that you paint every part of it including the tops, bottoms, sides and any impressions made by nails or screws. Some manufacturers used galvanised steel fixtures but these tend to be for top end items only. Most have to use cheaper materials to keep costs down so expect metal materials like nails to rust. This won’t cause any serious damage to the obelisk or paint coating so unless you’re overly fussy, just let nature take its course.
Although a bit time-consuming painting goes pretty quickly. We’d always recommend painting 2 coats of Wood Paint on external structures as it gives you the best level of protection and will mean you won’t have to re-paint for up to 10 years!! We use exterior-grade VOC free colour pigments at high levels so colours will remain nice and strong for years too.
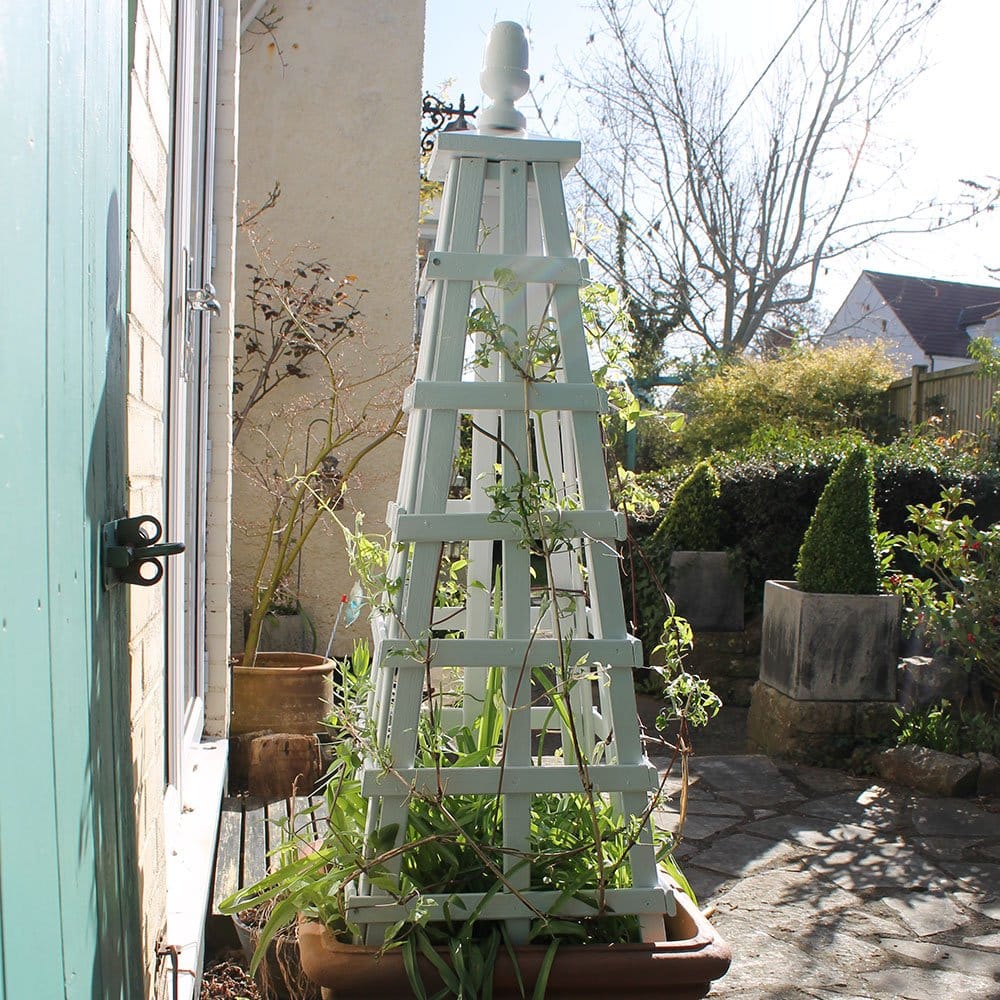
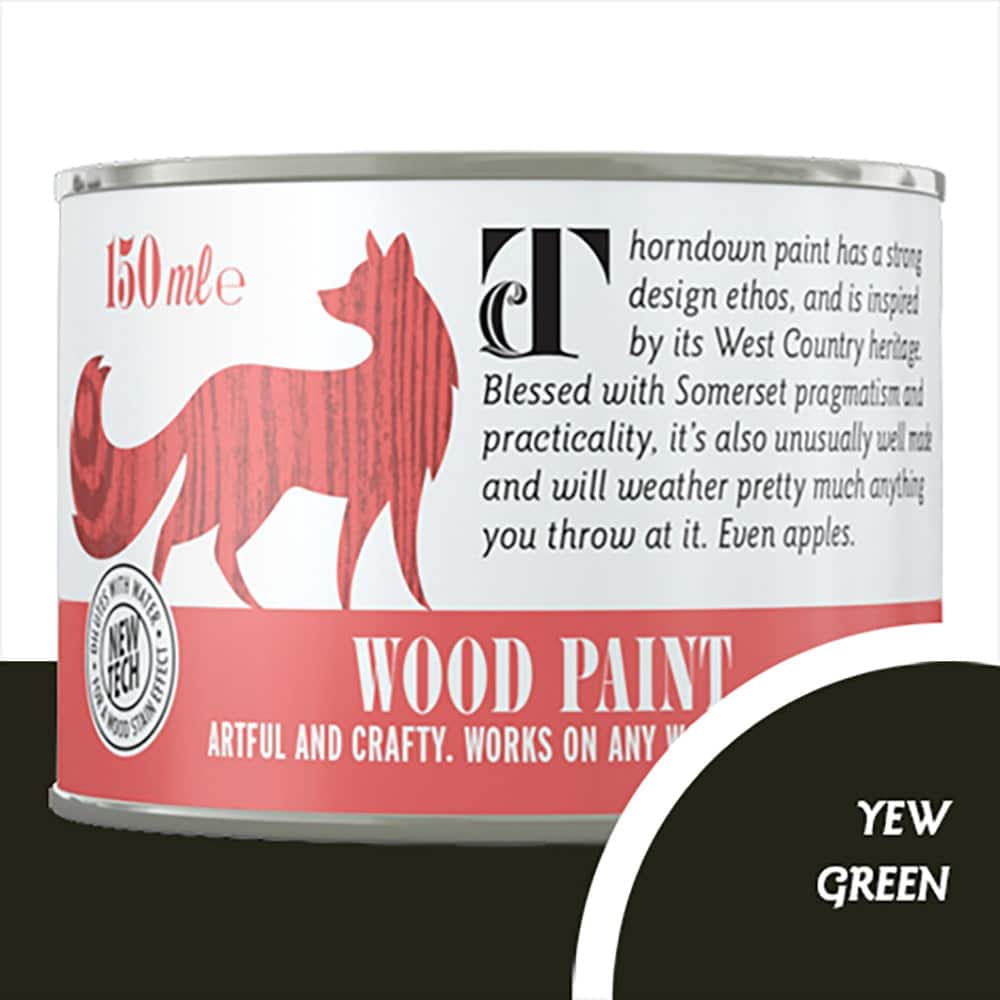
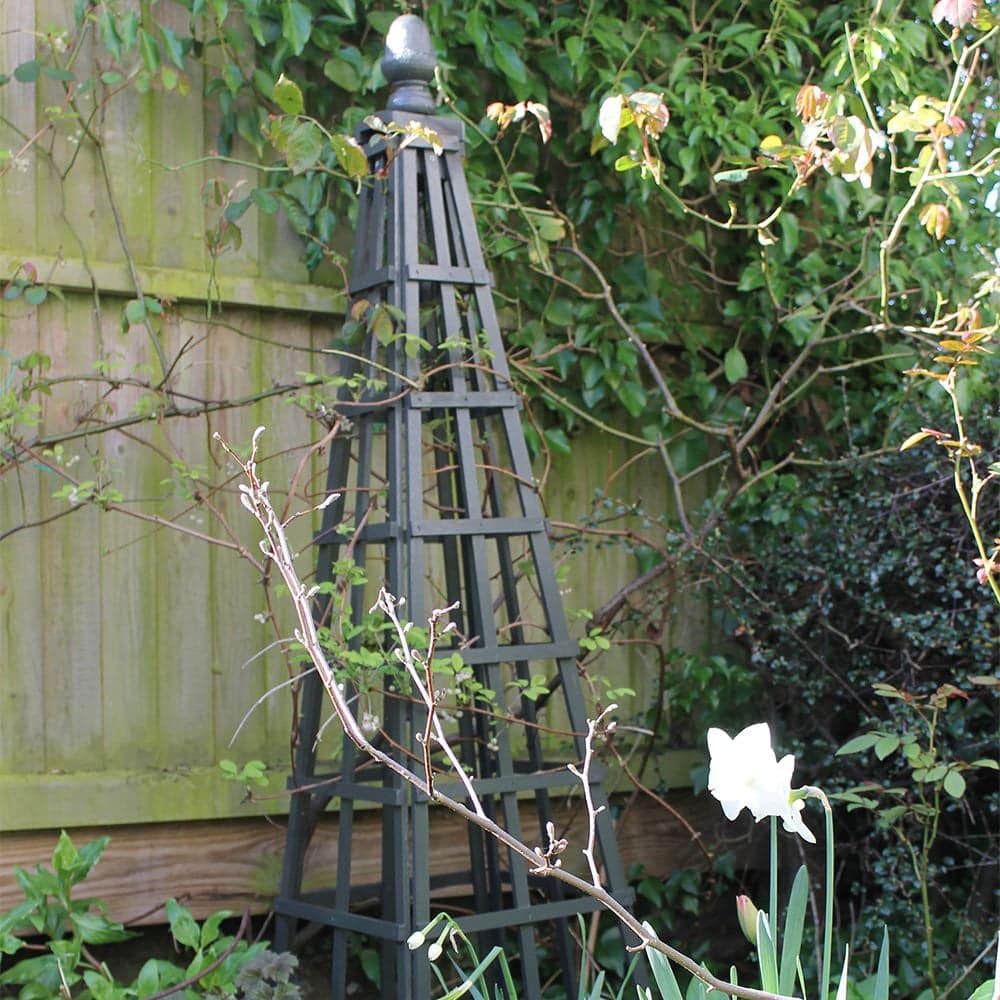
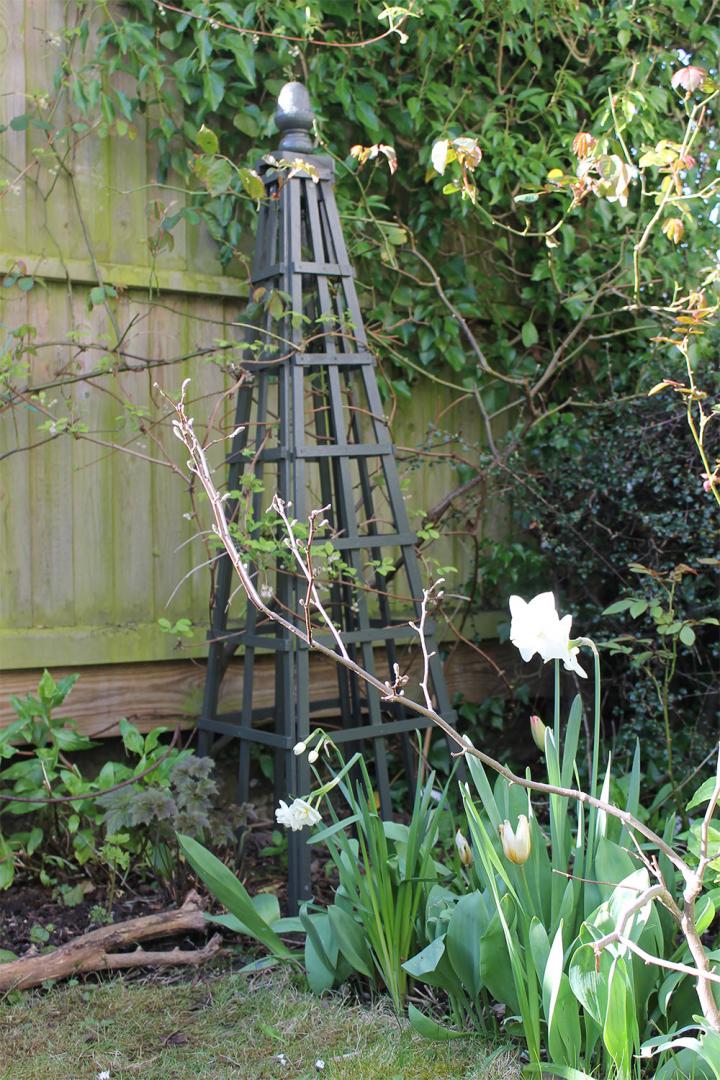
Each coat will dry in about 30 minutes if you’re painting inside and within 1-2 hours if painting outside. I chose Yew Green for the obelisk sited in a bed corner as the colour will really compliment the old climbing rose and Akebia quinata alba climbing up it. The beautiful old earthy Yew Green colour will also compliment spring bulbs and planting including dicentra and japanese anemone. Just one 150ml tin of Yew Green Wood Paint was more than enough for two coats on the obelisk, transforming it from faded purple to a beautiful chic deep green.
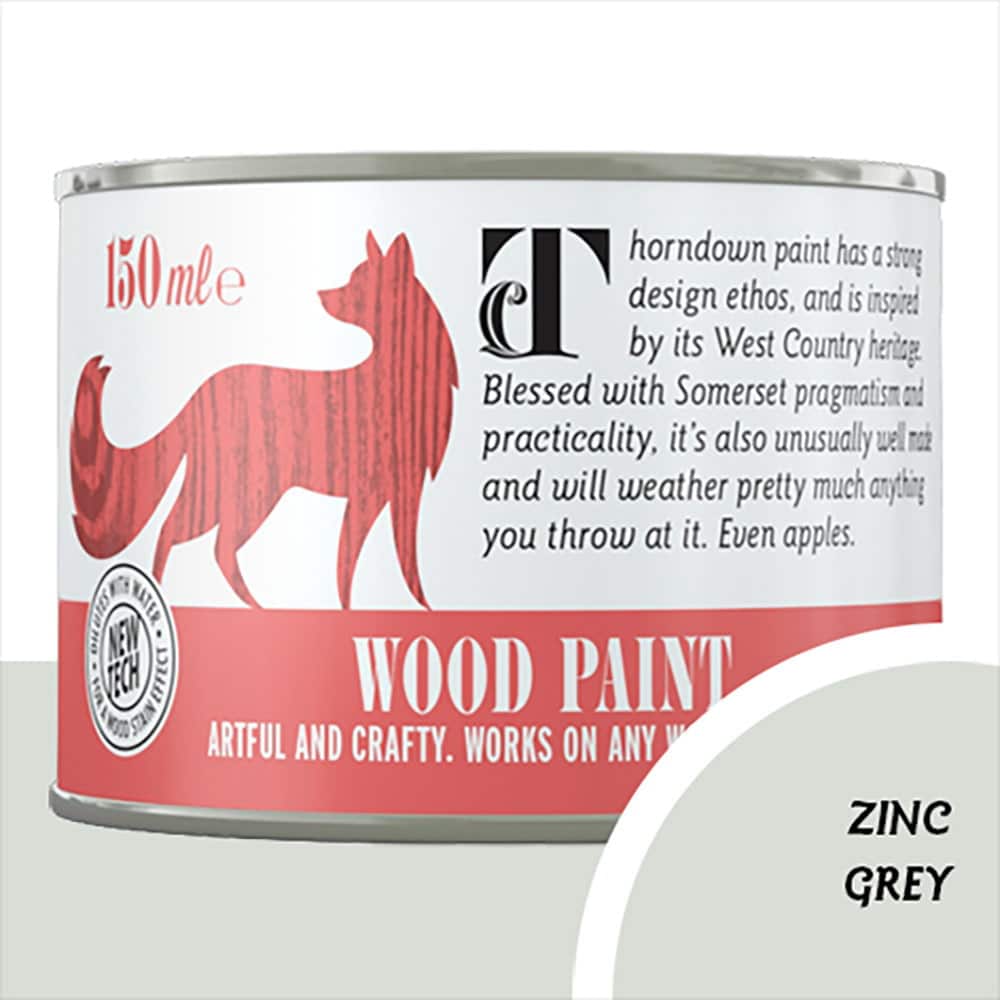
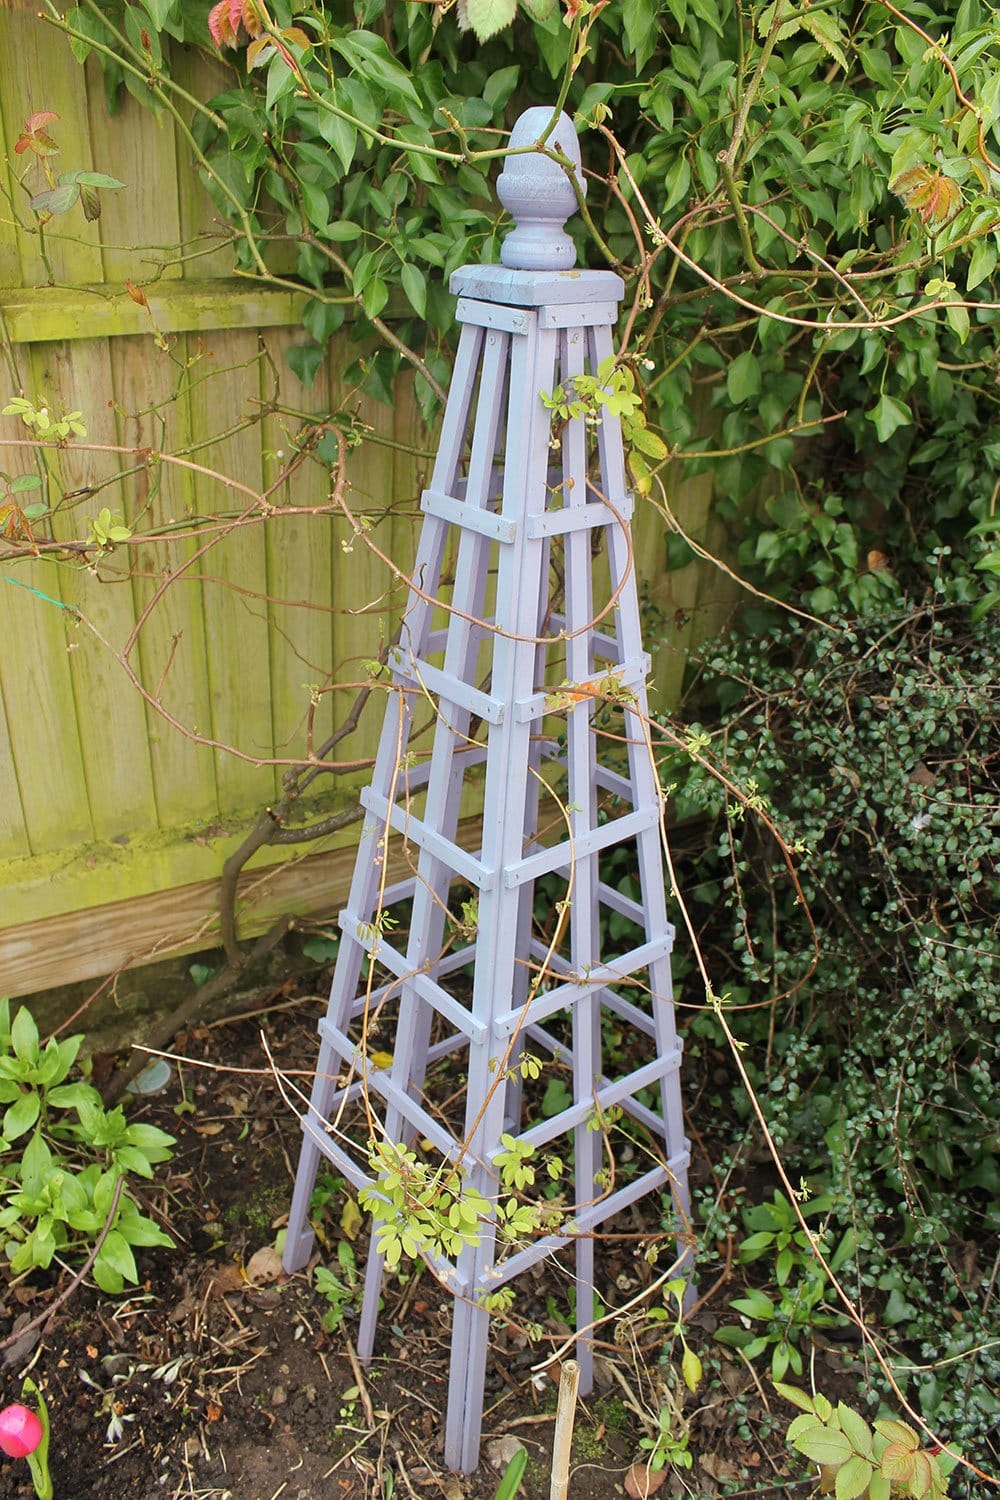
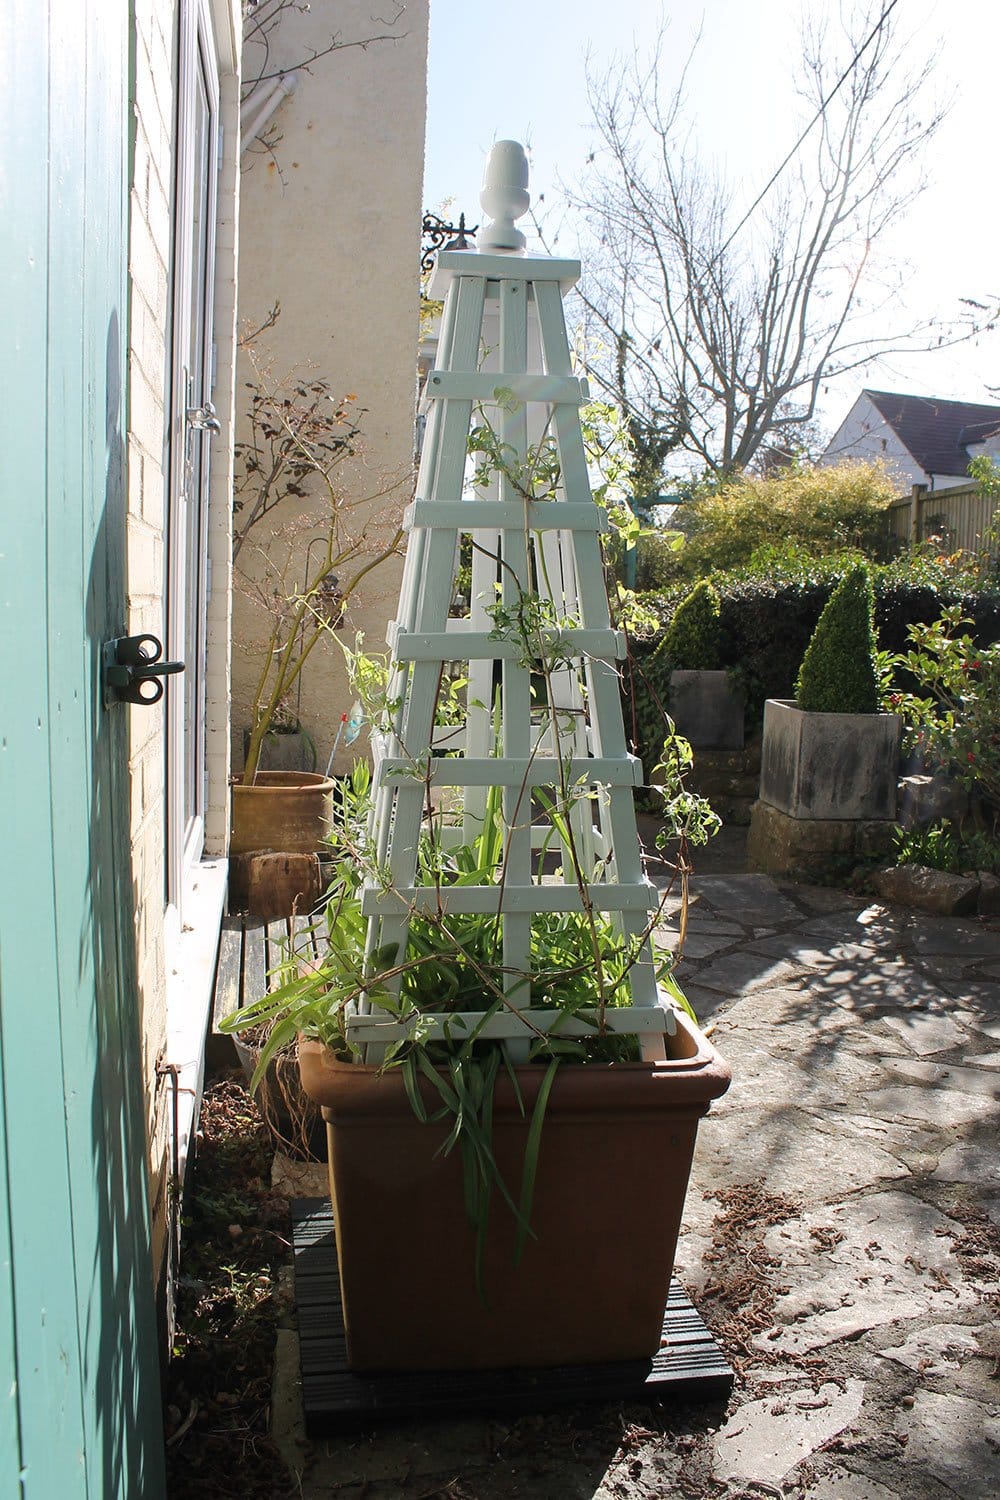
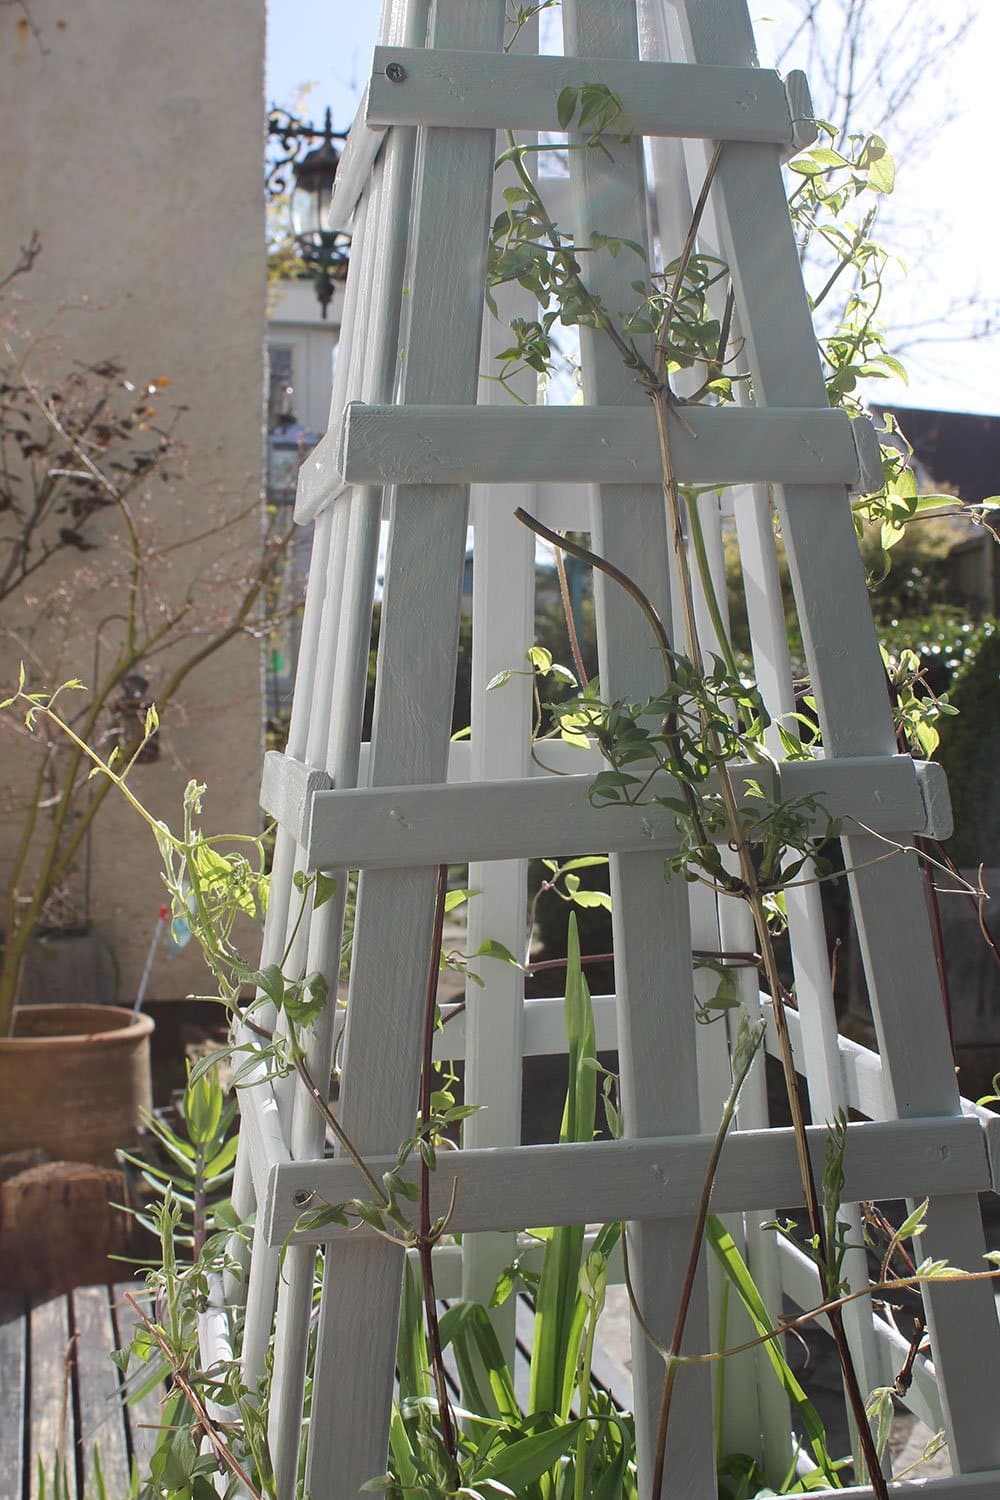
I painted the planter obelisk in Zinc Grey Wood Paint as the bright silvery grey works well with the warmth of the terracotta pot, whilst complimenting the white blooms of spring bulbs and delicate scarlet-wine clematis flowers trained up around the obelisk. Being a larger obelisk this took 2 x 150ml tins but I had plenty leftover after two coats. Now I’m just looking forward to seeing how these obelisks will frame the beauty of the flowers and foliage throughout the years.